Stitch a Felt Angel Christmas Ornament
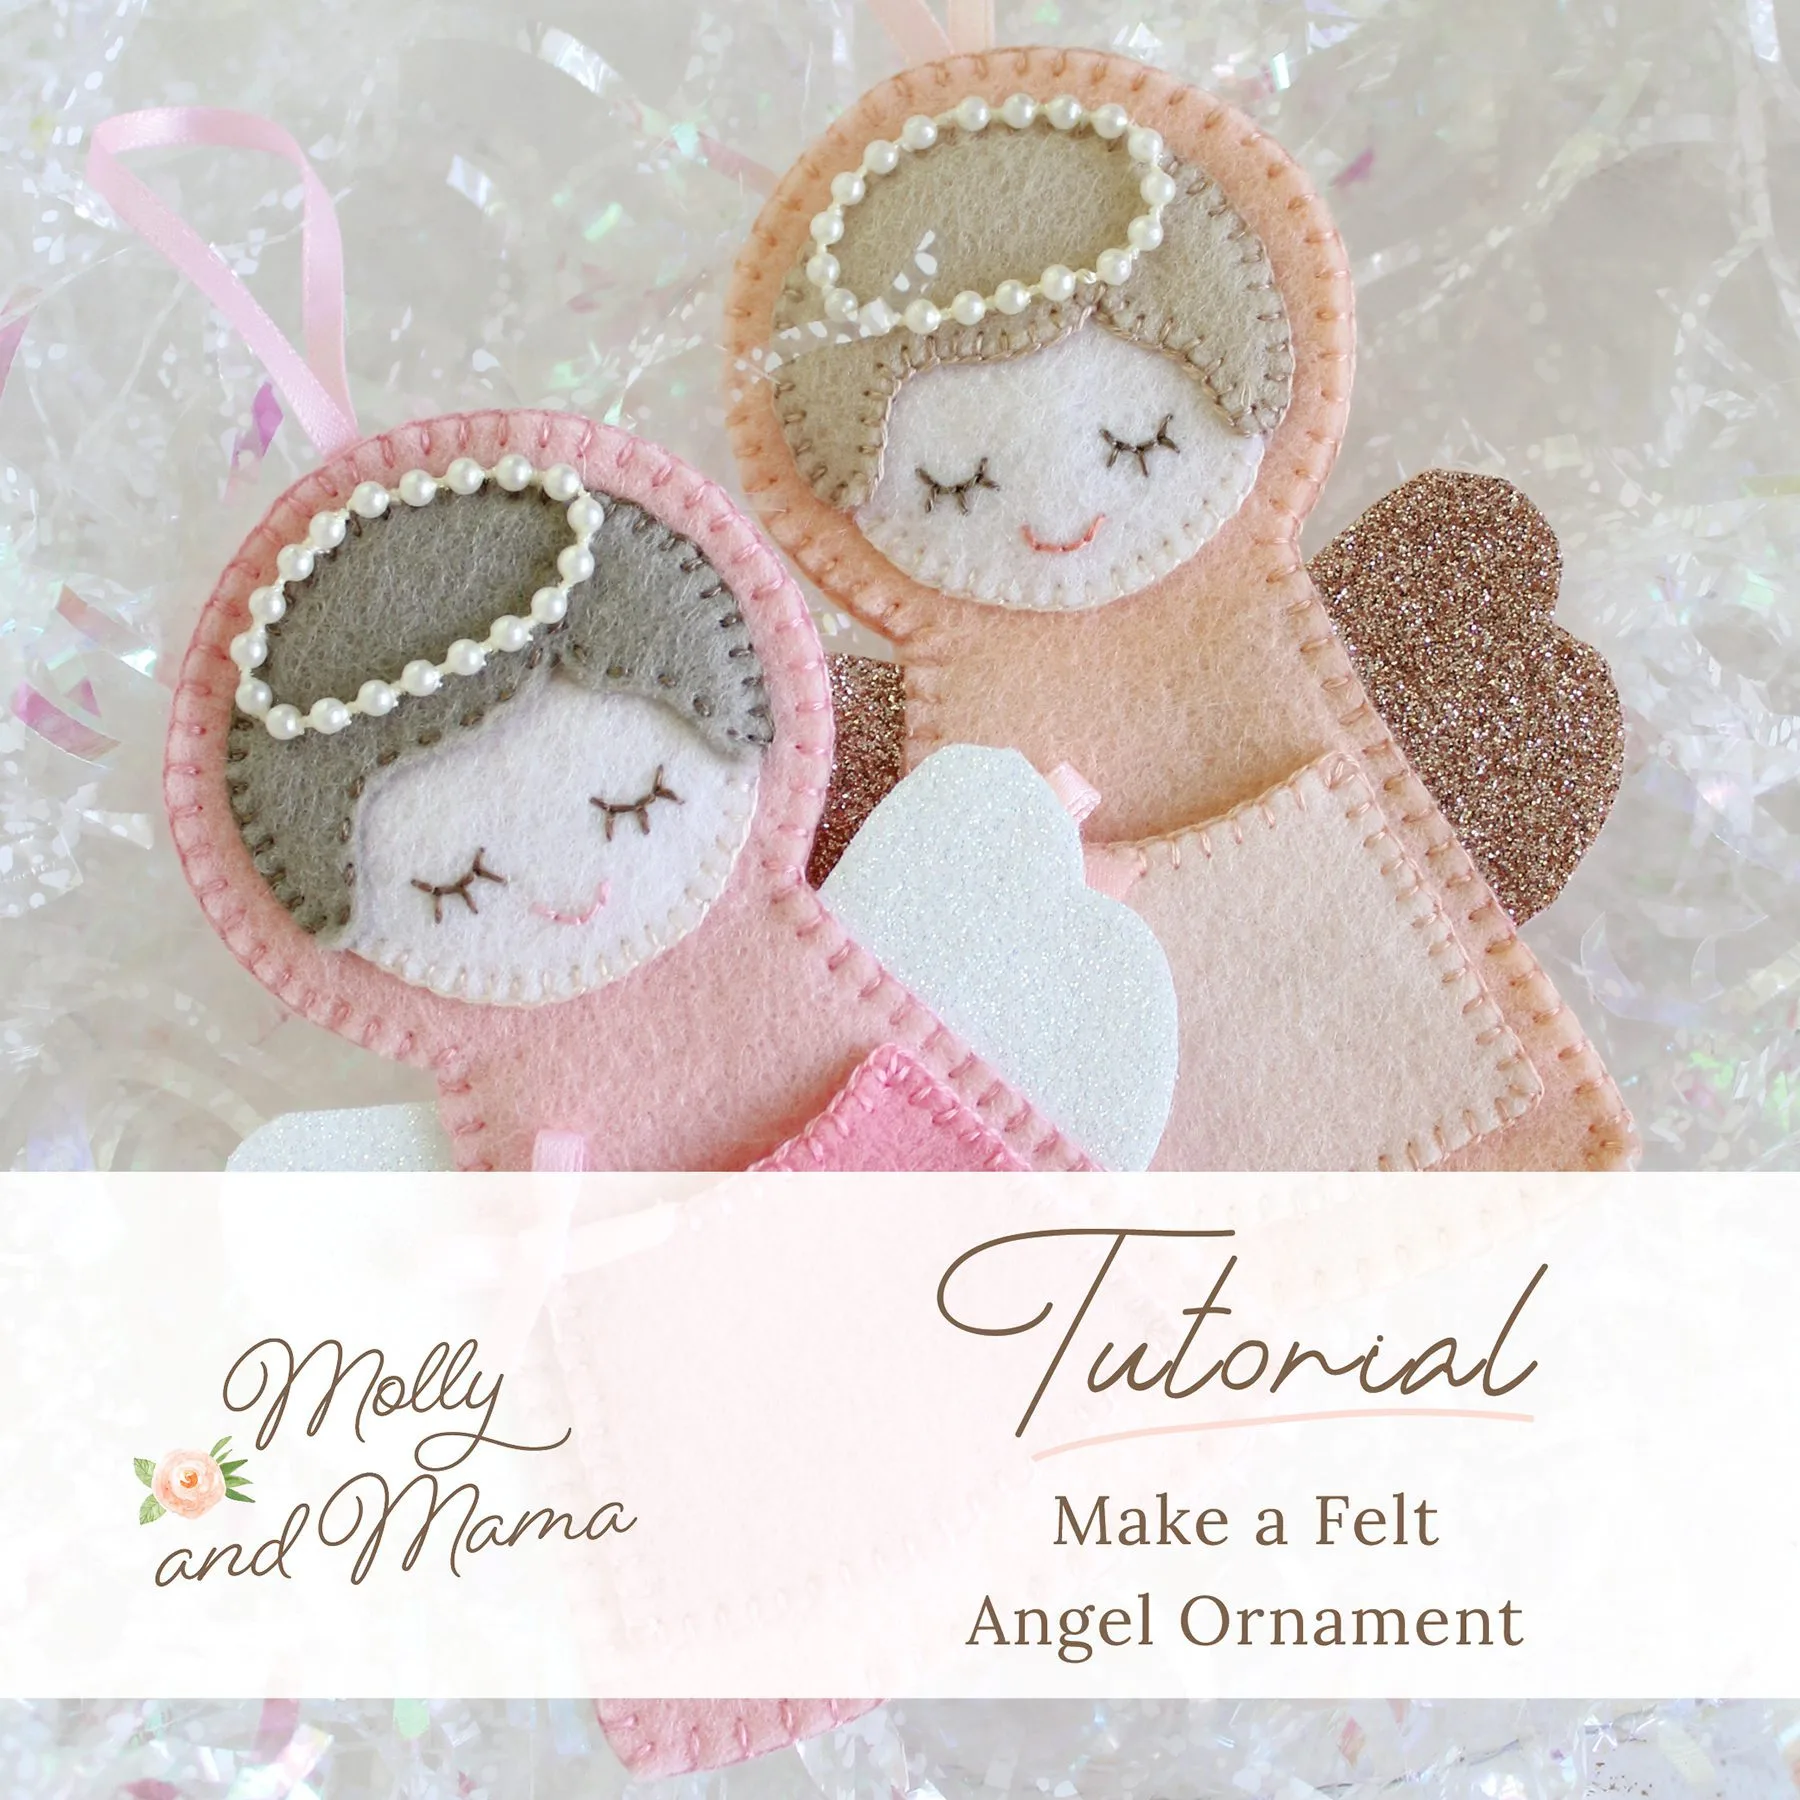
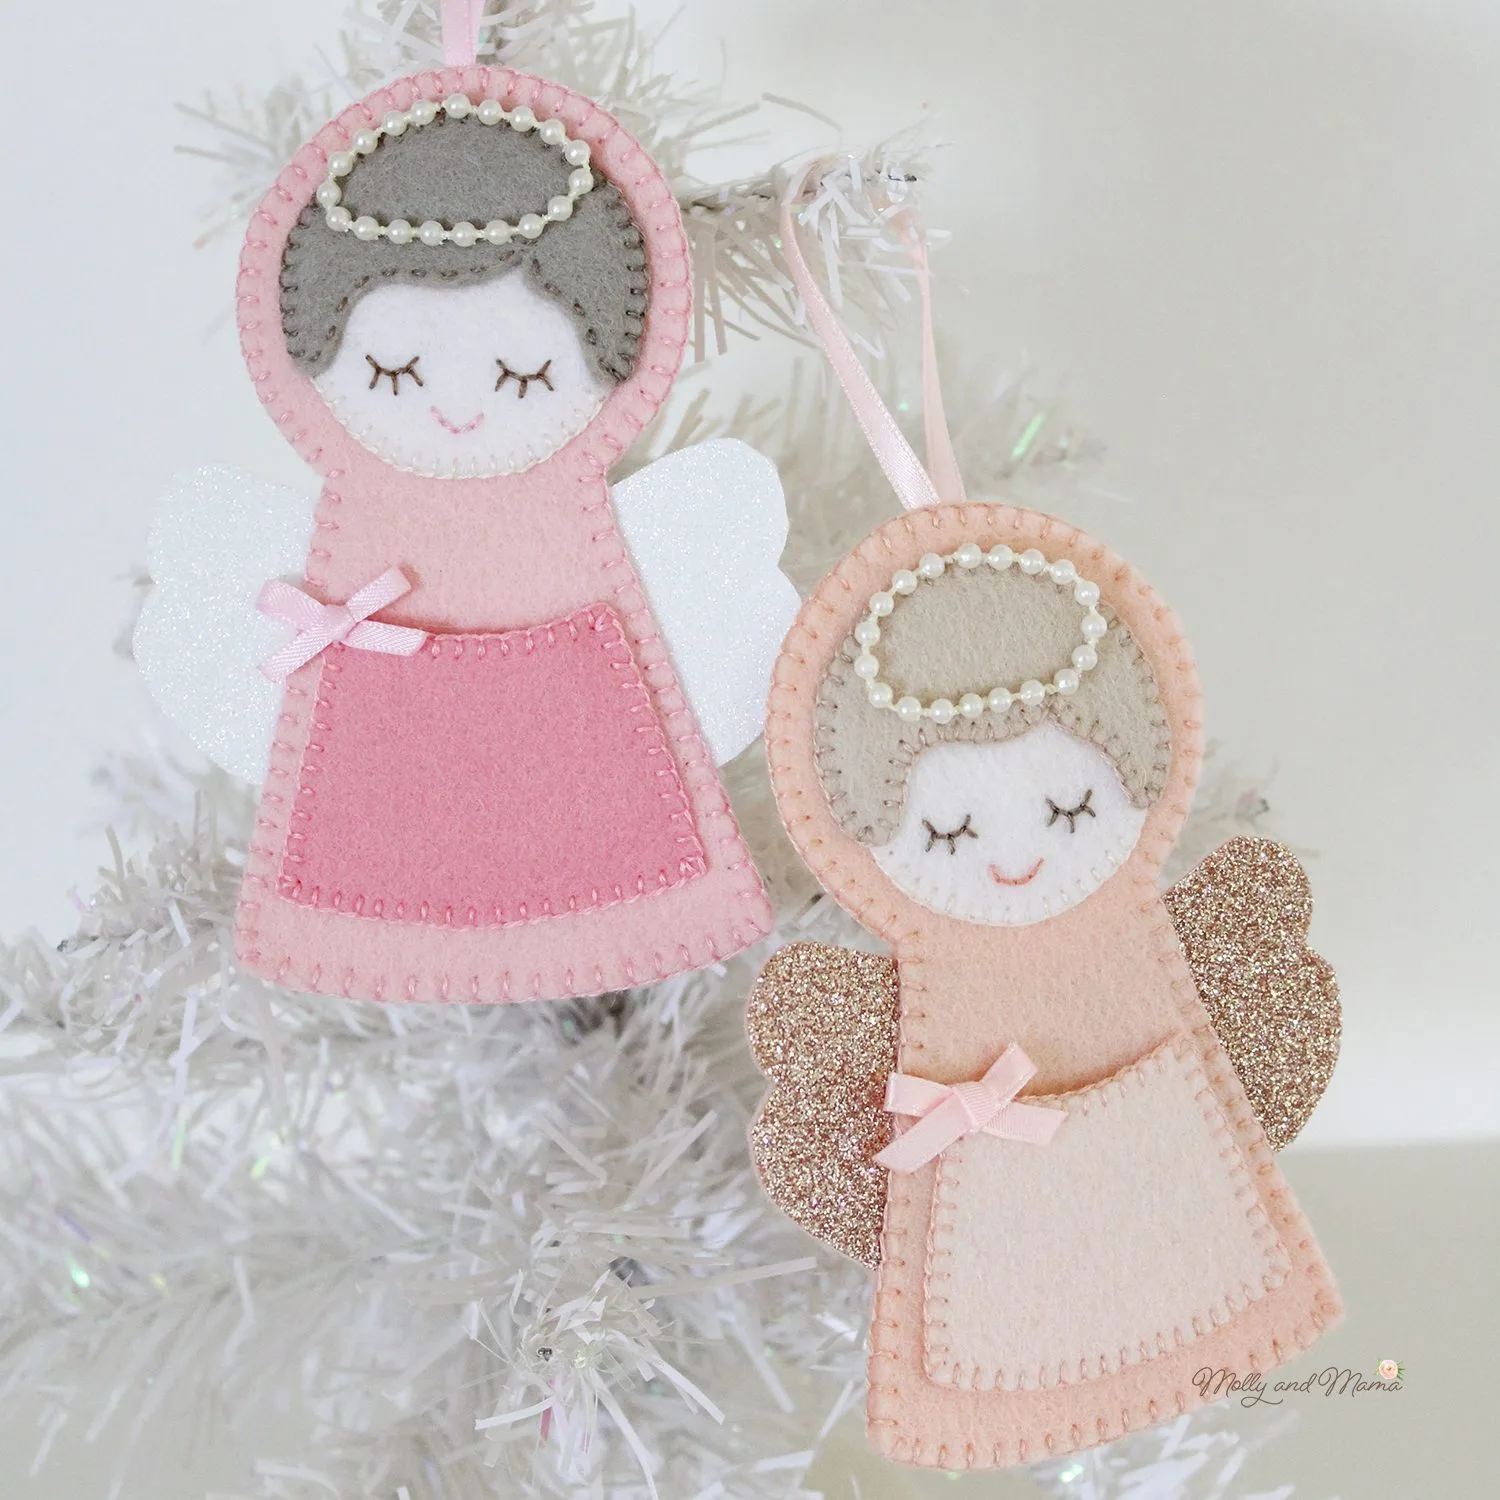
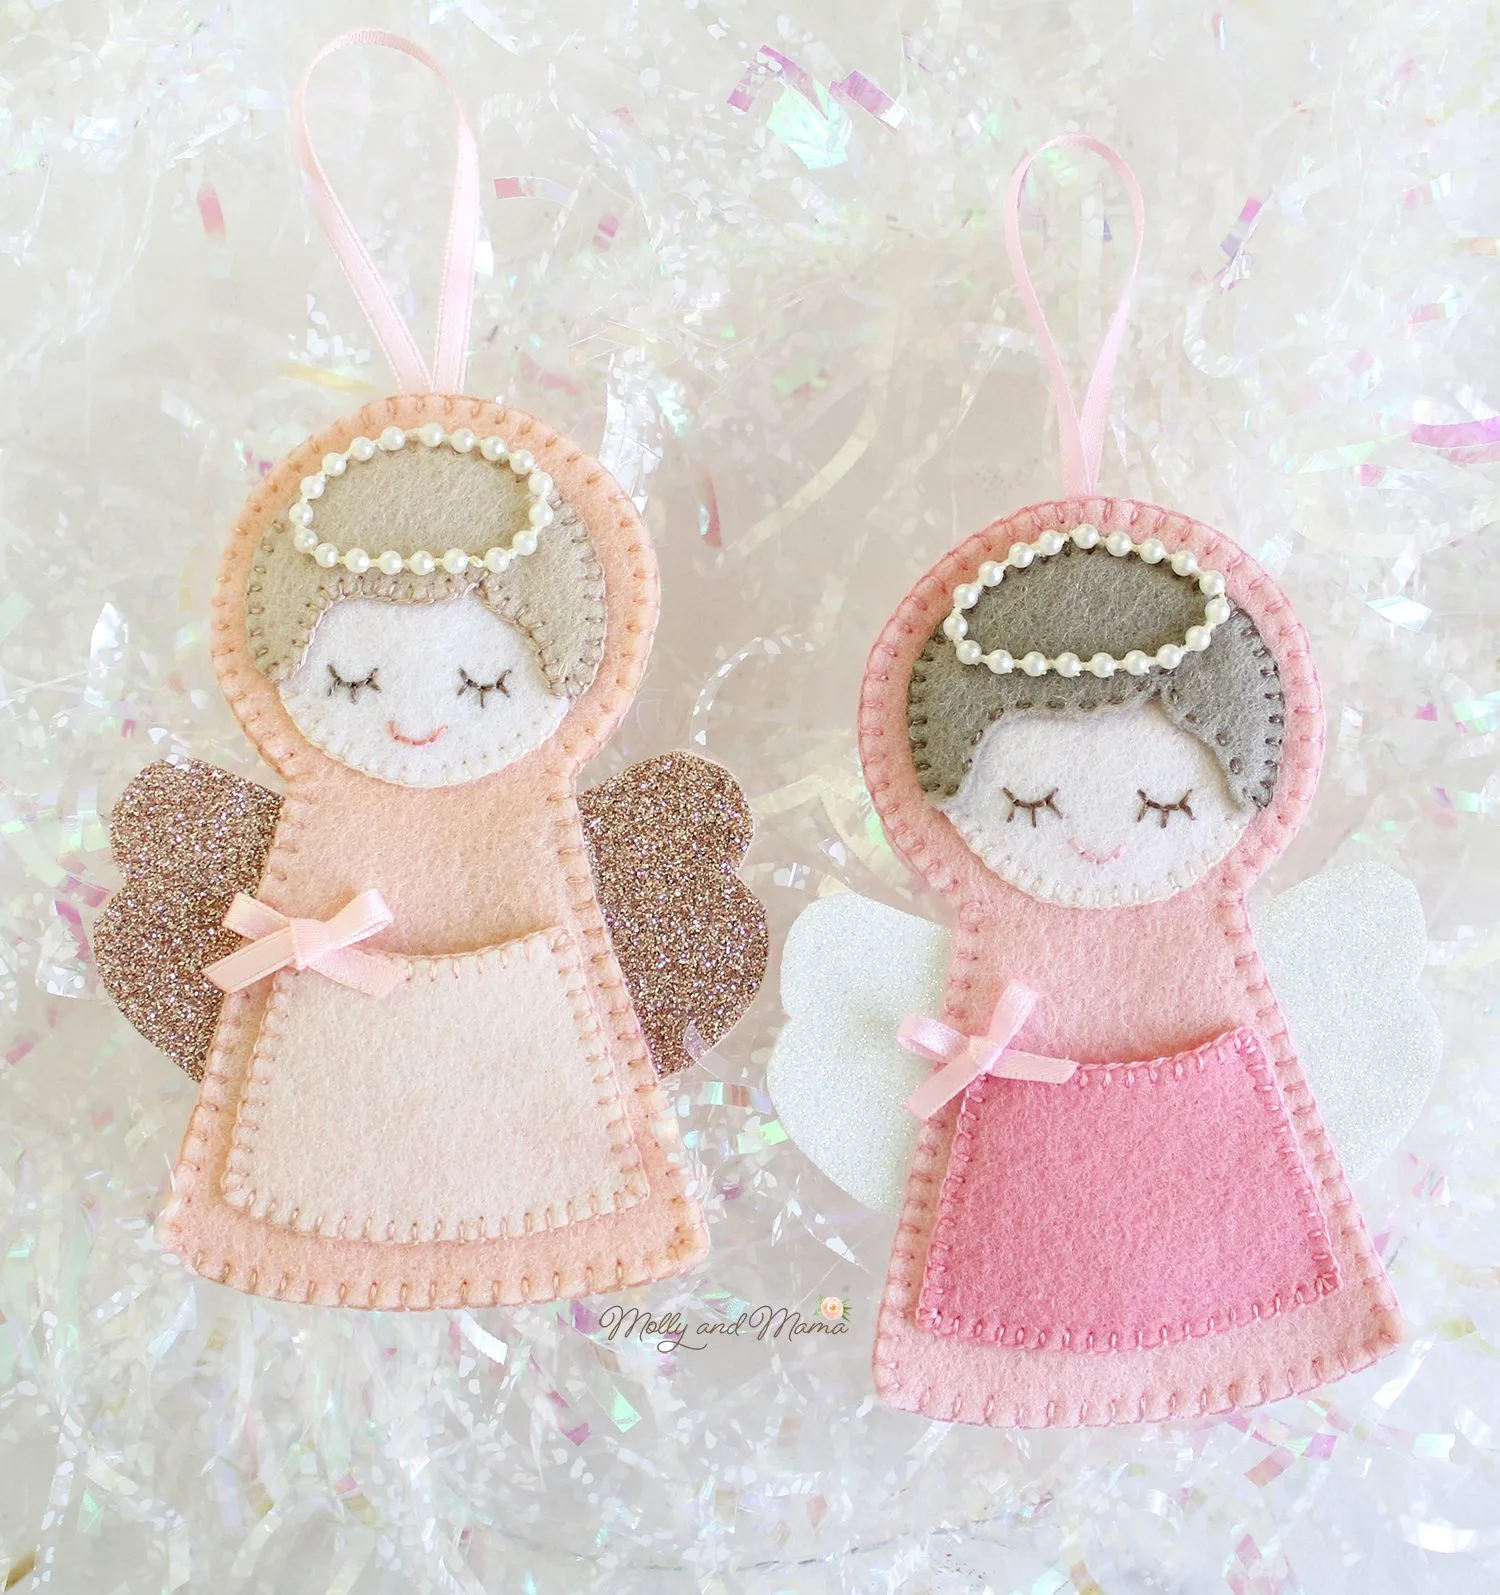
I always have had so much fun designing and stitching up decorations for Christmas. Here’s an easy, beginner friendly, step-by-step tutorial to hand sew this lovely little angel with a tiny front pocket for treats. When complete, the angel ornament measures 3″ (7.5cm) across and 4.5″ (11.5cm) high, without the hanging loop. I created one in pink and one in peach, but you could use more traditional Christmas colours too.
YOU WILL NEED
- 6″ (15cm) x 5″ (12.5cm) of wool felt for the body. (I love using 100% merino wool felt from My Felt Lady. You can find out why on this blog.)
- Felt scraps in your chosen colours, including skin colour, hair colour, wings and pocket (I used glitter felt from My Felt Lady).
- Embroidery floss and needle for hand stitching (select colours to compliment your felt shades)
- 3″ (8cm) of tiny pearl bead trim (on a string) for the halo (you could also use ribbon, seed beads, gold thread, sequins, etc).
- Sewing cotton to stitch the pearl beading and bow in place.
- Small sharp scissors for cutting felt.
- 8″ (20cm) of narrow ribbon to tie a tiny bow and for a hanging loop.
- A print out of the template which you can download HERE.
- Paper scissors for your template.
- Lighter or heat sealer to seal the bow ends.
- Optional freezer paper, tracing paper and/or tissue paper.
- Quilting clips (optional)
*This post includes Affiliate or Ad Links. If you make a purchase using an affiliate link, I will earn a small commission that doesn’t change your purchase price, but helps me to continue to bring you this free content. Thanks for your support!
WHICH STITCH?
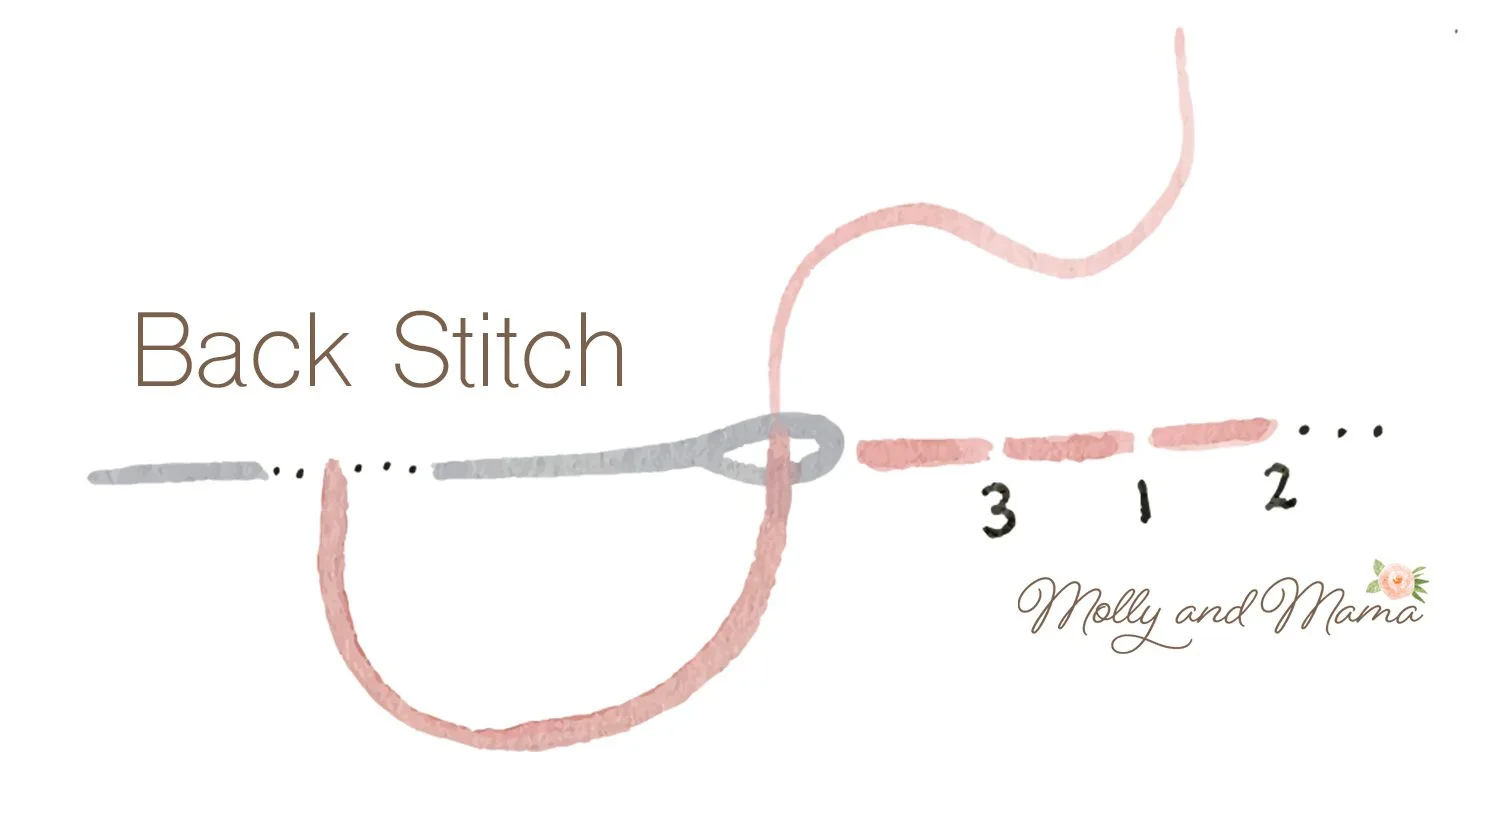
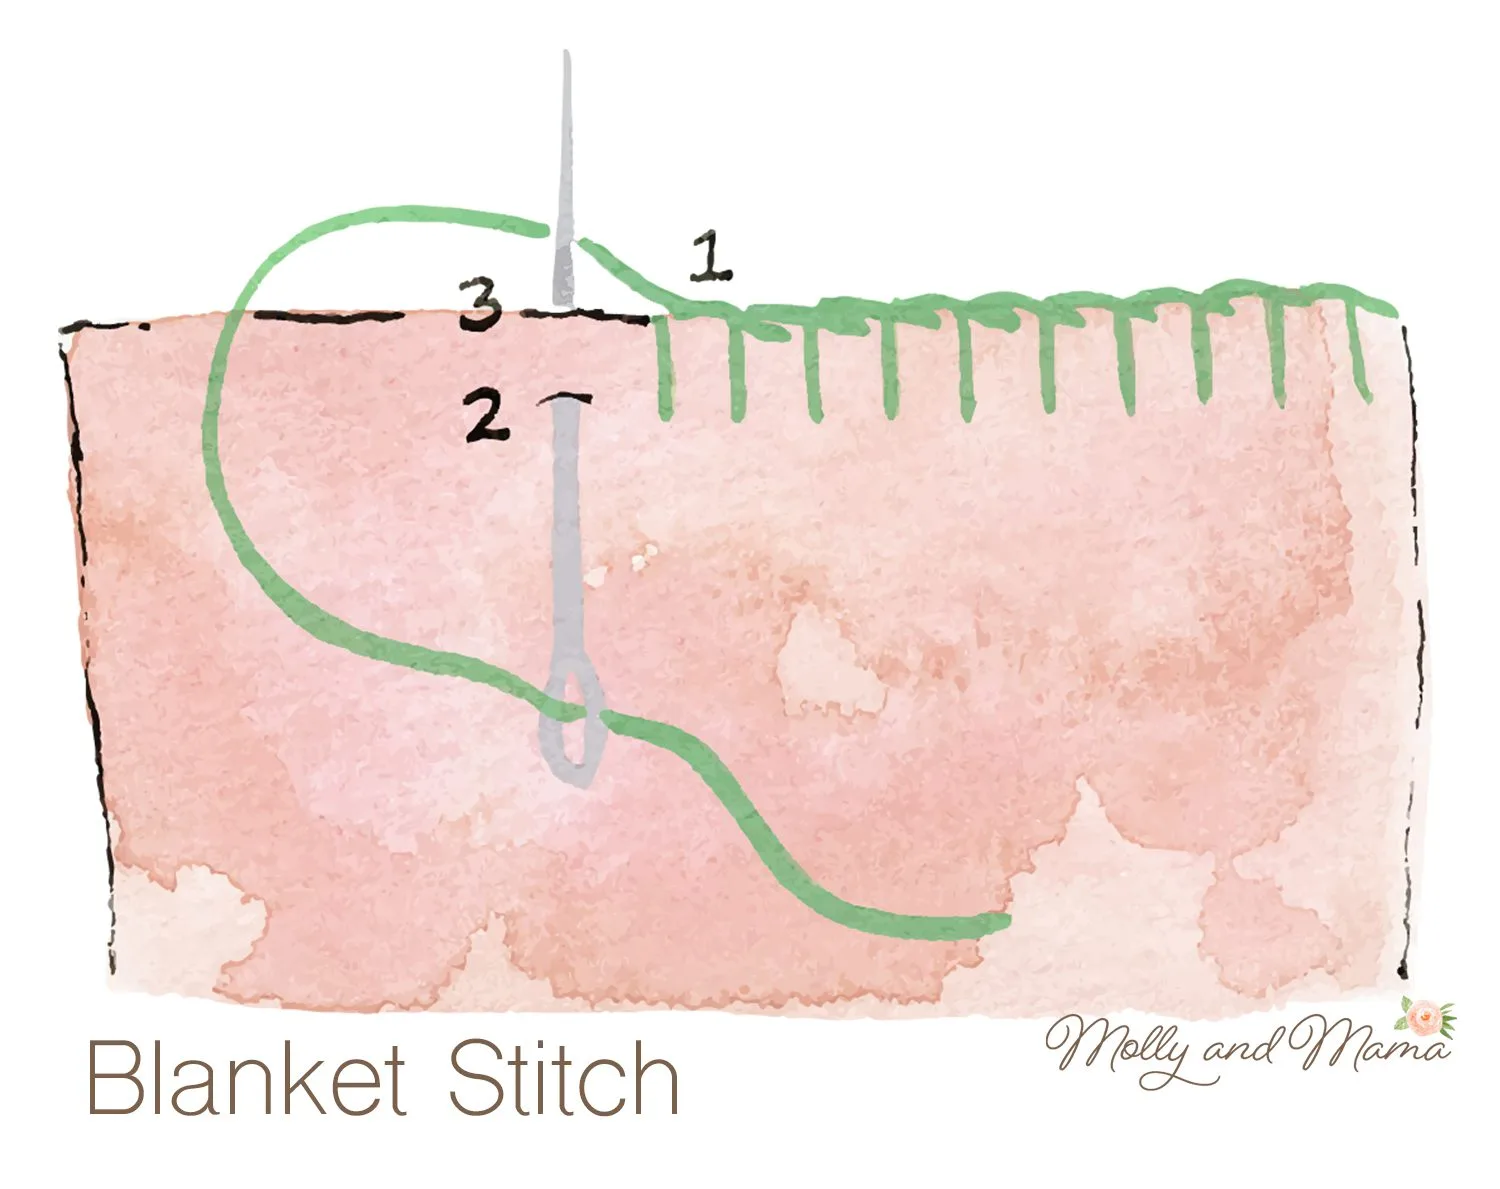
The sewing techniques used in this project are simple and easy to complete. Here’s some easy diagrams to refresh your memory below, but you can also see a full description of these stitches in my Embroidery Stitch Basics Post.
Back stitch is used for the eyes and mouth.
Blanket stitch is used to appliqué the face and pocket to the angel’s body. And it’s also used to stitch the whole project together!
LET’S GET STARTED
Print out the TEMPLATE at full or actual size, with no scaling or cropping.
Read the tutorial through entirely, before starting your project. Visit the included links for extra help and assistance.
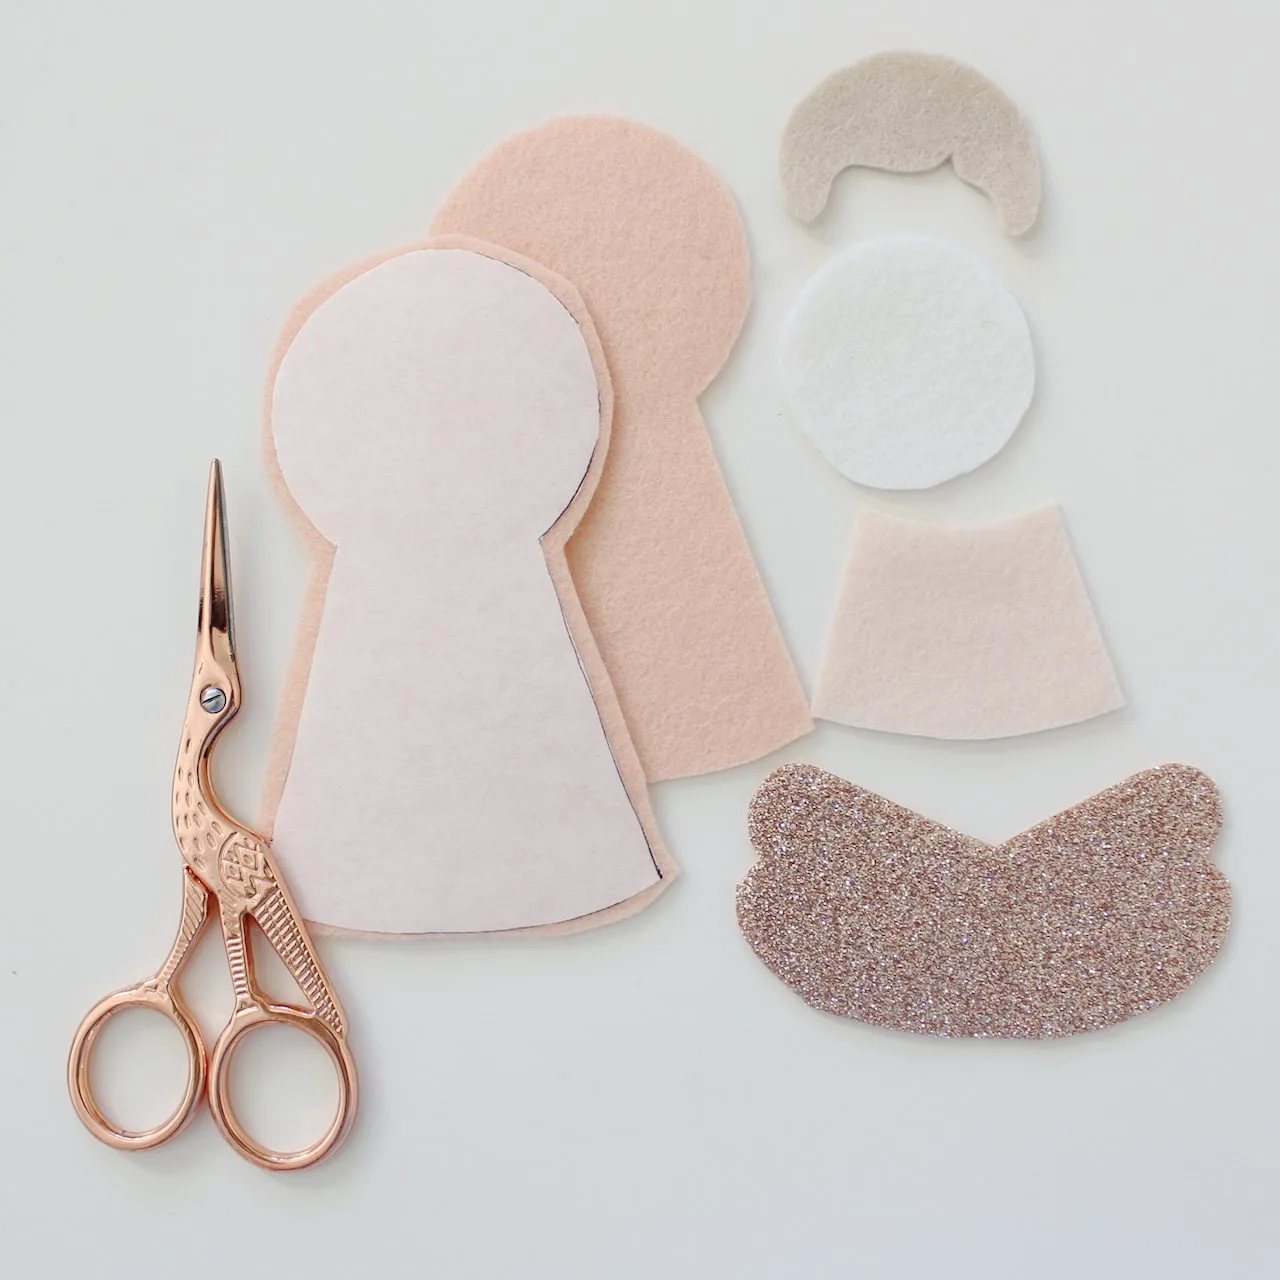
Cut out the felt pieces as outlined on the template. I’ve used the freezer paper method for these shapes. You can also trace the shapes straight onto the felt. For tips on the different methods for cutting out felt, see my comprehensive tutorial HERE. You can see the freezer paper body template ironed onto peach the felt below. It’s ready to be cut out on the template edge.
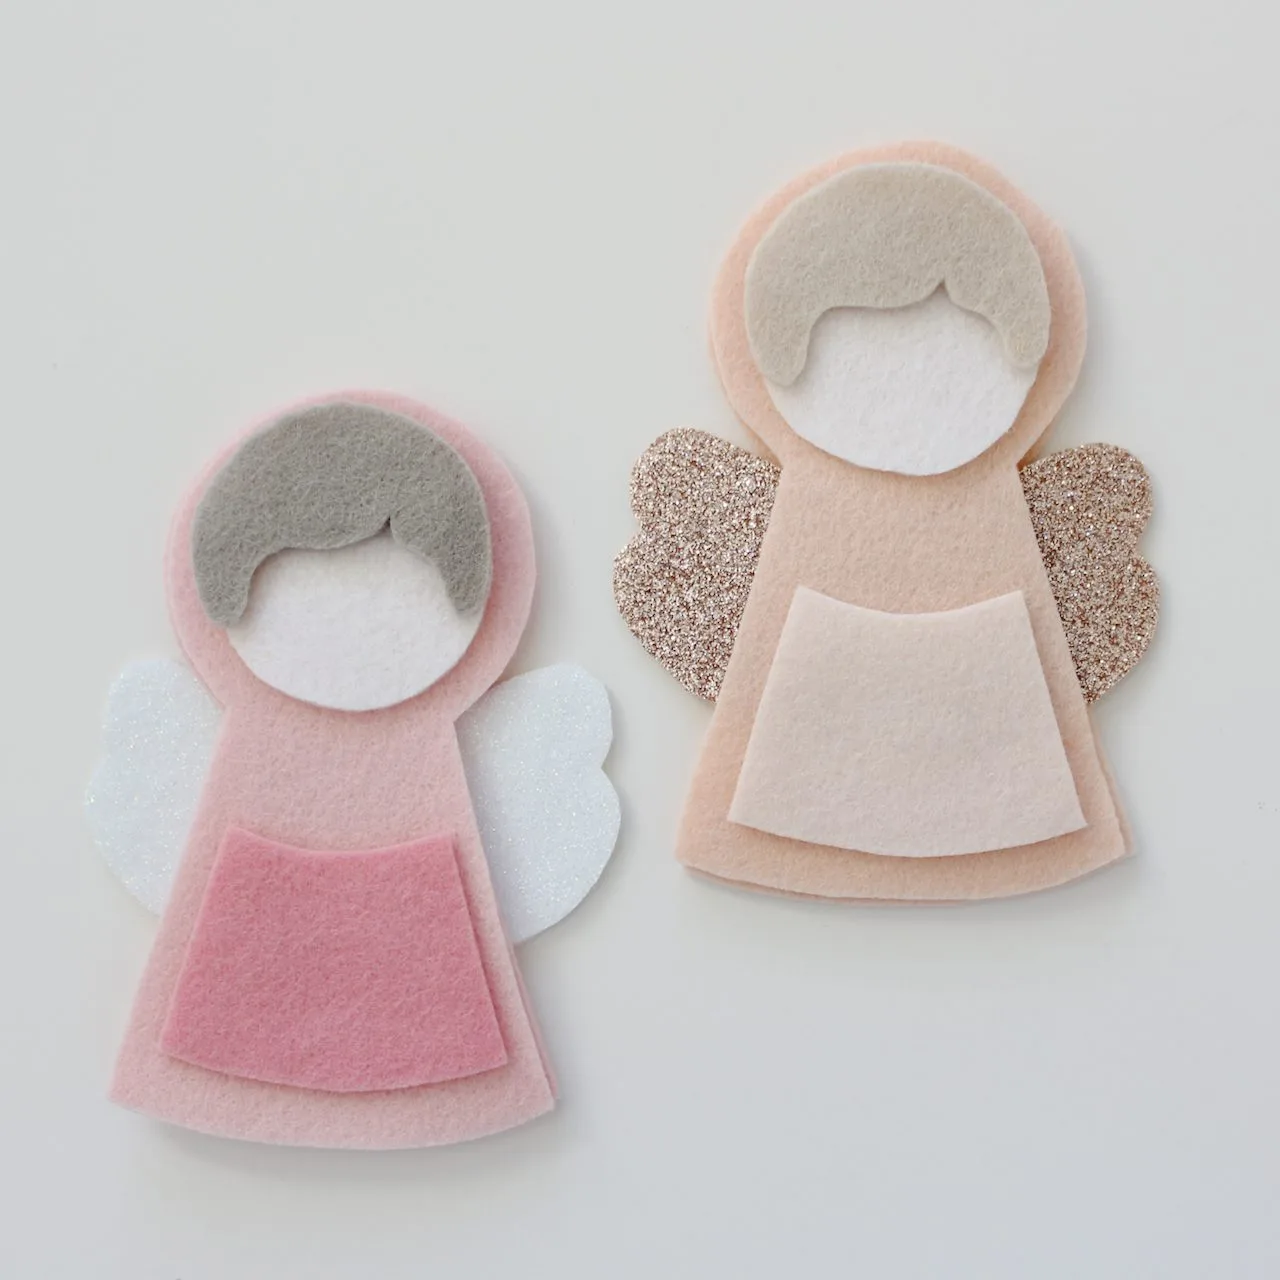
Here’s all the shapes cut out for both versions.
Unless otherwise specified, all stitches are made with two strands of embroidery floss.
Stitch the Face
Trace the face details onto light tissue or tracing paper, cut out the face shape and pin or clip it onto the circle of felt.
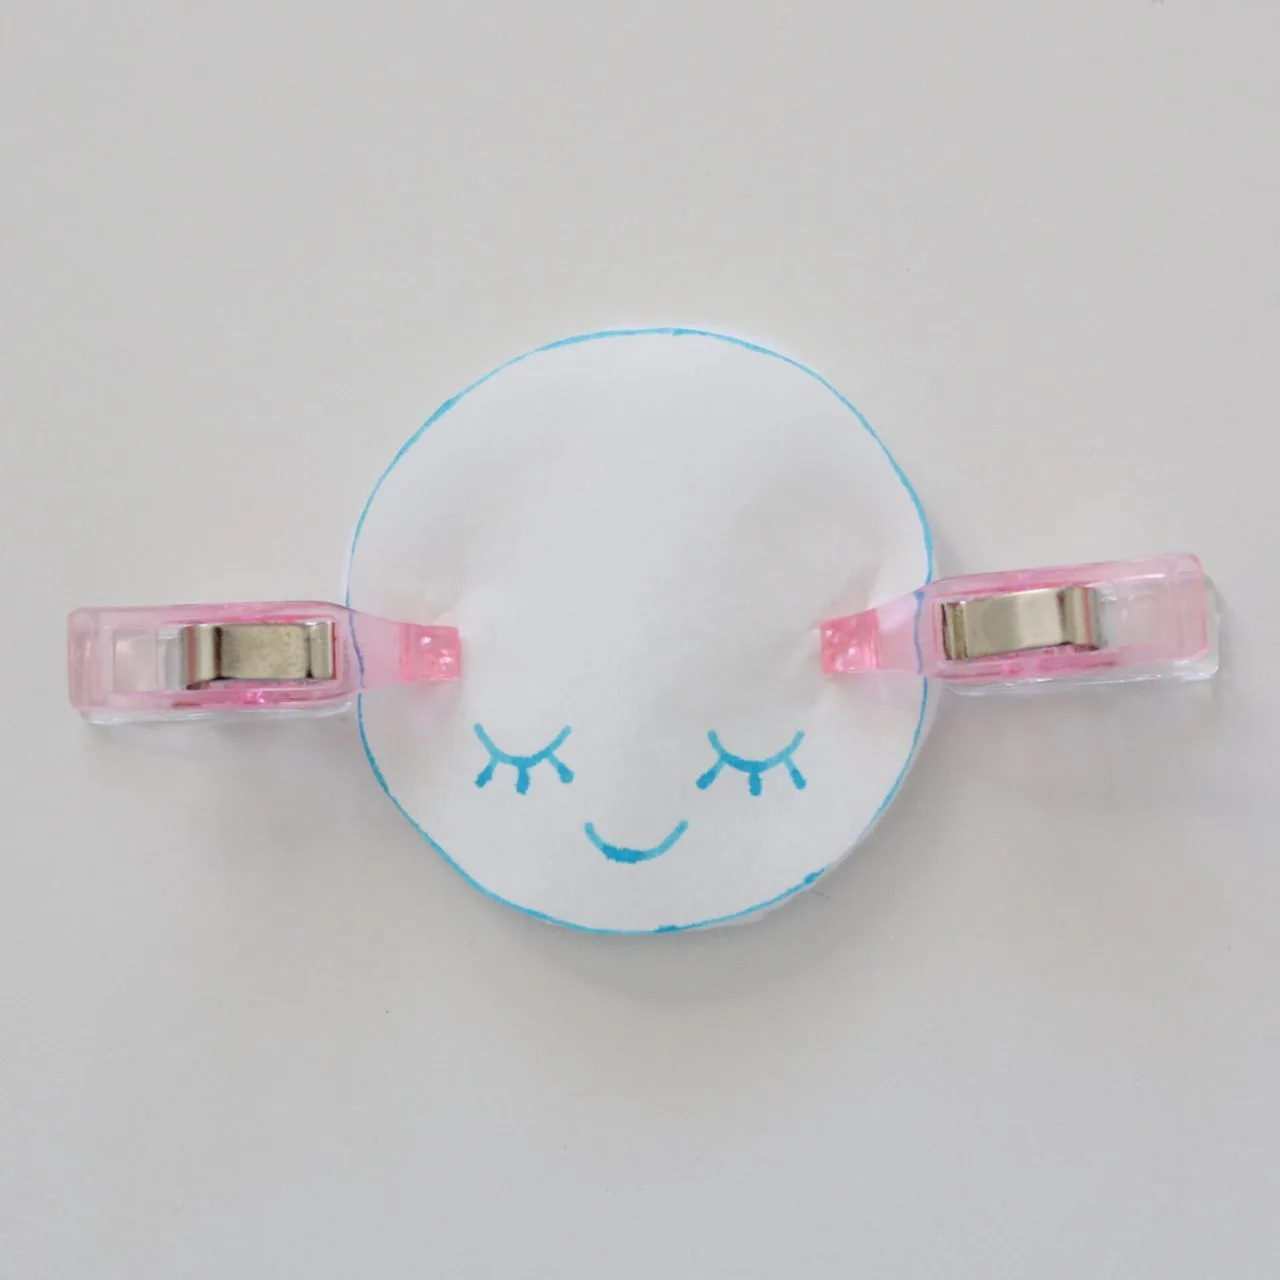
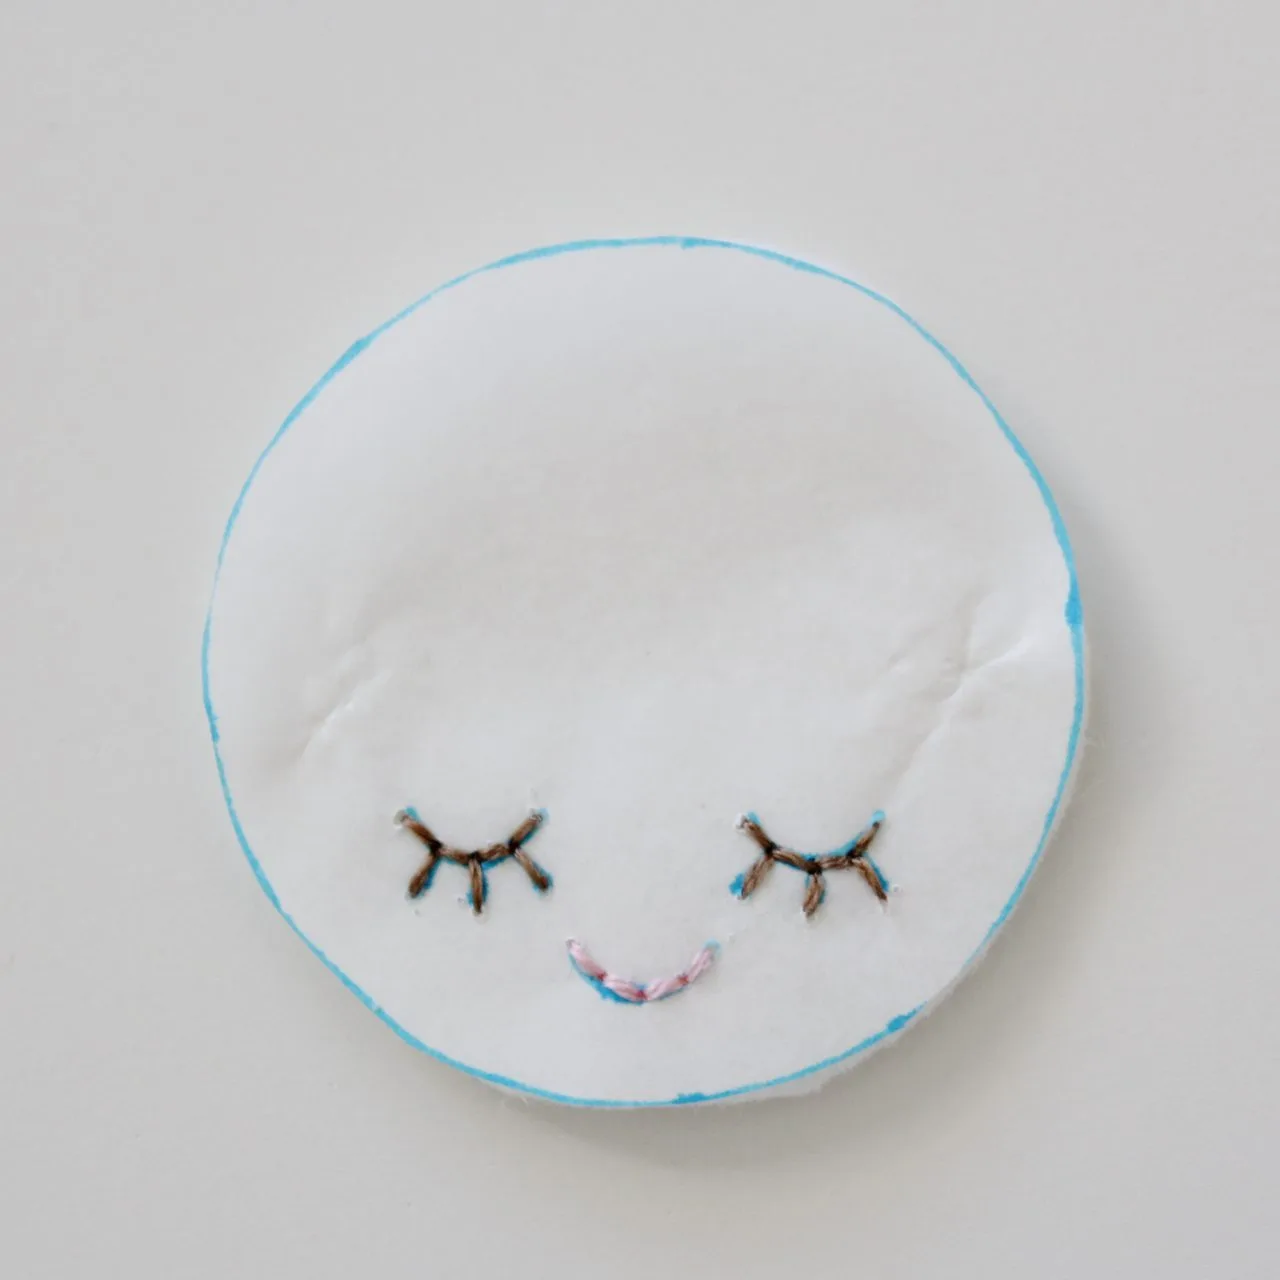
Hand stitch the eyes and mouth directly through the paper using back stitch with two strands of floss. Carefully tear the paper away once complete. This method gives you a very accurate transfer of the design. If you prefer, you can also transfer the face design using an erasable marker. This tutorial outlines the different methods you can use to embroider faces and other designs onto felt, in more detail. Please refer to it for extra help.
The image below shows the completed embroidery, before the tissue paper is torn away.
Next, place the hair piece over the embroidered face circle and pin in place. Use small straight stitches, blanket stitch or running stitch to attach the bottom edge of the hair fringe (or bangs) to the face. Only sew the section overlapping the face (as shown below). Keep the floss intact.
Appliqué the Face
Without cutting the thread, pin or clip the face to one of the body shapes.
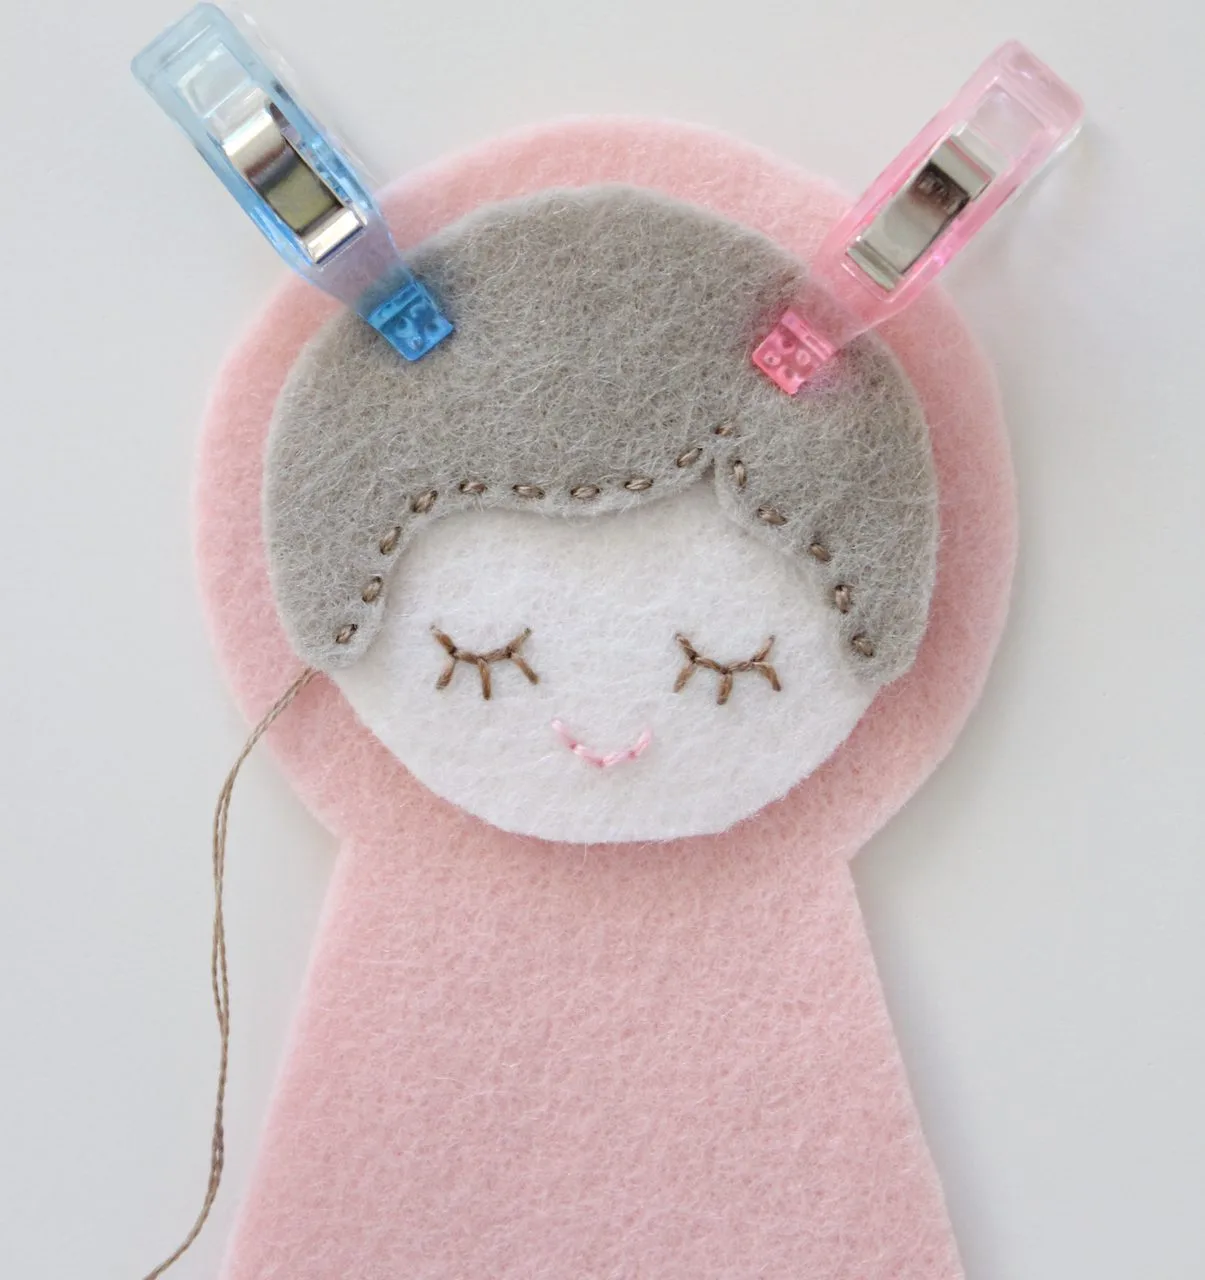
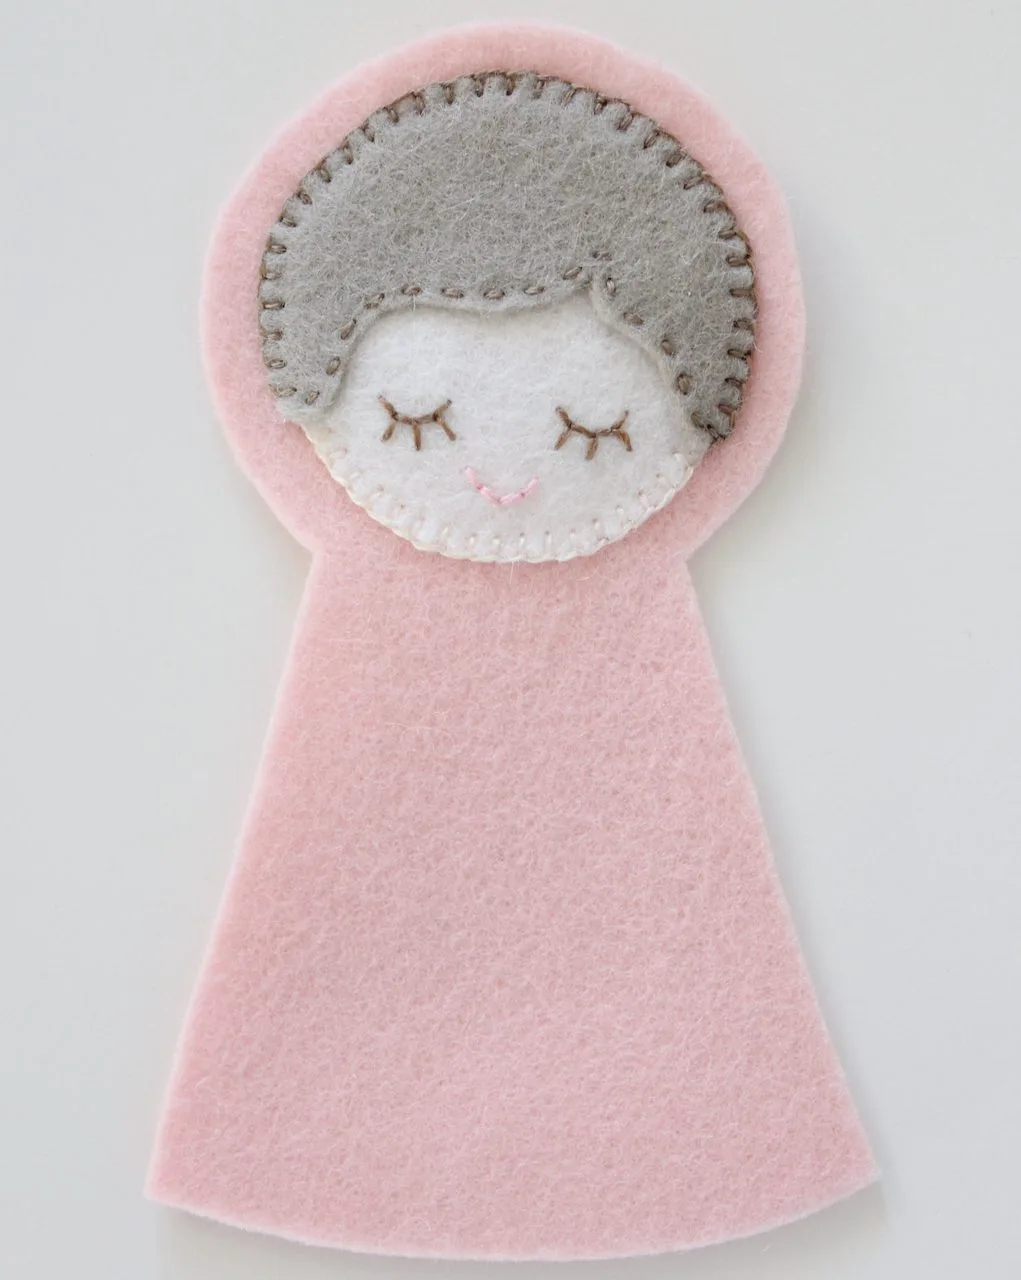
Using the remaining length of floss, blanket stitch the rest of the hair to the body (stitching from one side of the hair, up around the top, to the other side of the hair. Change floss colours and then blanket stitch the face shape in place too.
Add the Halo
Cut your beaded pearls to length and arrange in a halo shape around the angel’s hair. (I put the join for the beads at the top of the angel). Secure the beading by adding small stitches between each pearl using a single strand of complementary sewing cotton.
You can also use seed beads or sequins sewn in a halo shape, or use gold thread and create a halo using chain stitch.
Attach the Pocket
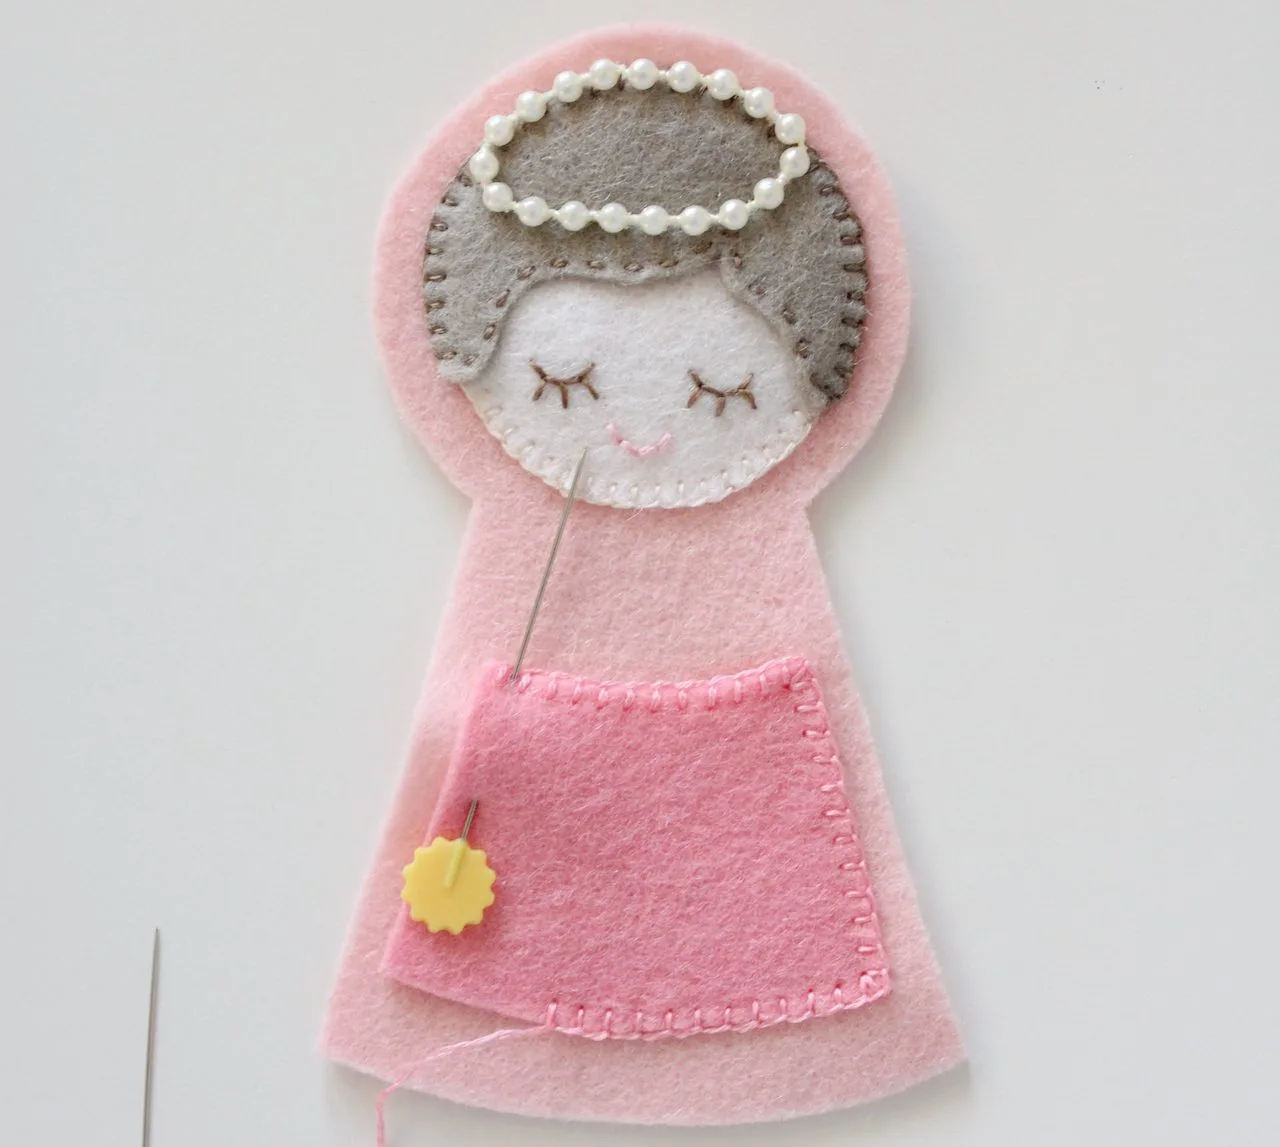
Thread your embroidery needle with ‘pocket’ coloured floss. Using blanket stitch, stitch along the top of the pocket piece of felt to create a ‘hem’.
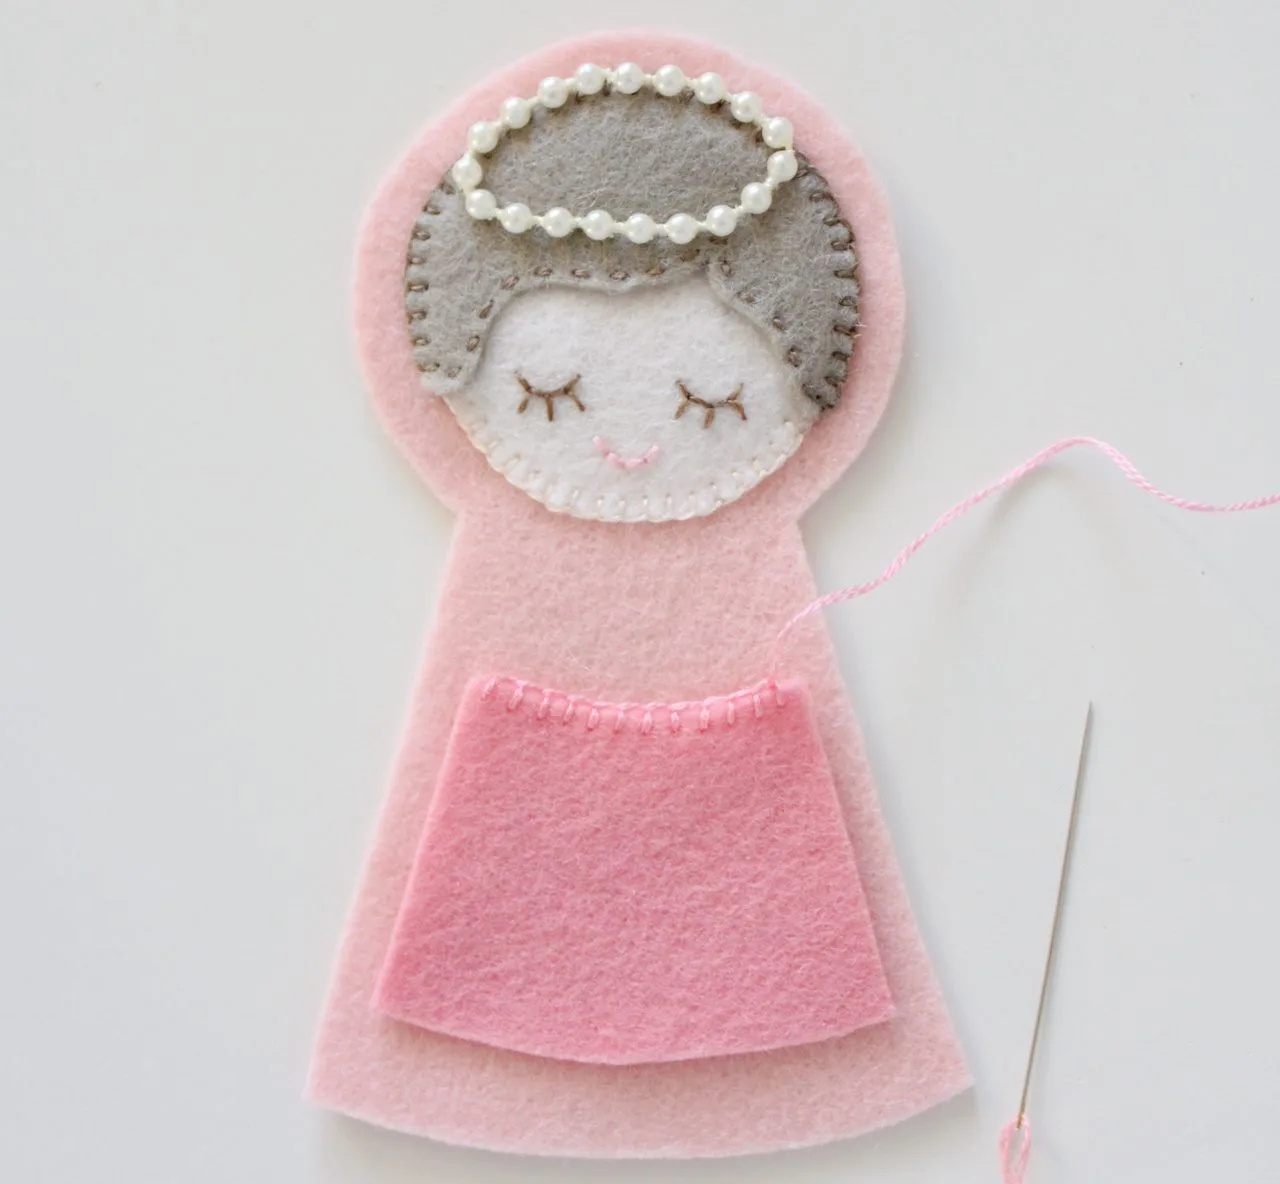
Once complete, don’t cut off the floss. Pin the pocket to the body piece, and use the remaining thread to secure the pocket to the body using blanket stitch around the other three sides. Once complete, the pocket should remain ‘open’ at the top.
*please note that my stitching might be in a different direction to yours. I’m left handed!
Use a small amount of your ribbon to tie a tiny bow. Trim the ends and heat seal them. Run a flame along the cut ribbon edge to prevent them from fraying. Attach the bow with carefully hidden stitches with a single strand of sewing cotton. Secure well.
Put it All Together
Cut 5″ (12.5cm) of ribbon for the loop and fold in half. Stitch the loop to the back of the angel’s head, so that it is centred at the top. Lay the piece of felt for the back of the angel down on a flat surface. Lay the wings over the top of this. Place the top piece over the wings and back piece, and then carefully pin or clip all of these layers together.
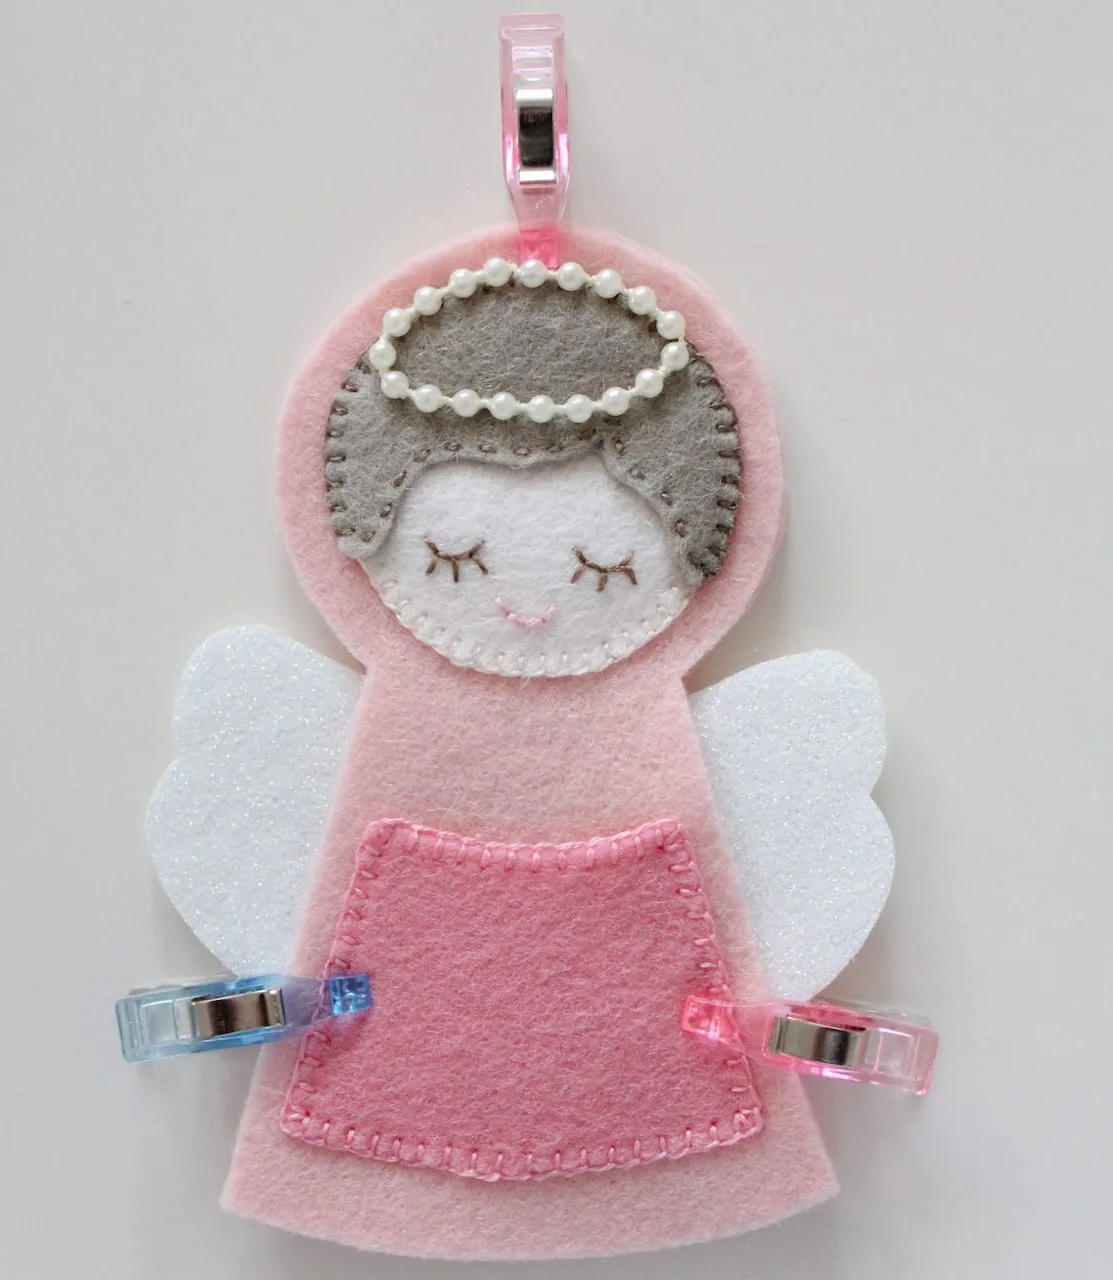
Starting at the side of the angel at the neck, blanket stitch the front and back pieces together. Stitch through the wing pieces. This will secure them in place. Stitch carefully around the ribbon loop too. Be sure to secure your stitching well when you return to the start of your stitches.
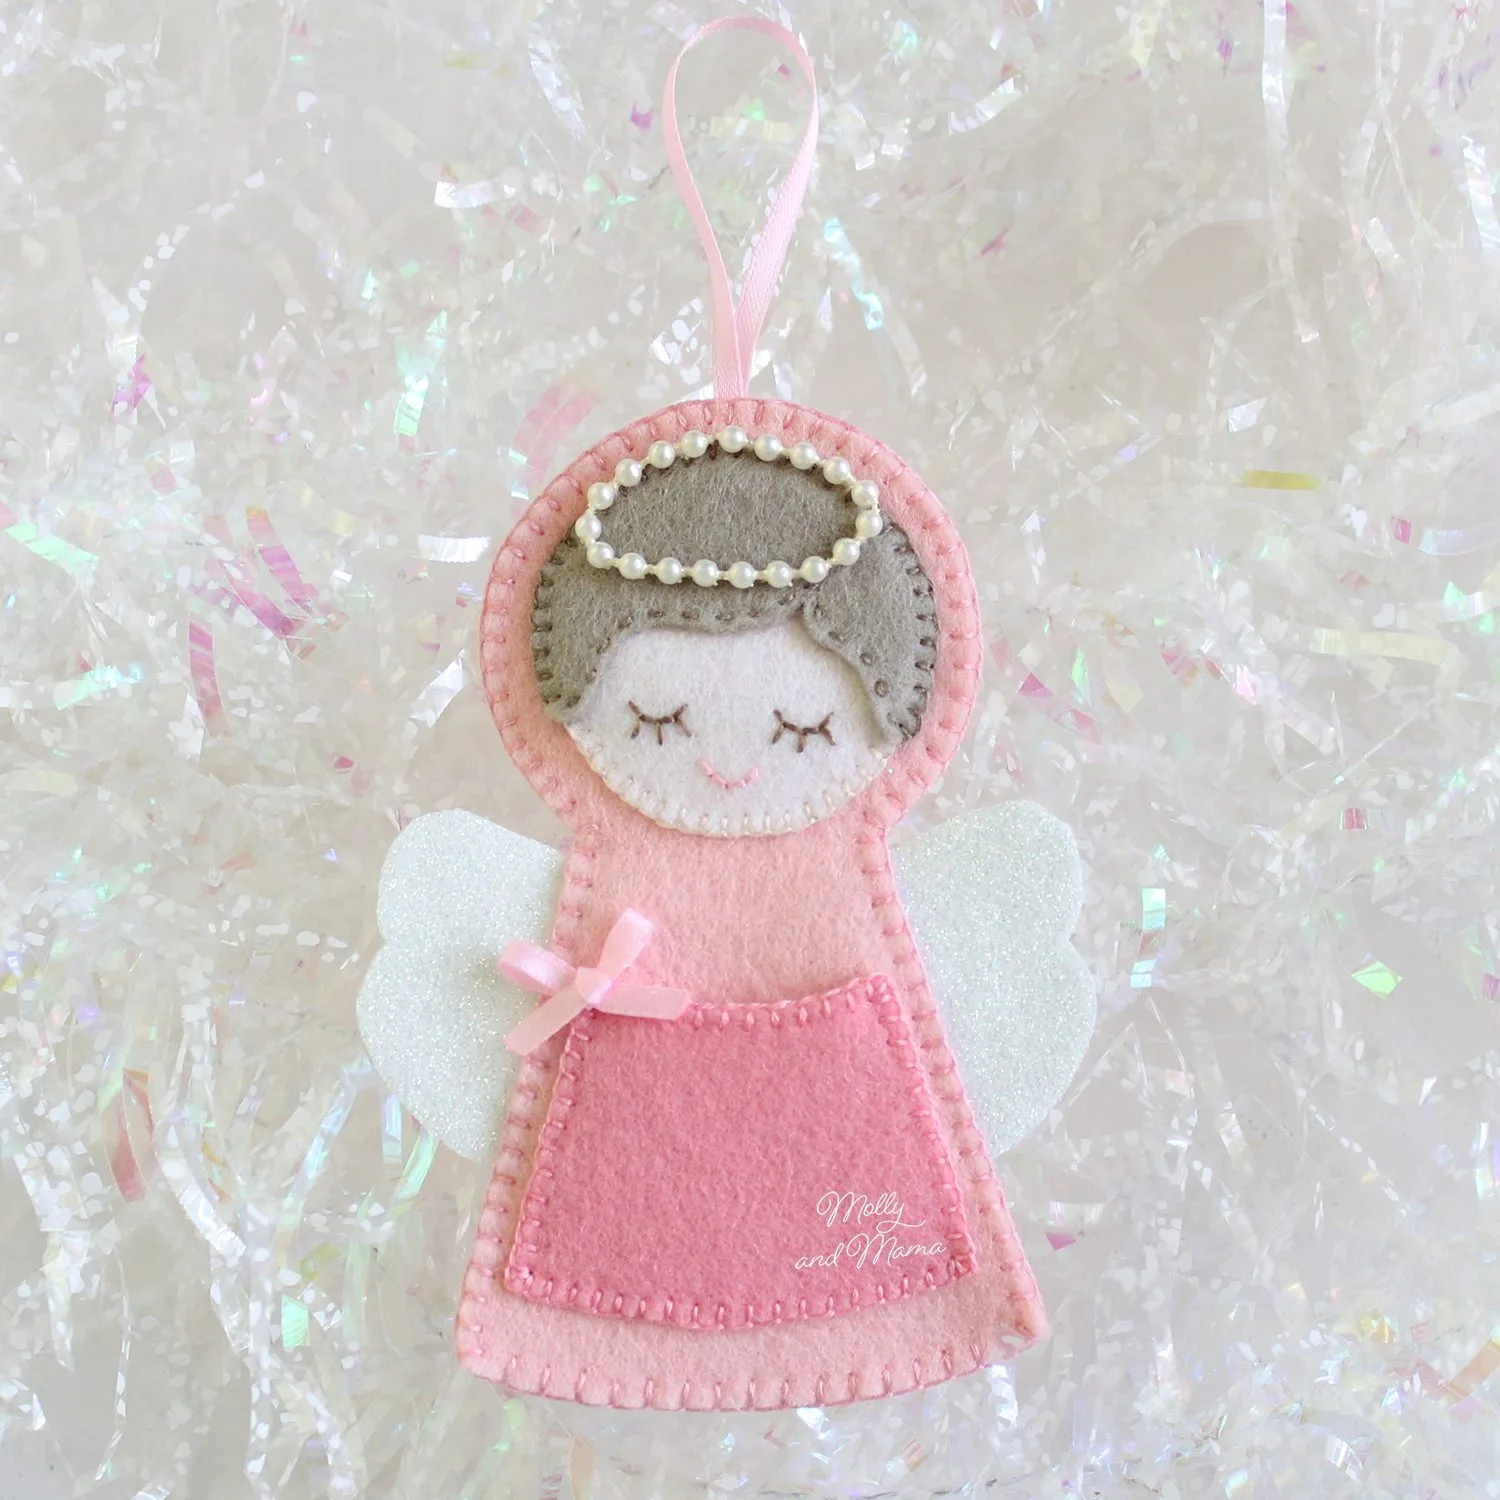
2023 UPDATE: I love the suggestion from Connie Dews in the Molly and Mama Makers Facebook Group to leave the base open and turn this cute design into finger puppets or finger dolls. So clever! Thanks Connie.
Your little angel is ready for use! Feel free to personalise your angel with a hand embroidered name or monogram on the pocket. Add the year if you wish too. That way, your keepsake ornament can be treasured always. You could also embellish the wings with some pretty beads, sequins or embroidery.
Once complete, add a sweet treat or tiny gift to the angel’s front pocket. Imagine a whole garland of these darling angels, made into an advent calendar. Wouldn’t that be lovely?
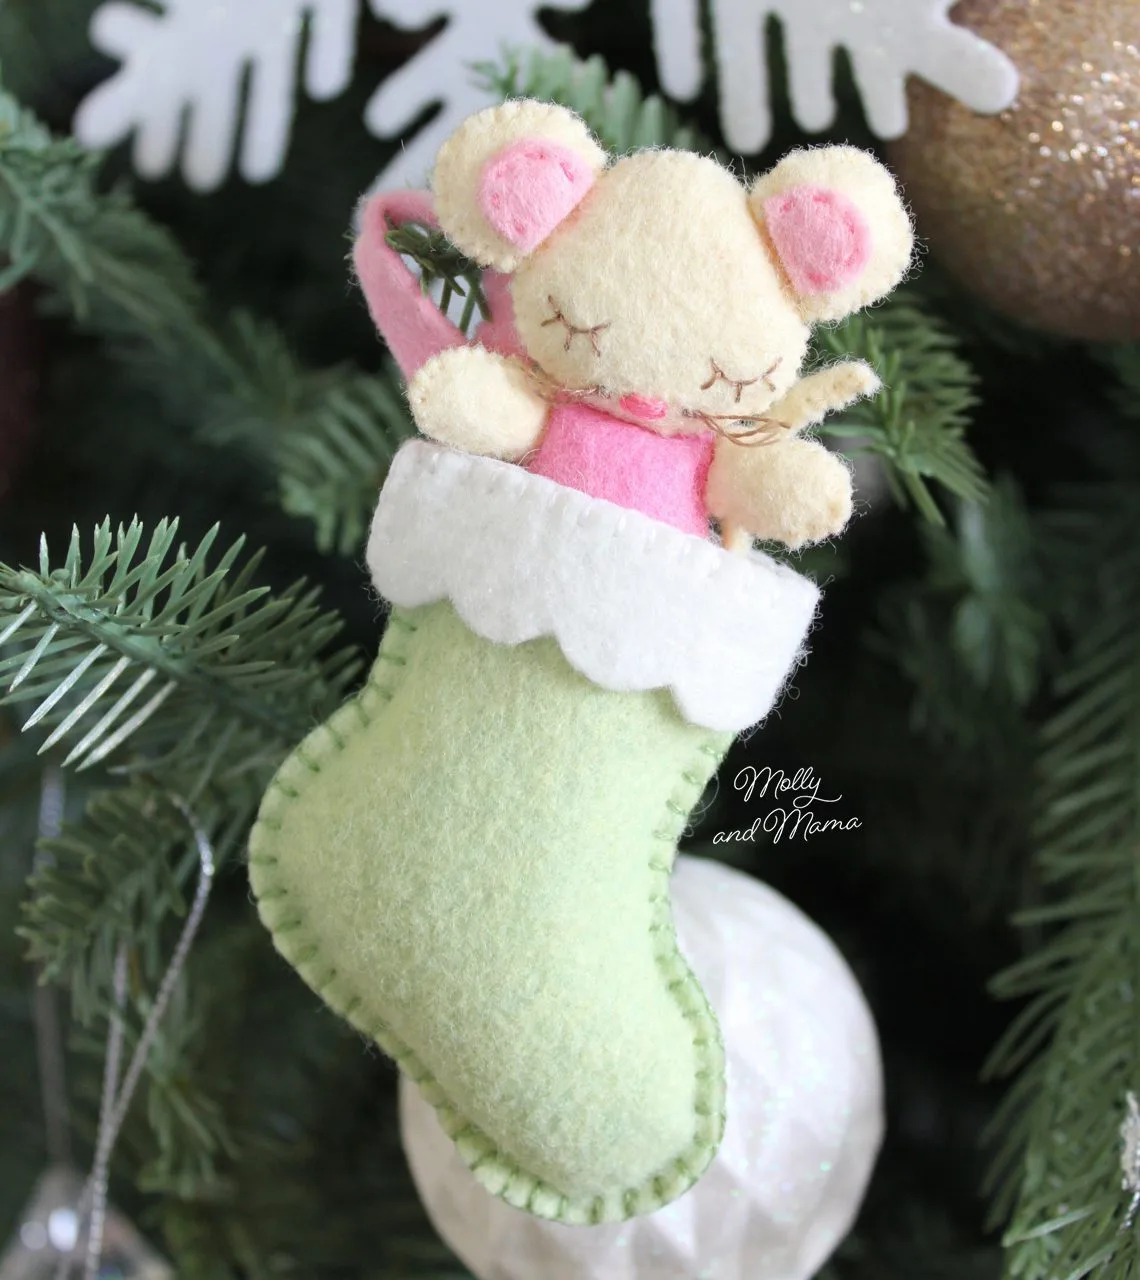
I really hope you’ve enjoyed this tutorial! Perhaps you’d like to try your hand at my tutorial for a cute little felt mouse in her lovely stocking. She’s another decoration that would make an ideal Christmas keepsake.
I love creating with wool felt. In fact, I’ve written some tips for you HERE. And you can see more of my tutorials listed HERE.
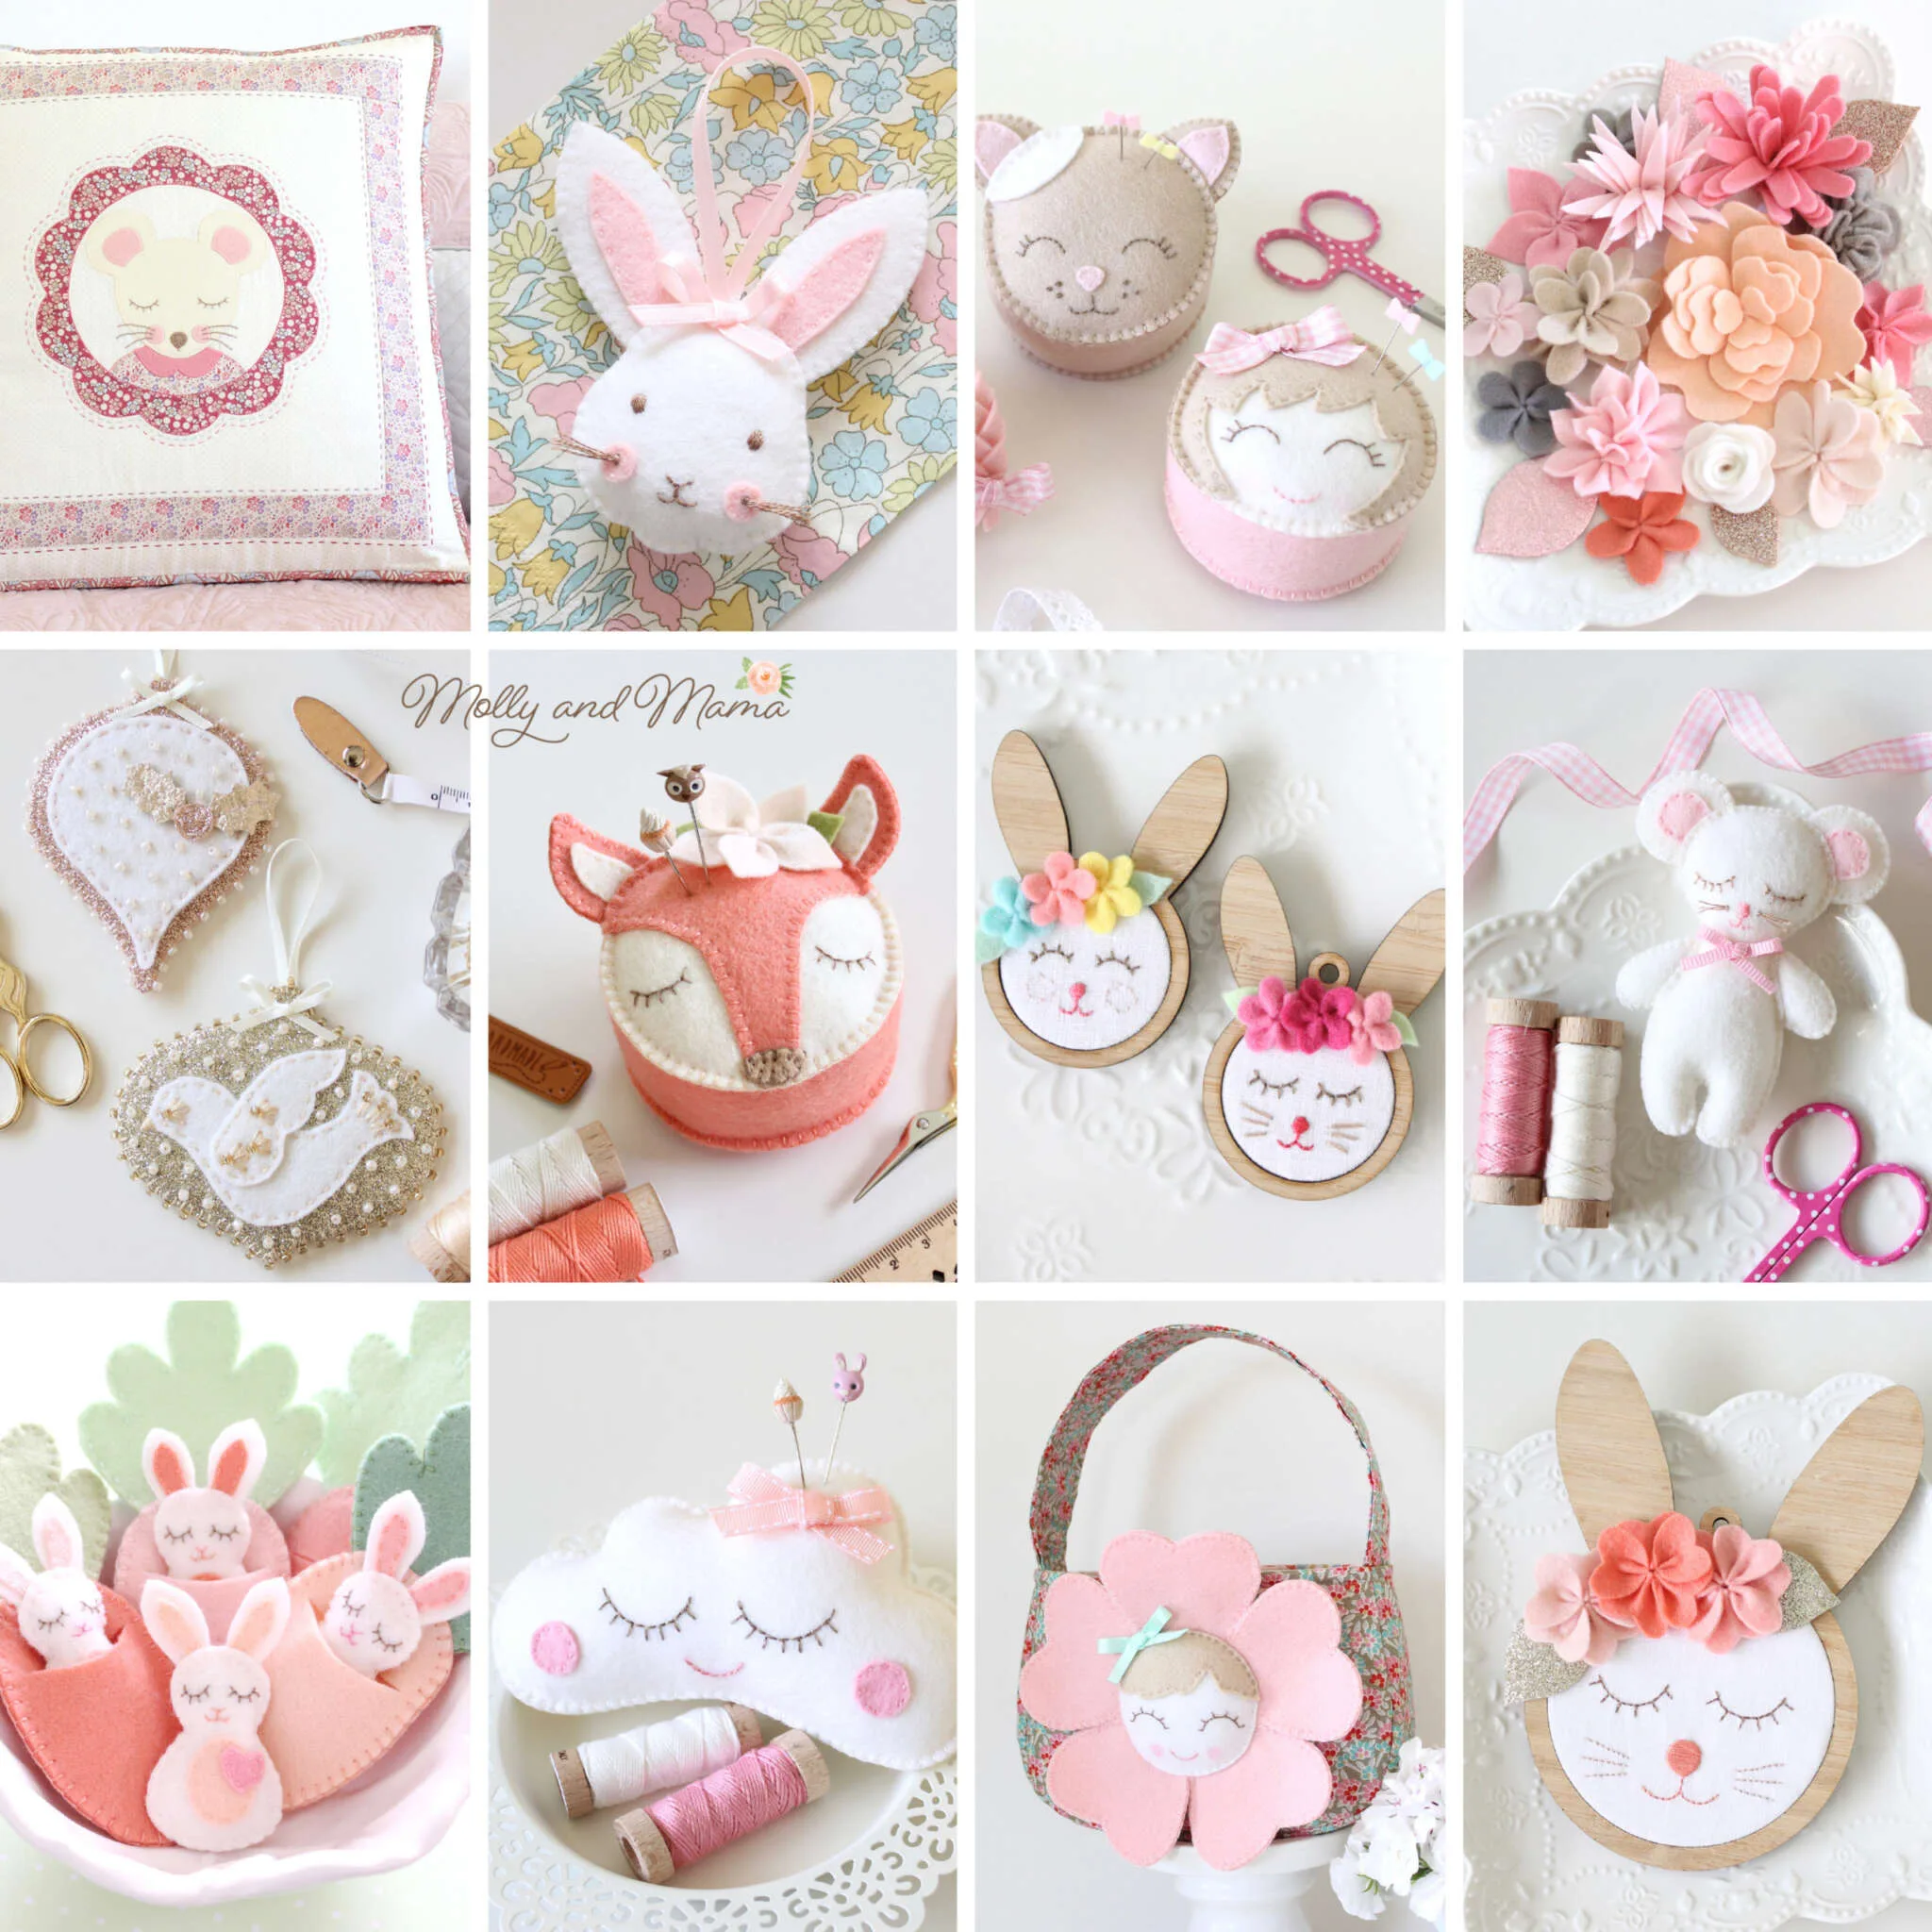
Feel free to pop by the STORE to view the full range of Molly and Mama PDF patterns. Here’s a selection of more of my projects made with felt.
Head to my FACEBOOK page or Instagram to share your creations. I also have some gorgeous and inspirational ideas pinned to my Christmas Inspiration board on Pinterest. Feel free to follow along.
Thanks for being here. Happy stitching, Lauren x
This post was written by Lauren Wright and appeared first on Molly and Mama http://www.MollyandMama.com.au