Make an Appliqué Bunny for Easter
The Easter count down is on! What are you making, crafting or creating? It seems that my post on How To Appliqué is my most popular tutorial, so I thought you might like to see an Easter inspired project combining appliqué with fabric yo yo’s! Here’s my Appliqué Bunny.
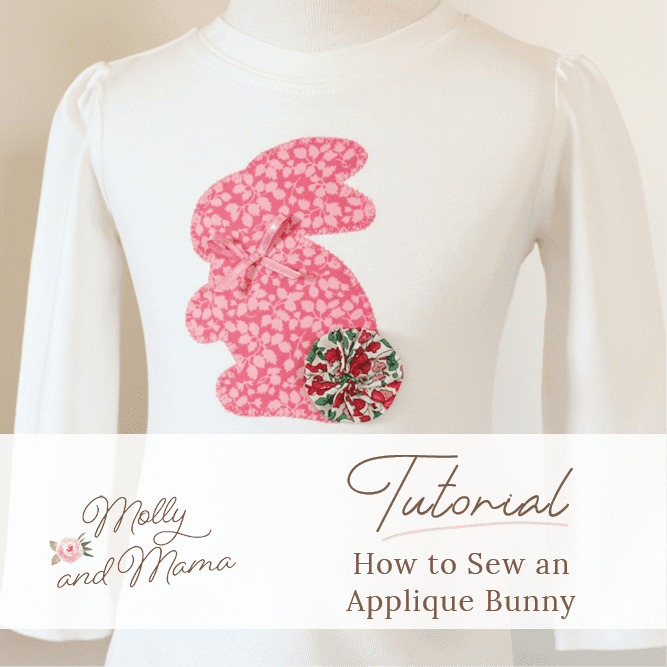
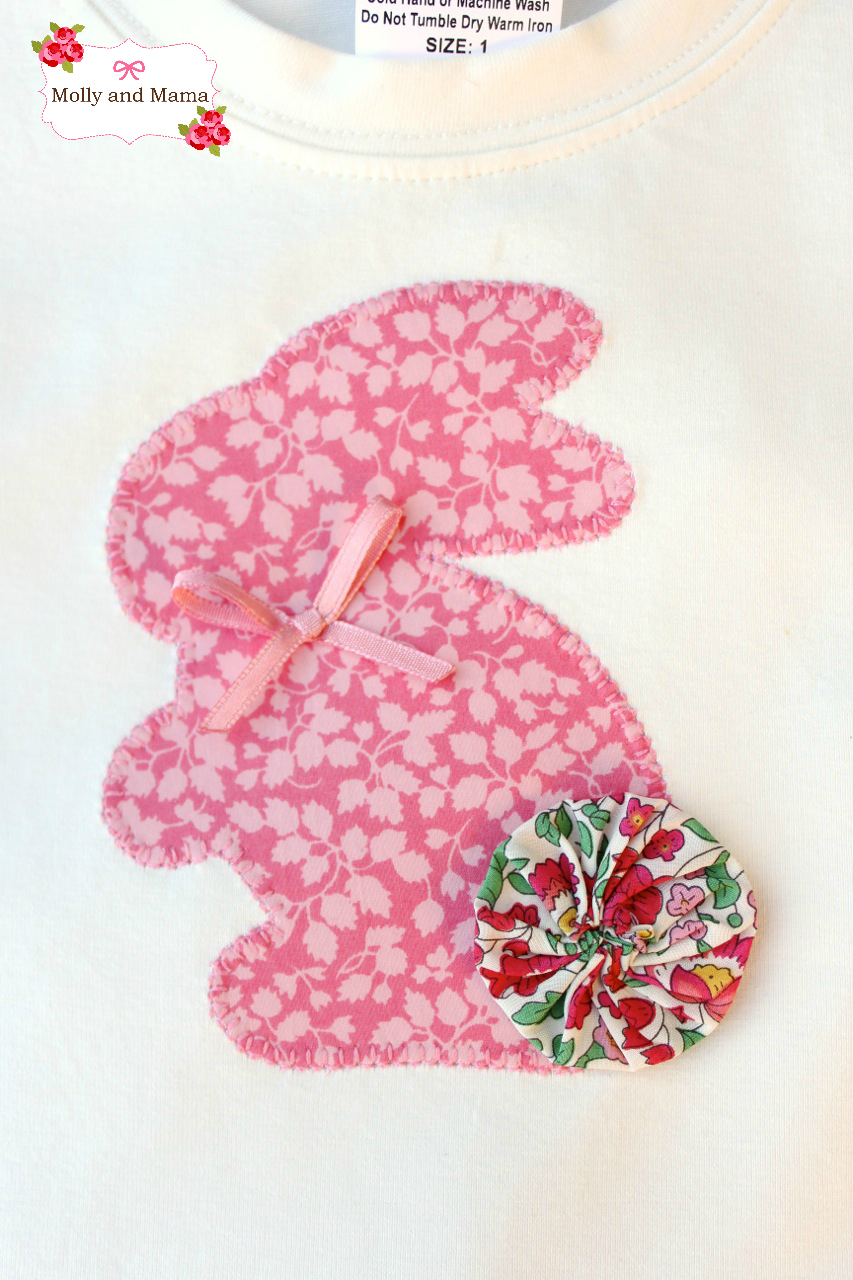
I love Liberty fabric. And these two prints make such a pretty combination! The cute little yo yo makes a perfect bunny tail! This design is ideal for adorning that special Easter outfit or dress. You could also use it on Easter gift bags, baskets, place mats and more. And it’s super easy. Really! Just gather your supplies, and we’ll get right into it!
FINISHED SIZE – 4″ (10cm) wide and around 4 1/4″ (11cm) tall
YOU WILL NEED
- a print out of the pattern template
- scrap of fabric for the bunny at least 4″ (10cm) x 5″ (13cm)
- similarly sized scrap of paper backed fusible heat bonding web like Vliesofix or Easyfix
- pen
- 4″ scrap of fabric to cut for the yo yo
- garment or backing fabric to attach your appliqué to
- water soluble or erasable marker
- sharp scissors
- needle and thread
- fine ribbon to make a small bow
- a heat sealer or cigarette lighter
- iron and ironing board
- sewing machine or embroidery needle and floss
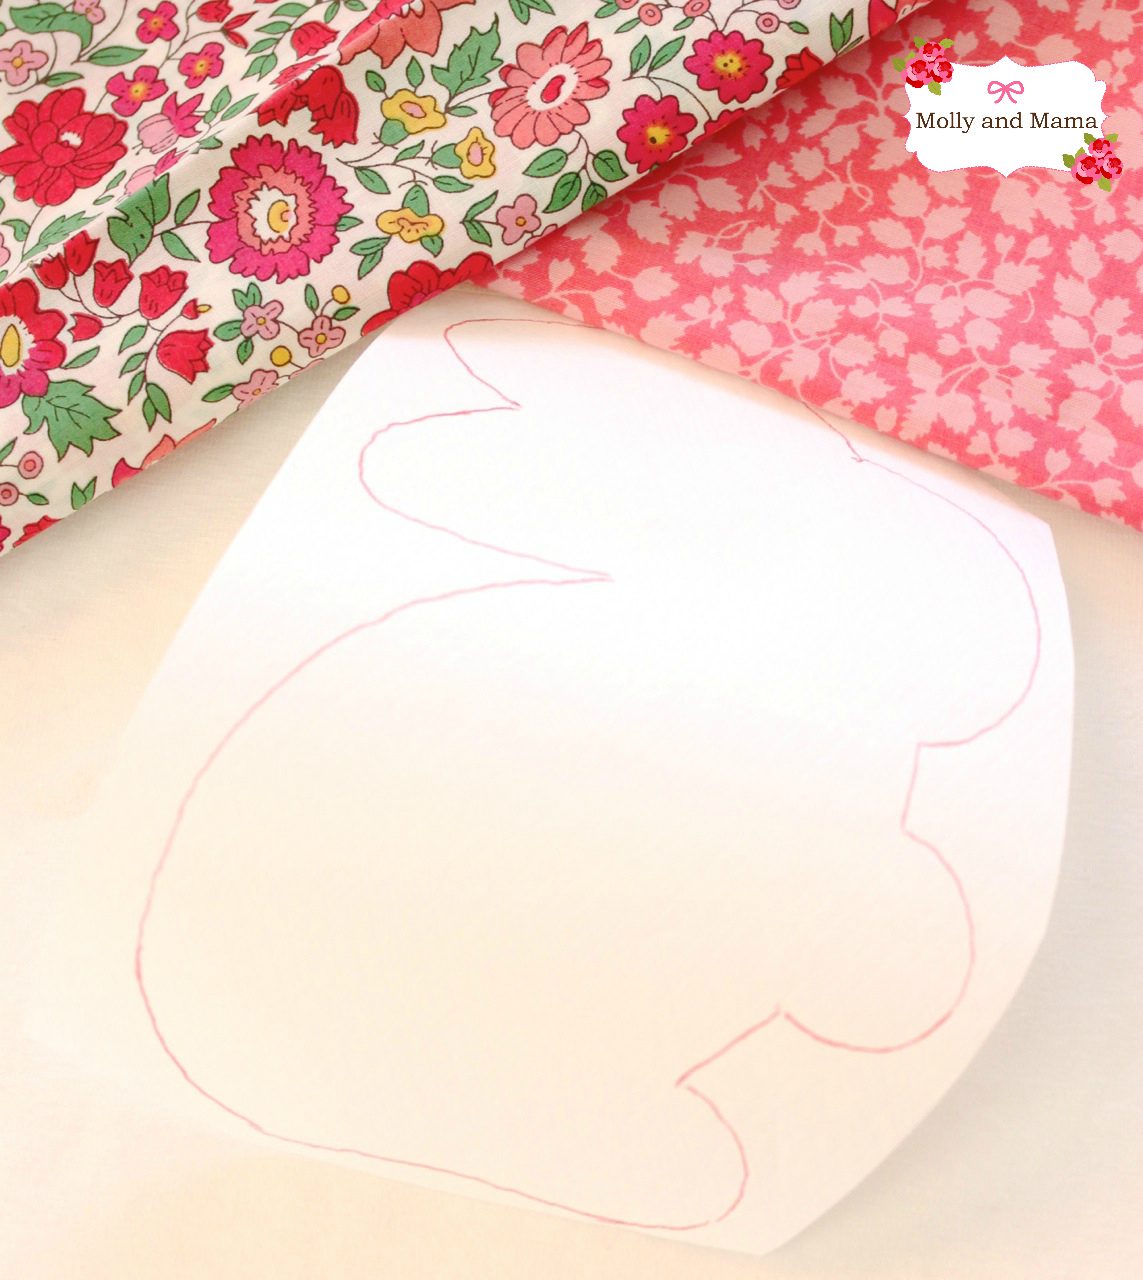
Print out the bunny template at 100% with no scaling or cropping. Be sure you save a copy to your computer too. You can easily change the size of your bunny so that it suits your project. Just adjust your printer settings to reduce or enlarge it.
1. CREATE THE APPLIQUÉ
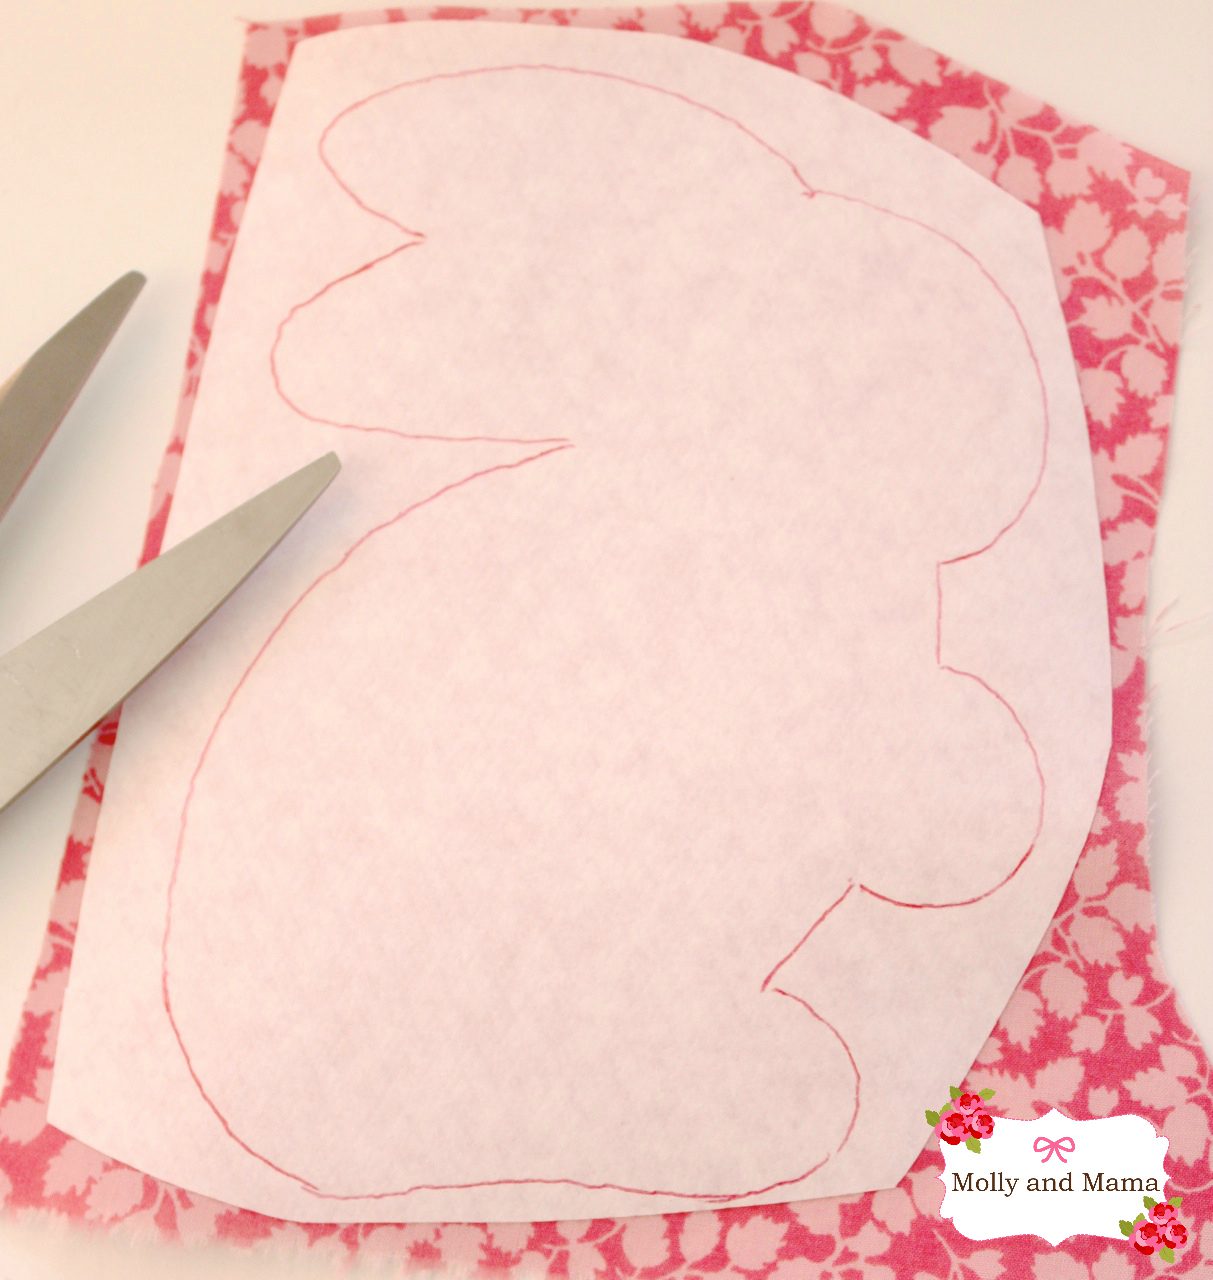
Trace the bunny template onto the paper side of the heat bonding fusible web. Roughly cut around the outside leaving a small border (as pictured below).
Heat your iron to a hot non-steam setting. Place the fusible web piece onto the wrong side (the back) of your chosen fabric so that your template (on the paper side) is facing you and the webbing is between the paper and the fabric. Fuse the paper to the fabric by running the hot iron over it for a few seconds.
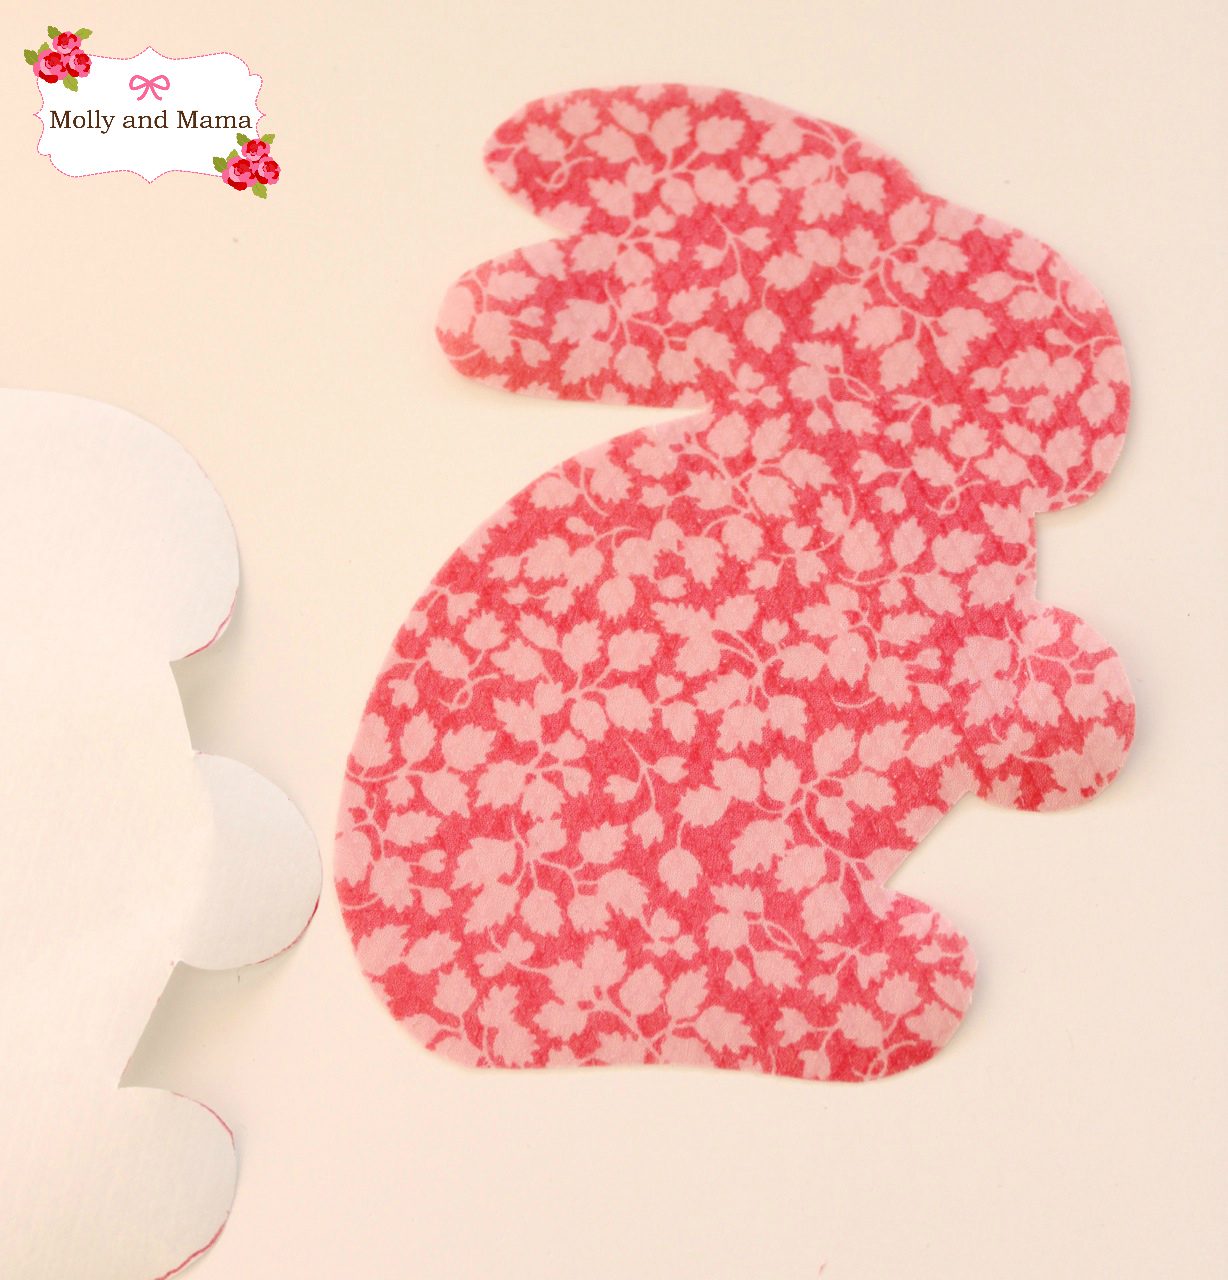
Follow the traced lines to neatly cut out the bunny and then peel off the backing paper.
Position the bunny on the garment or backing fabric with the webbing between the garment and the bunny fabric. Once you are happy with the positioning, use the iron to secure the bunny to the garment. The heat will ‘melt’ the bonding agent to secure your bunny to the garment or fabric. Press down gently for a few seconds and then lift the iron. Don’t rub the iron across the garment as the appliqué may move.
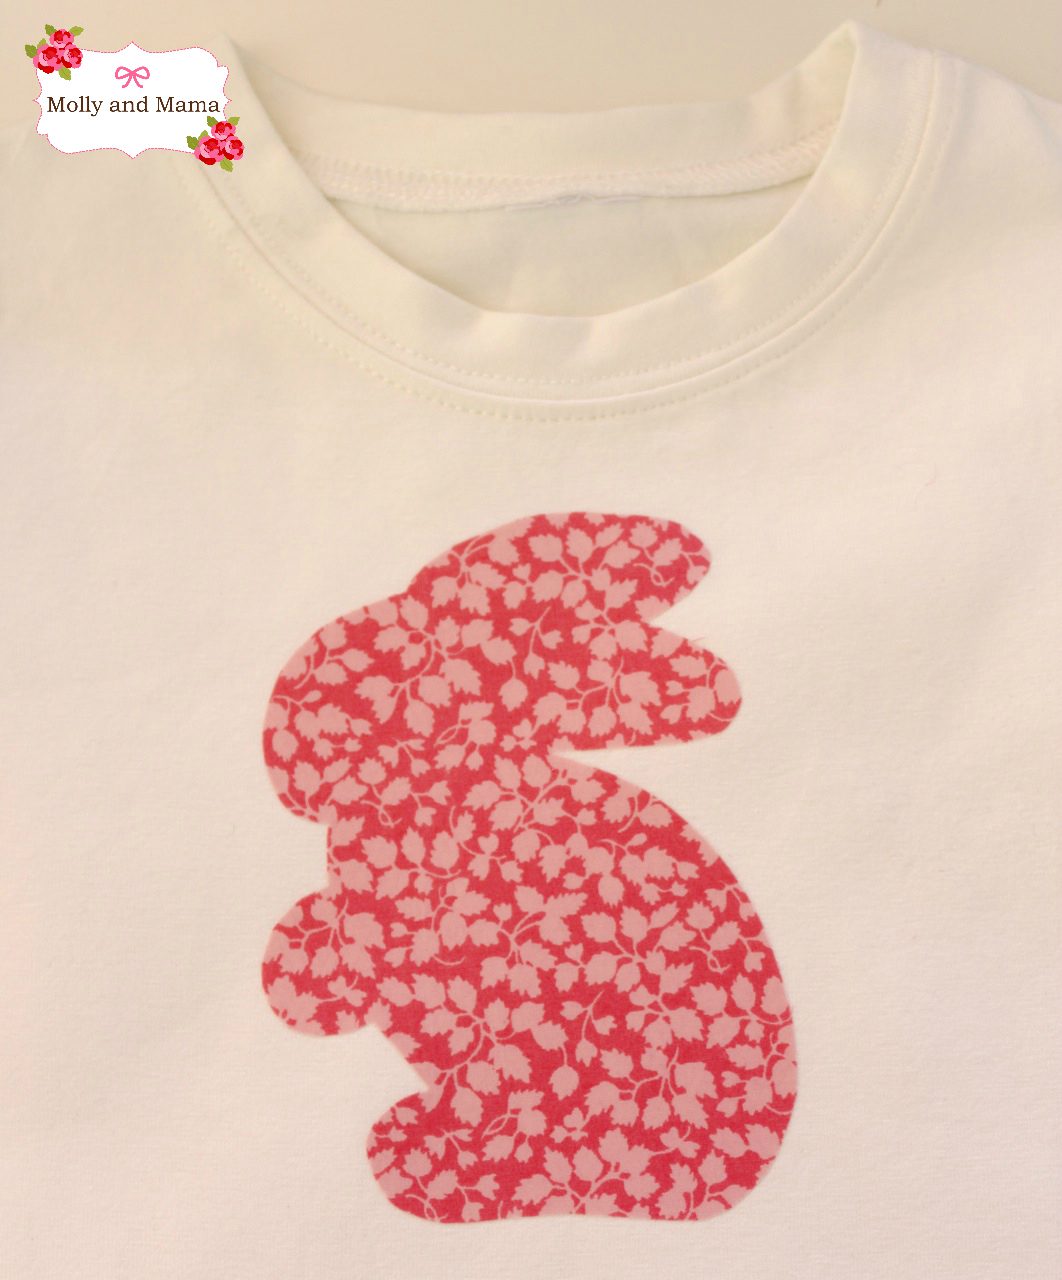
Blanket stitch around the raw edges of the appliqué. You can use the blanket stitch function on your sewing machine to do this. Or you can stitch it by hand. Head to this post for a description of blanket stitch.
Begin stitching near the x on the template. This part will later be covered by the yoyo tail, so you can disguise the beginning and end of your stitching. Secure your stitching well when you come to the end (by back stitching). If you’re hand stitching, use two strands of your embroidery floss. Be sure to see my appliqué tutorial for more tips on the appliqué process.
Now it’s time to start the yoyo for the bunny tail!
2. STITCH THE YO YO
Creating yoyo’s (or suffolk puffs as you may know them) is a quick stitching pastime! They’re simple to make, great for fabric scraps and nice to sew while watching your favourite program (give me a BBC period drama, any day!).
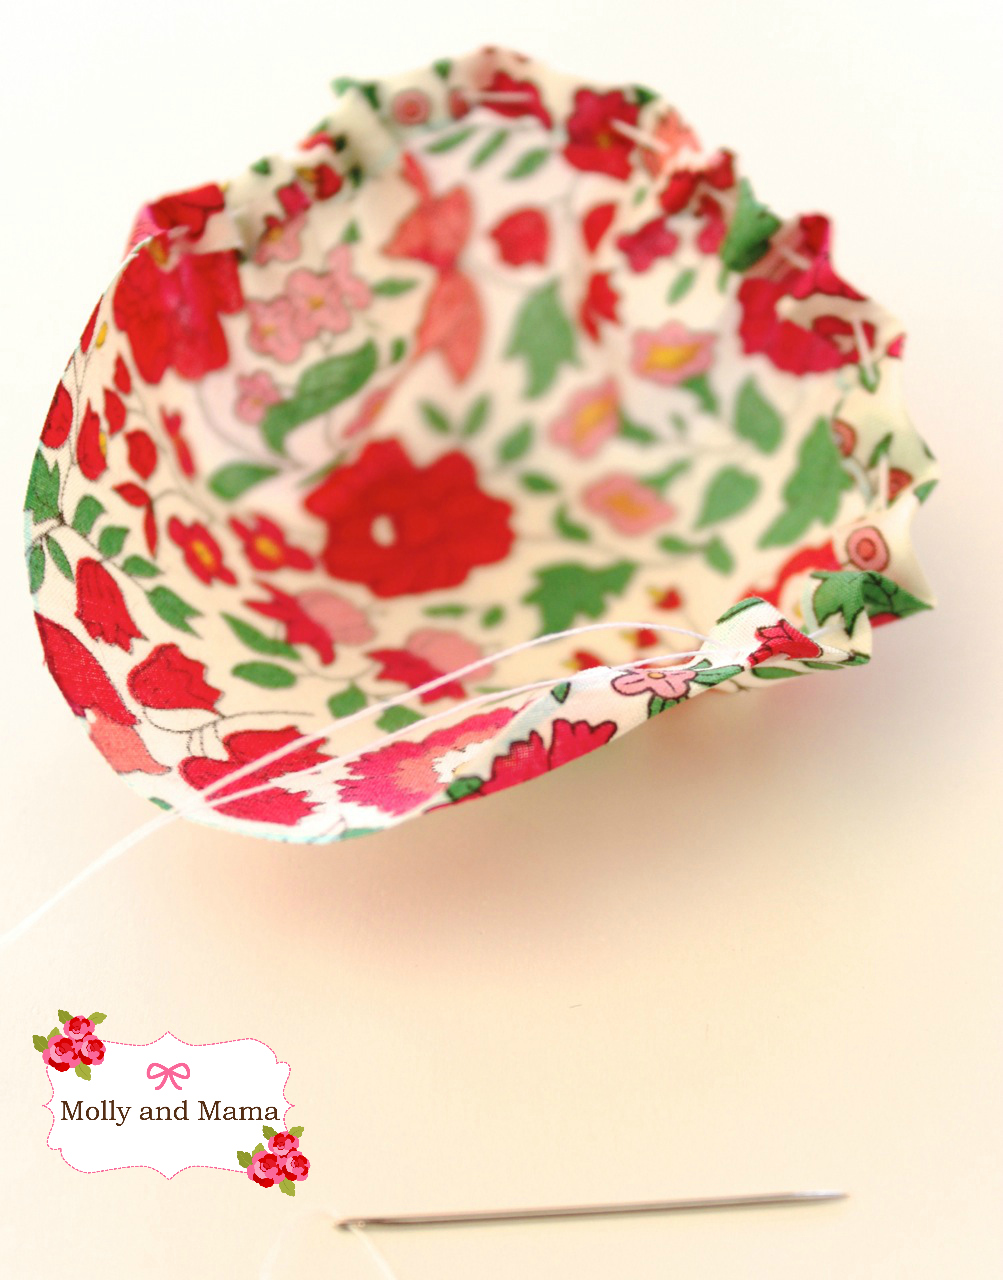
I have written a simple to follow (but detailed) tutorial for yo yo’s HERE. But basically you need to cut out your circle template, and trace around it (with your erasable pen) onto the wrong side of your 4″ piece of fabric for the tail. Then cut out your fabric circle.
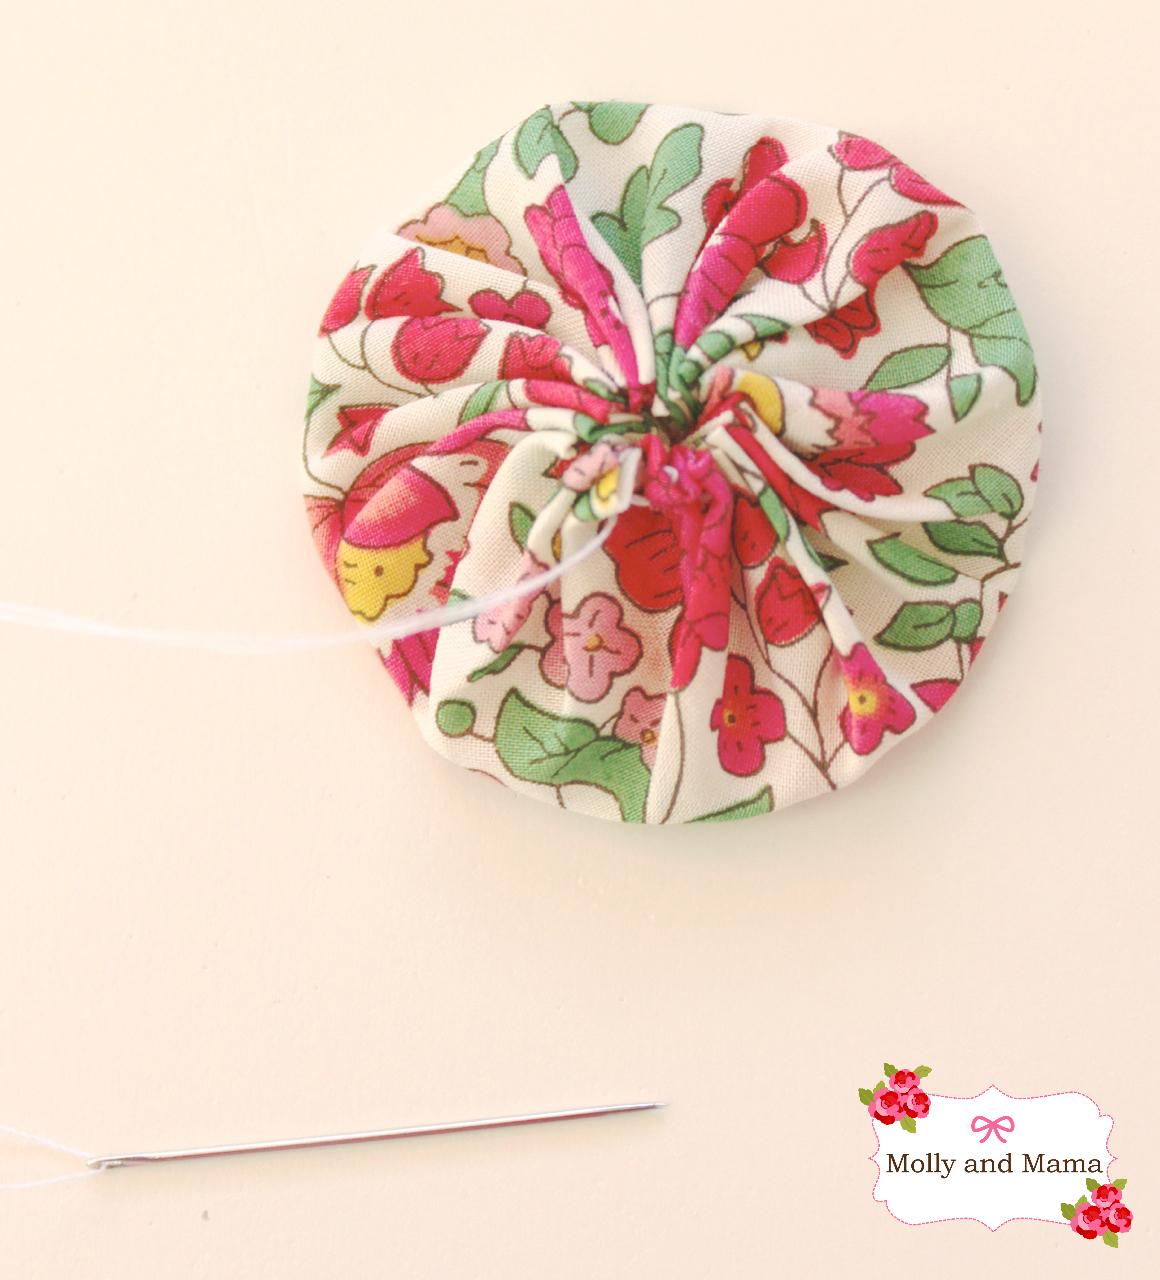
Thread your needle with a long length of cotton. Fold over a scant 1/8″ (3mm) hem, and sew a running stitch around the outside perimeter of your fabric circle. When you reach the beginning, pull the thread so that the fabric creates a little puff. Flatten it out with your fingers, then secure the yoyo with a few extra stitches. And then keep your cotton intact. We’ll need it to sew the yoyo to the bunny’s behind!
3. FINISH YOUR BUNNY
Place your yo yo over the bunny’s behind, using the x mark on the template as a guide. Use small invisible stitches to sew your yo yo onto the bunny. Try and ensure the stitches remain within the fabric folds and tucks, so that you cannot see them.
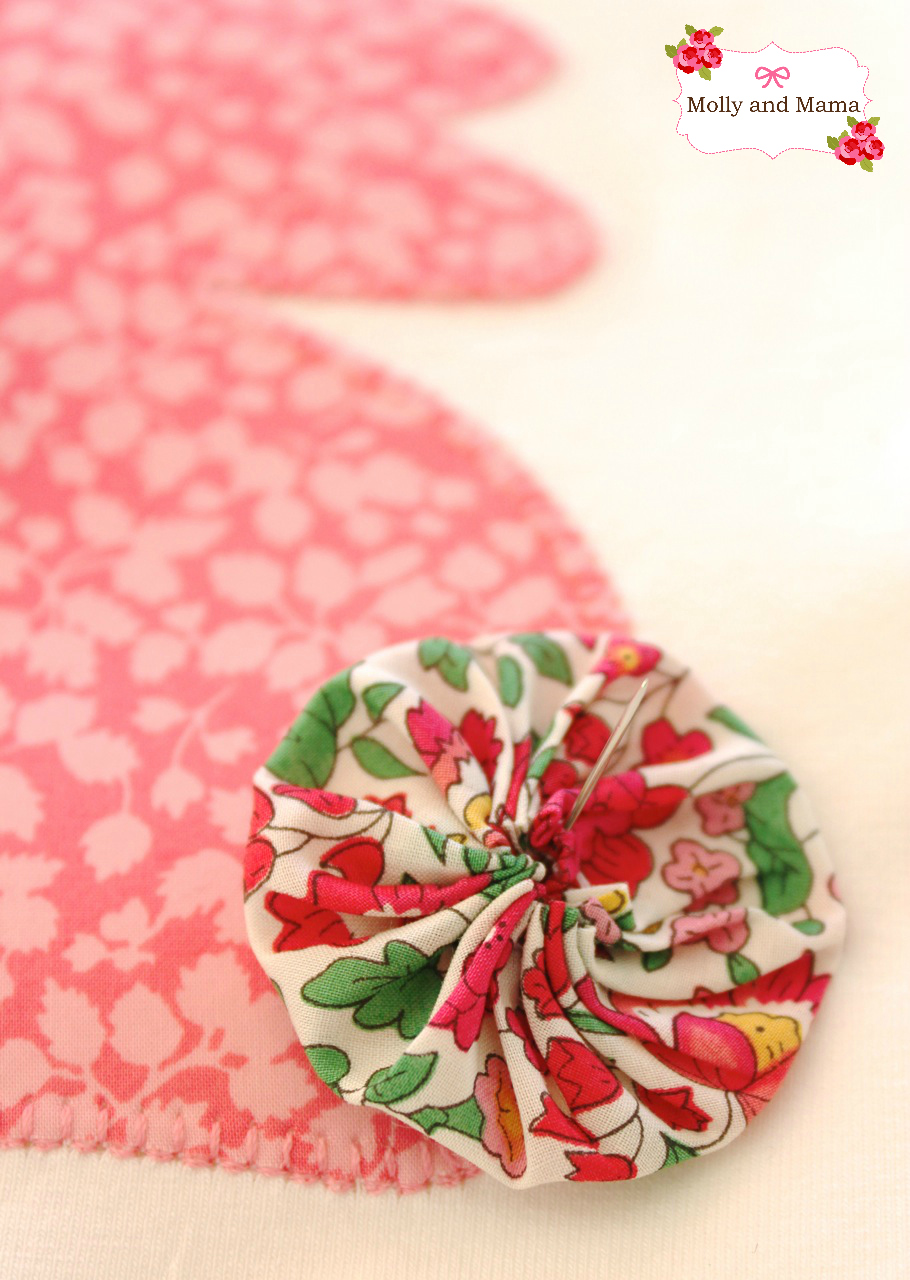
Secure your stitching well at the back. You’ll want to make sure the yo yo is well attached, especially if you’re creating a garment to be worn by little ones.
You can add a pretty bow if you like too. Just tie a bow with fine satin ribbon. Heat seal the ends so they don’t fray. You can do this by quickly running the flame from a lighter along the cut edge of the ribbon. This will melt the fibres together and prevent from unravelling in the wash. Then use small invisible stitches to secure the bow the bunny.
VOILÀ! You’re all done!
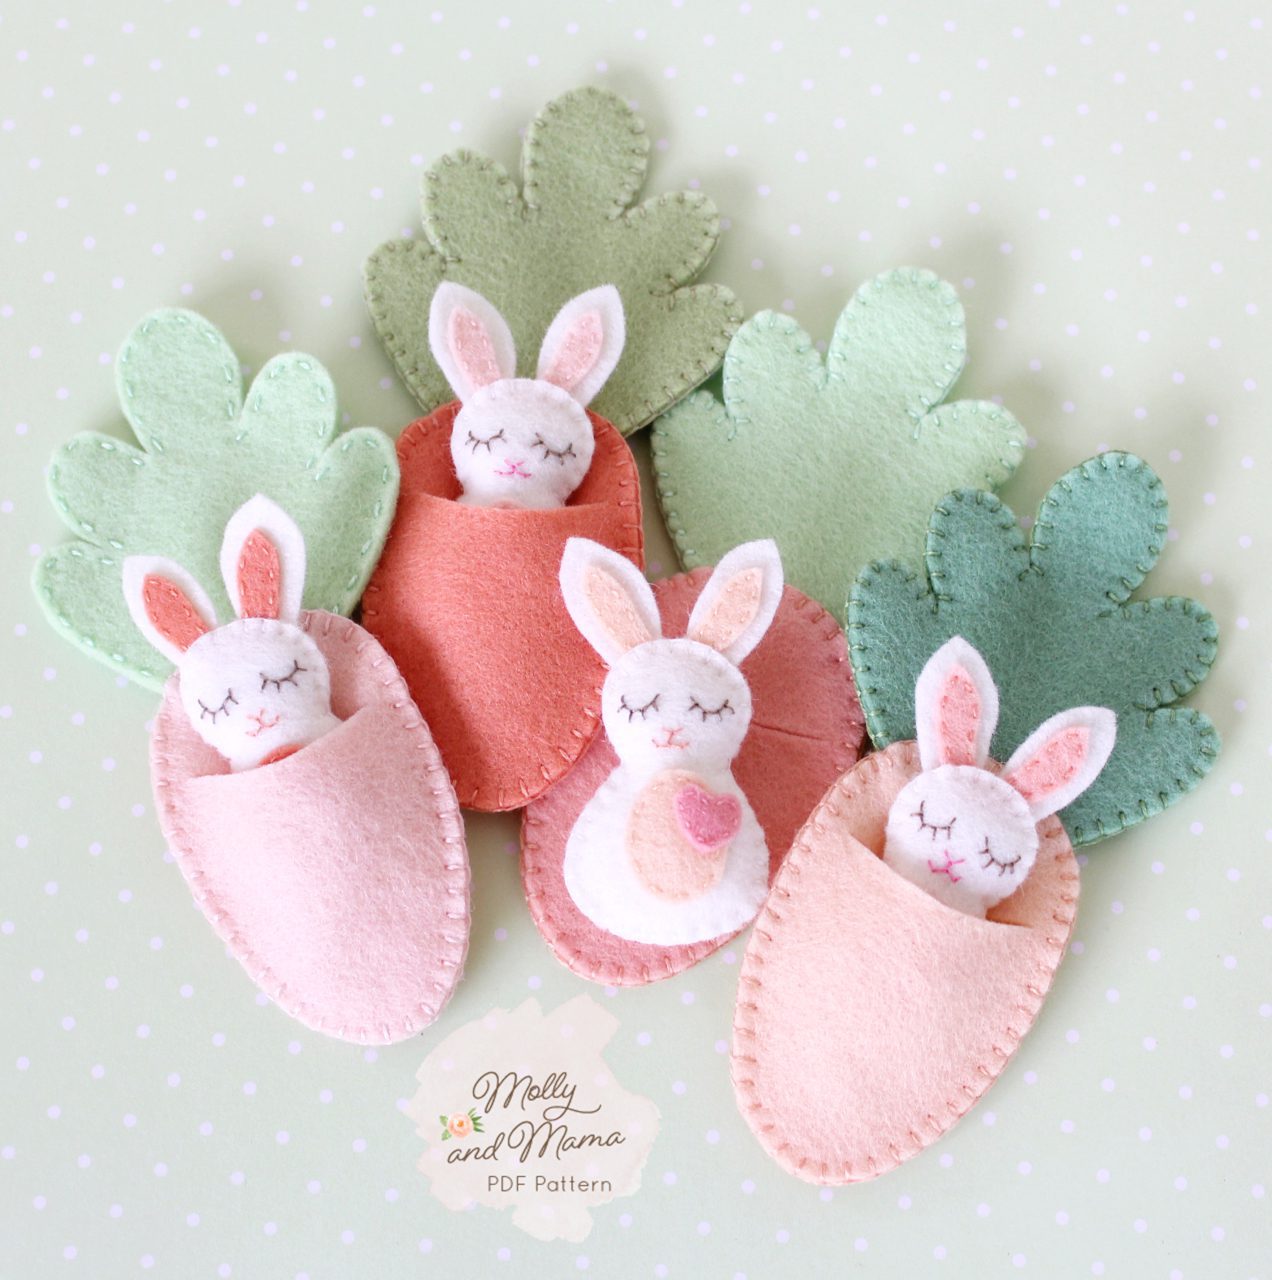
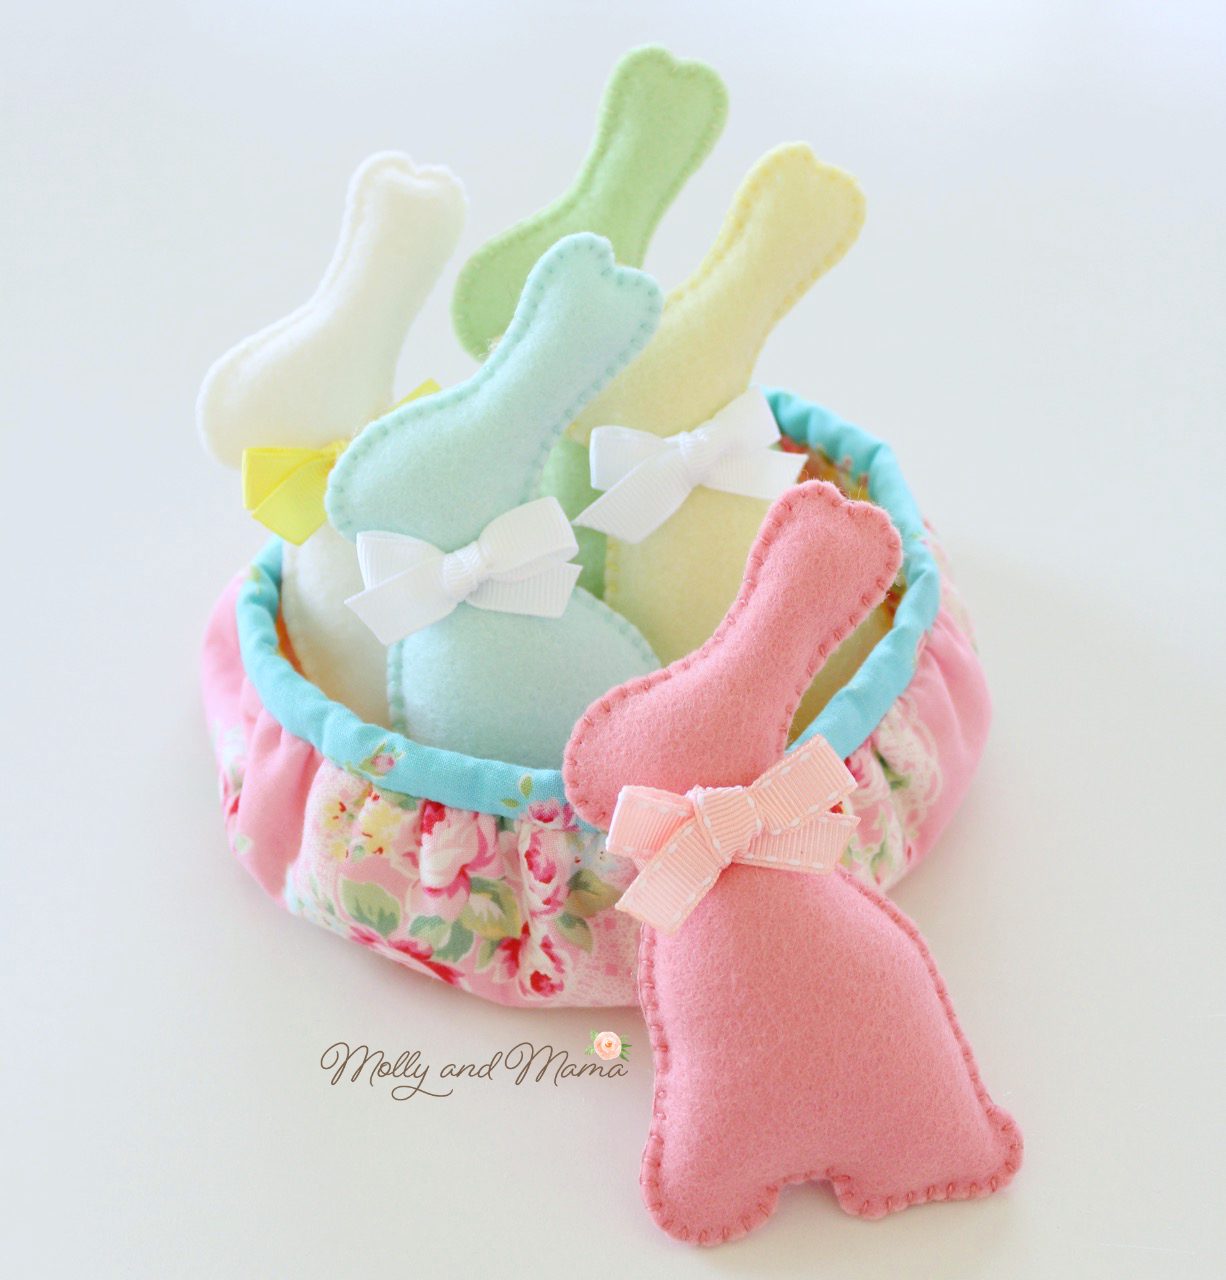
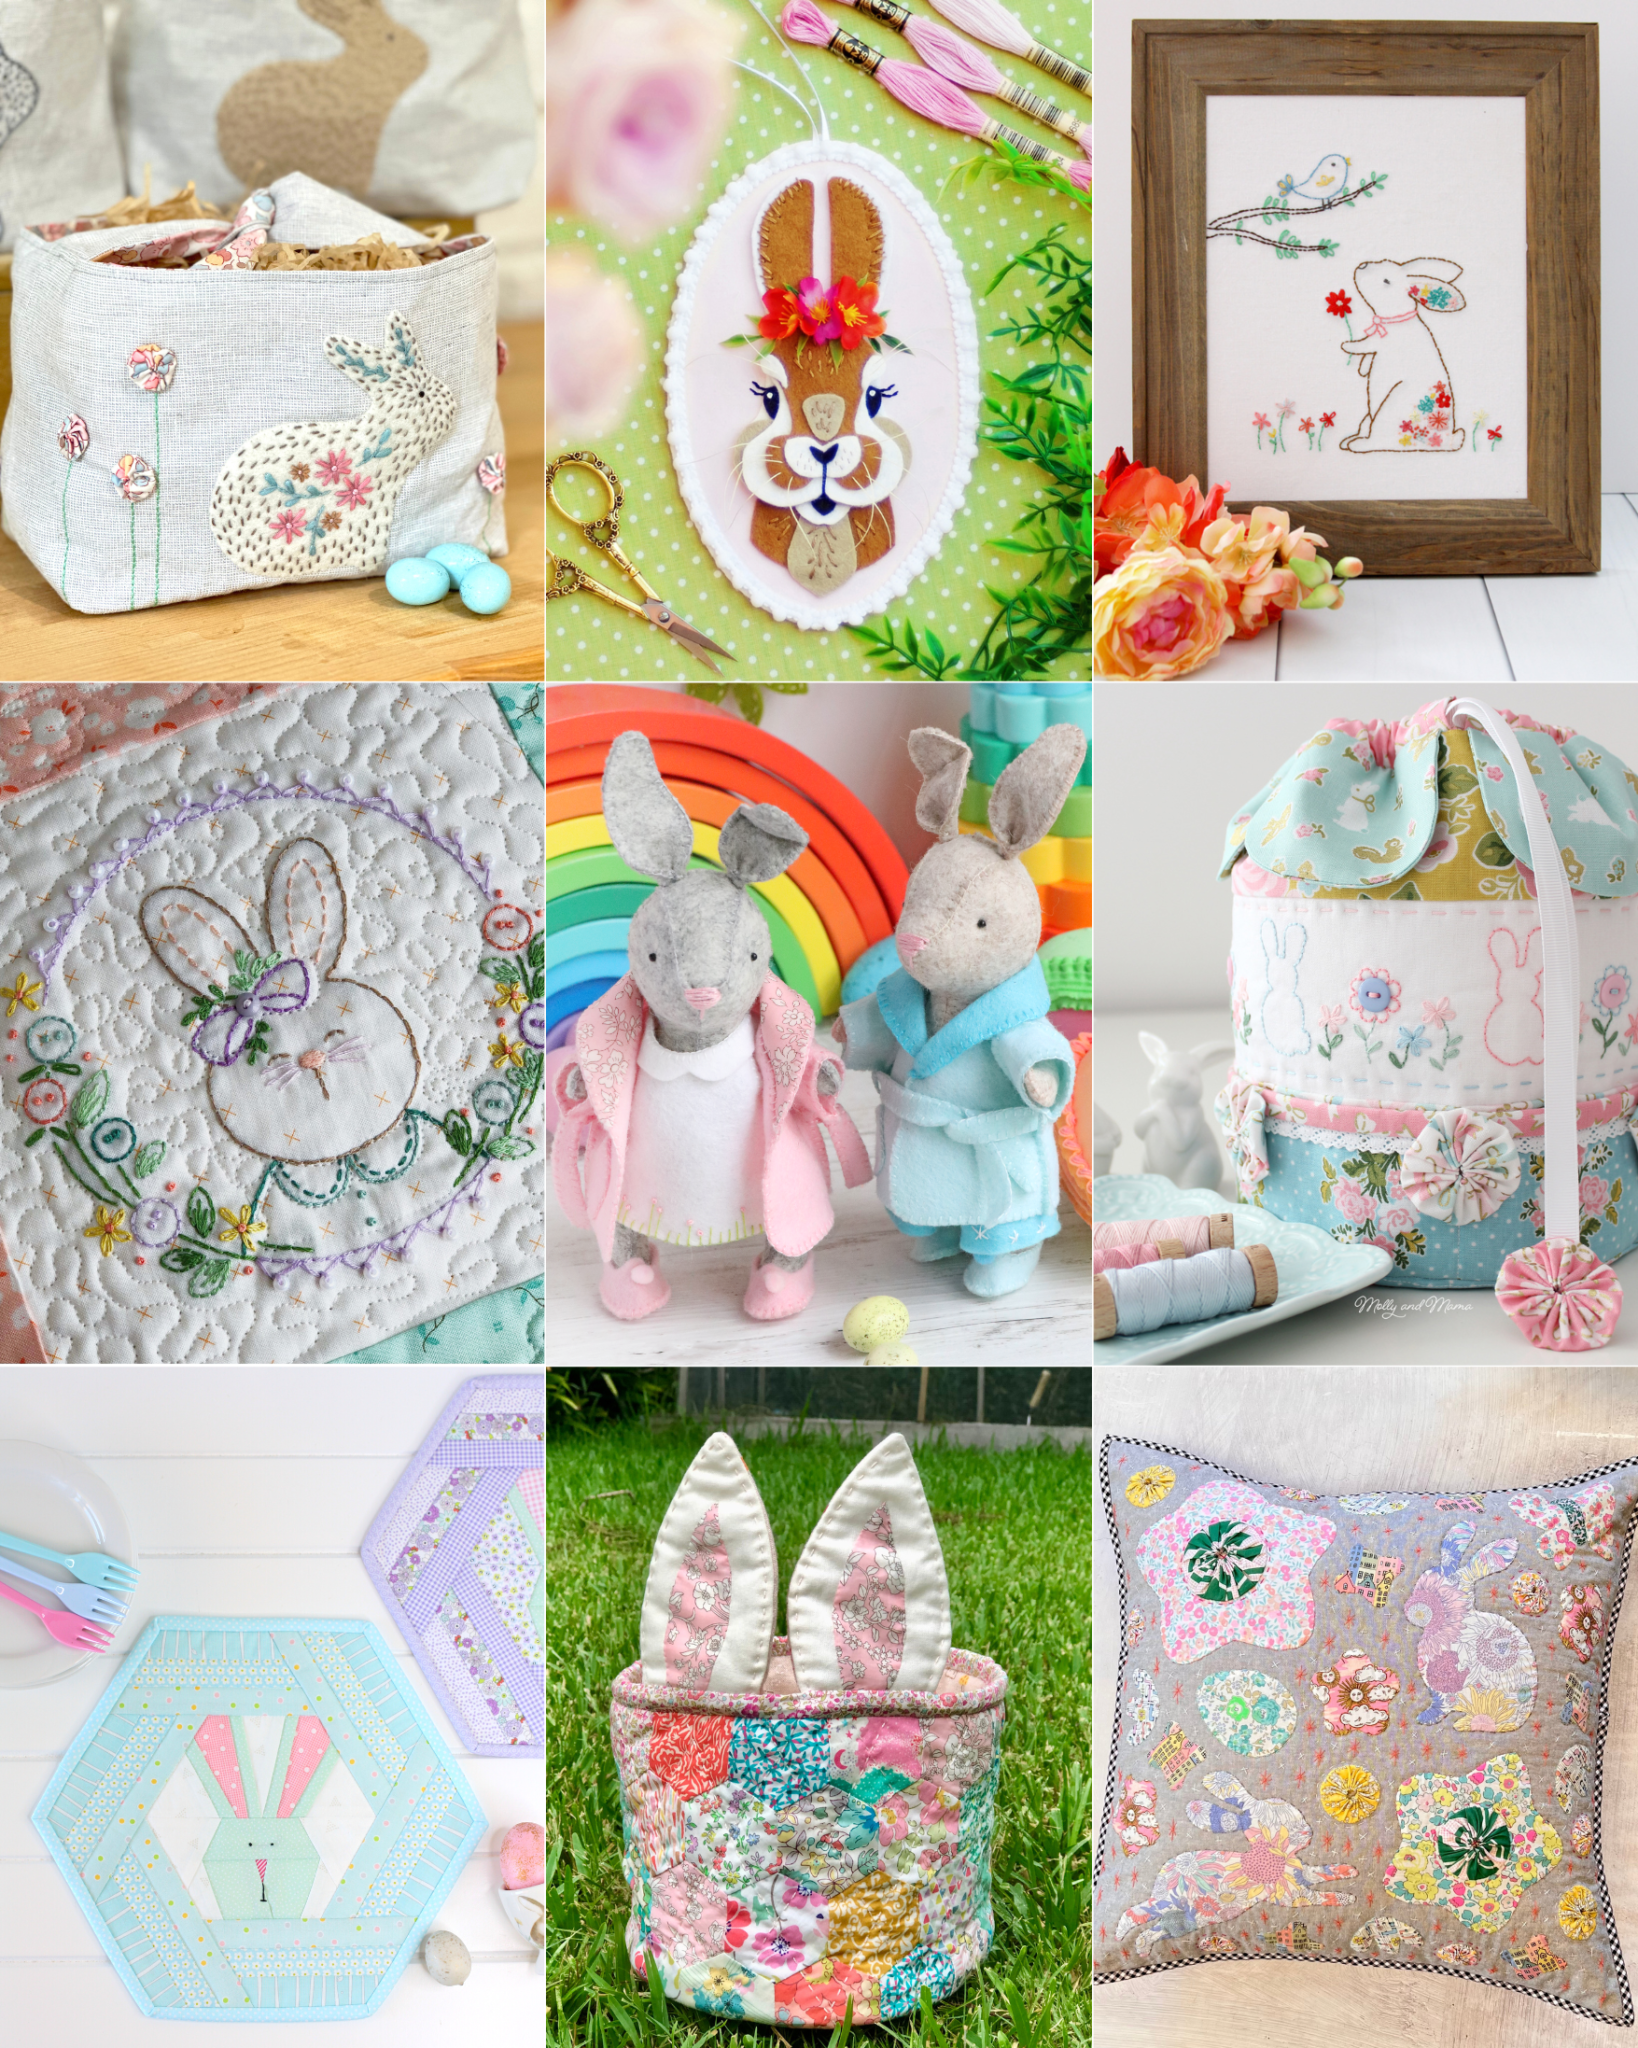
If you’re looking for some more Easter sewing ideas, you might like the felt sewing patterns in my Etsy Store.
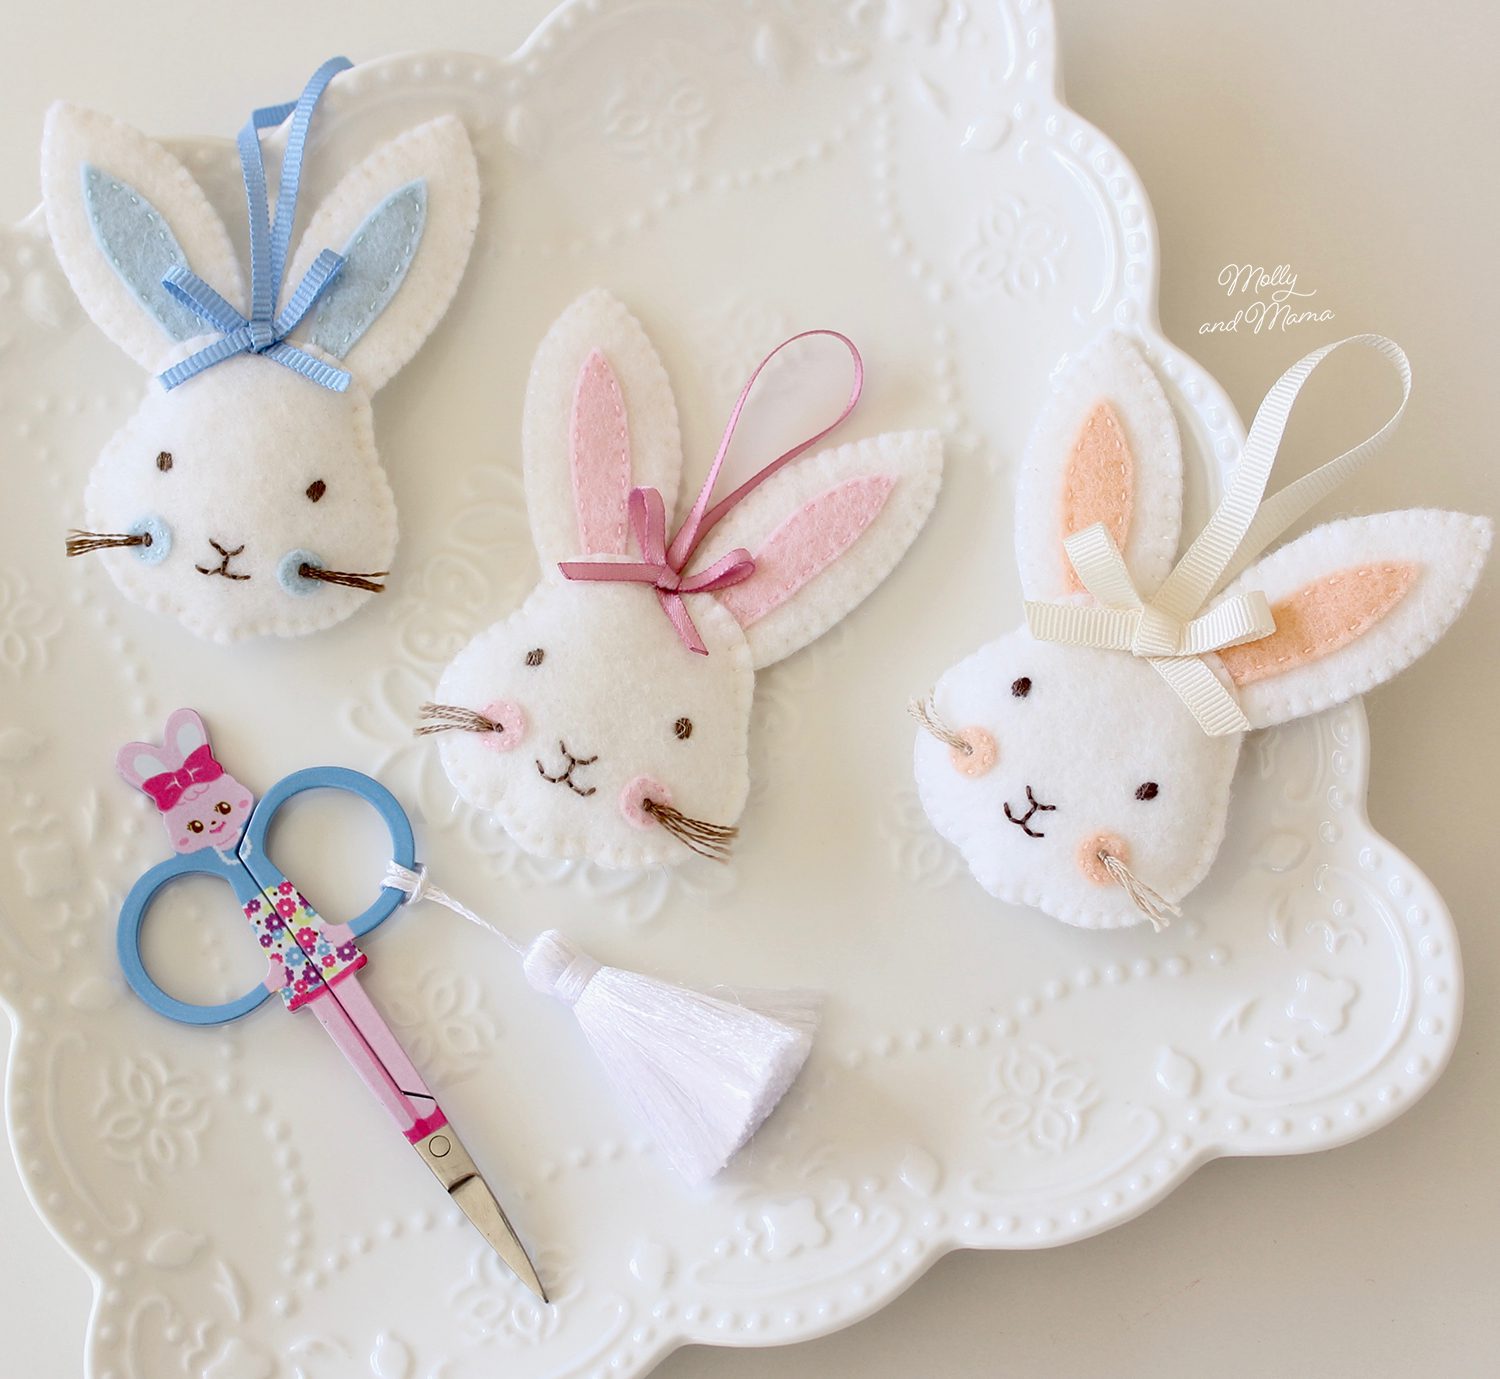
You might also like the little felt bunny tutorial that I created. Find it HERE.
Pop by my Easter board on Pinterest for more beautiful ideas too! Happy creating and have fun. Let me know if you have any questions or ideas! And I’d love to see your appliqué bunny creations.
Happy stitching, Lauren x
This post was written by Lauren Wright and appeared first on Molly and Mama http://www.MollyandMama.com.au
2 Comments