Stitch a Fifi Fox Needle Book
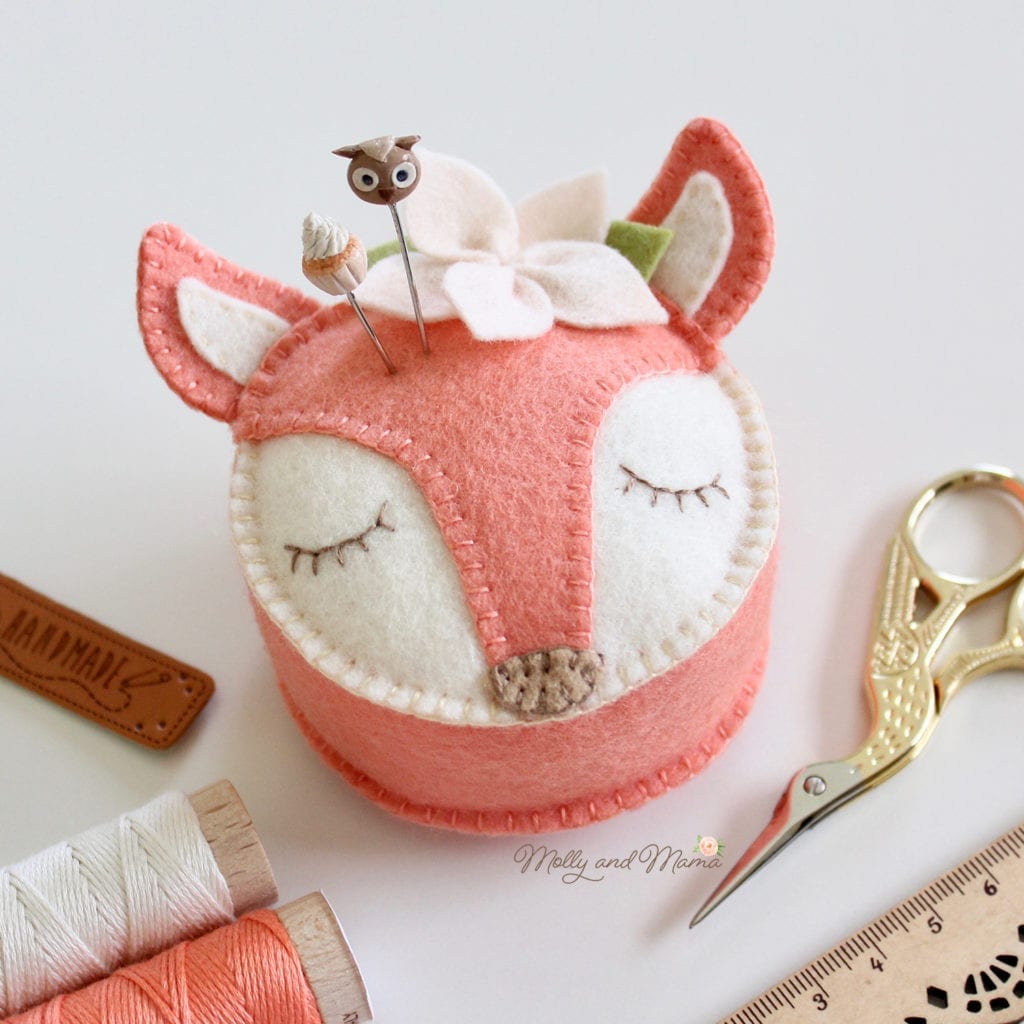
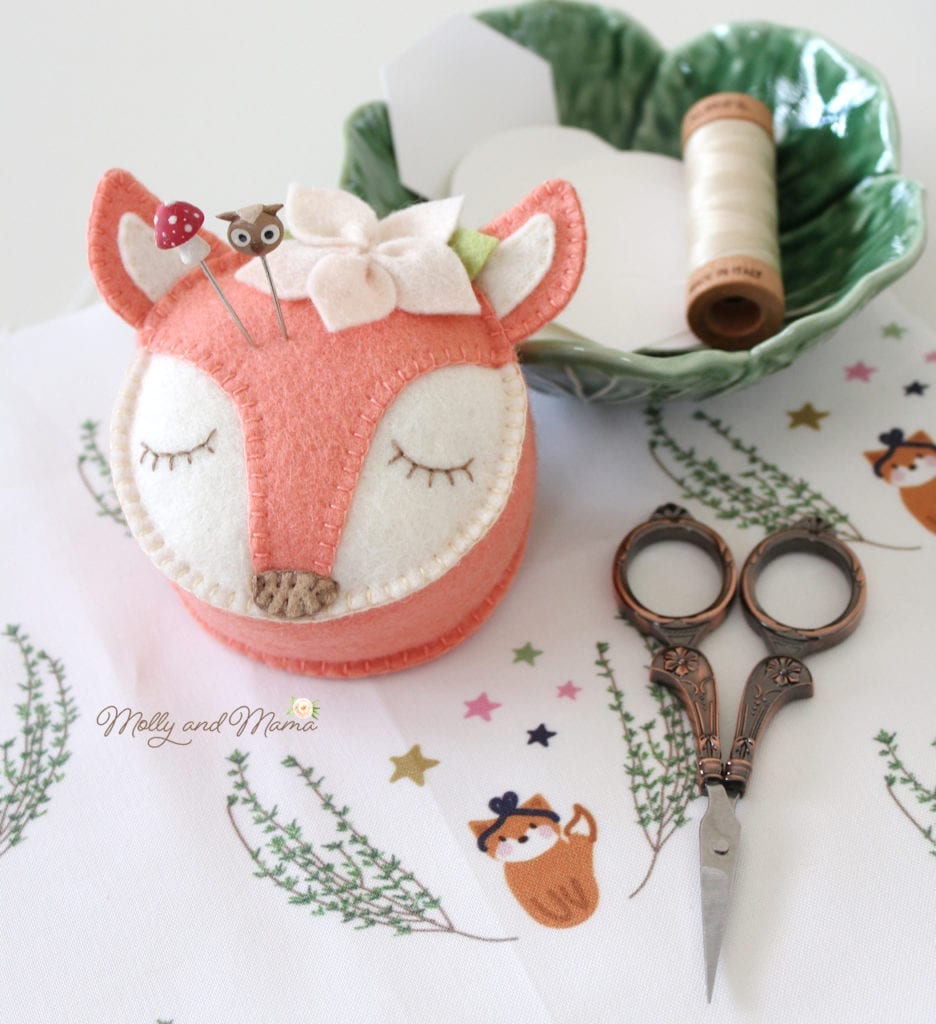
Have you seen my cute Fifi Fox pin cushion pattern? To celebrate its release, I wanted to share a FREE TUTORIAL for adapting the pattern to create a fox needle book too! Why have only one fox adorning your sewing space, when you can have two?
SEW A FOX NEEDLE BOOK
To make this Fifi Fox needle book, you will need to purchase the pattern HERE. Then print out the template, and collect your materials.
YOU WILL NEED
For this project, you will need all the items listed in the pattern, plus an extra felt circle. However, you will leave out the felt side piece.
INSTRUCTIONS
Cut Out The Felt – Use the pattern as a guide
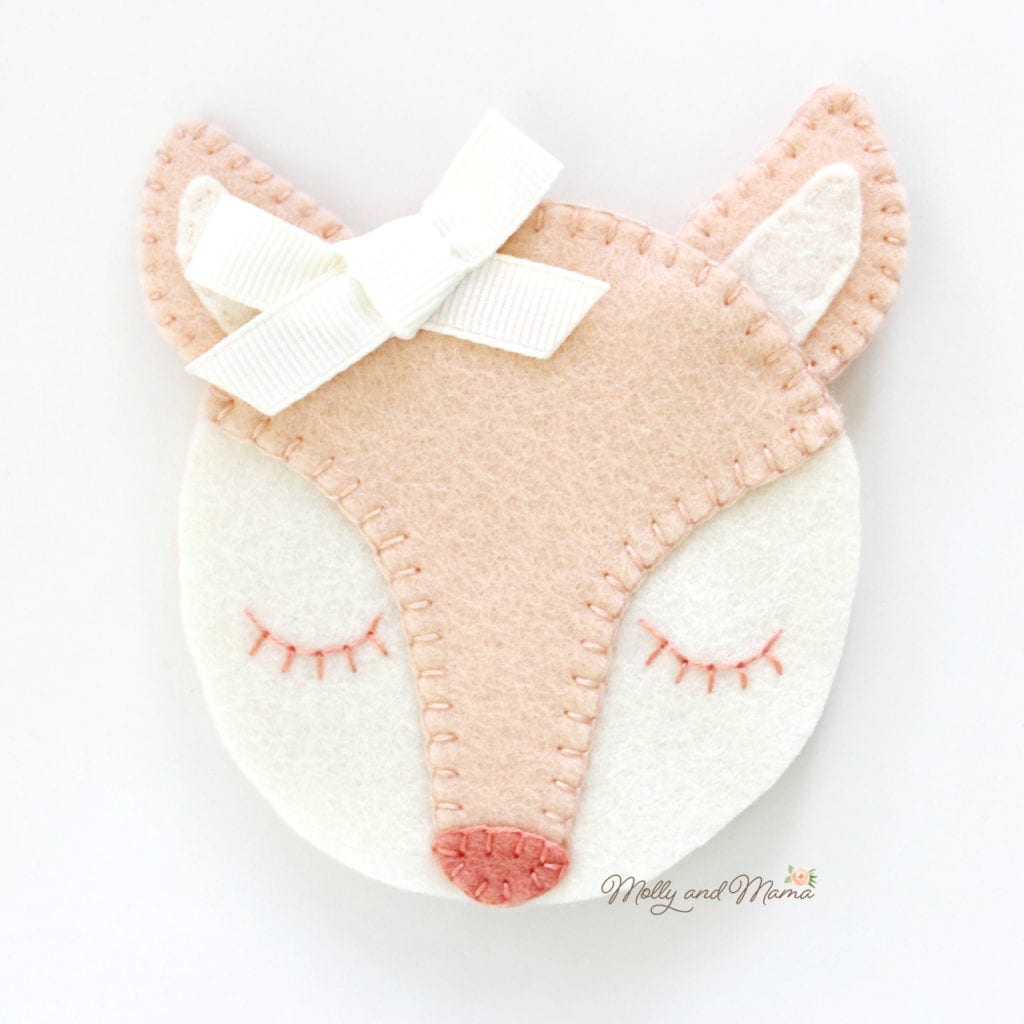
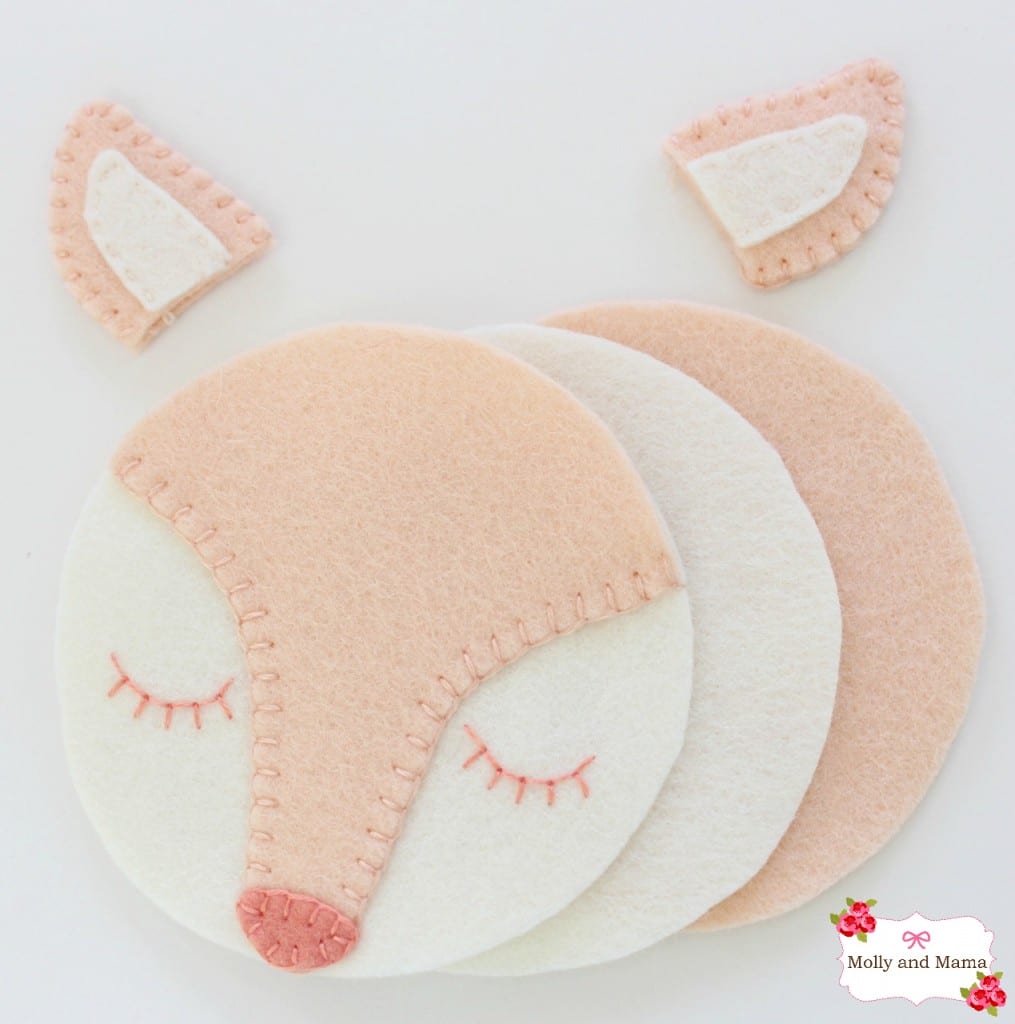
Cut out all the felt pieces required for the needle book. In fox coloured felt you will need 4 ears, 1 fox face and 1 felt circle. In the paler felt shade, you will need 2 felt circles and 2 inner ears. You will also need 1 felt nose in a darker shade, and 5 flower petals and 2 leaves (if you choose to make a flower for embellishment).
Stitch the Ears and Fox Face
Using the instructions in the pattern, stitch the two felt ears and put aside.
Next, follow the pattern to blanket stitch the fox face to the top circle. Then add the nose and embroider the eyes.
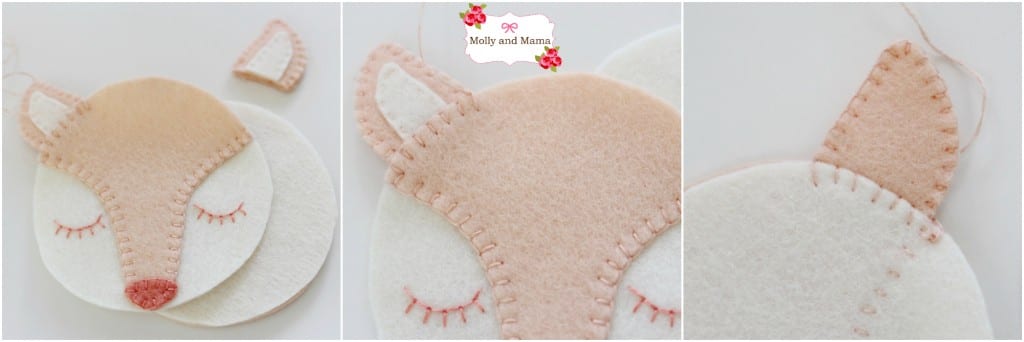
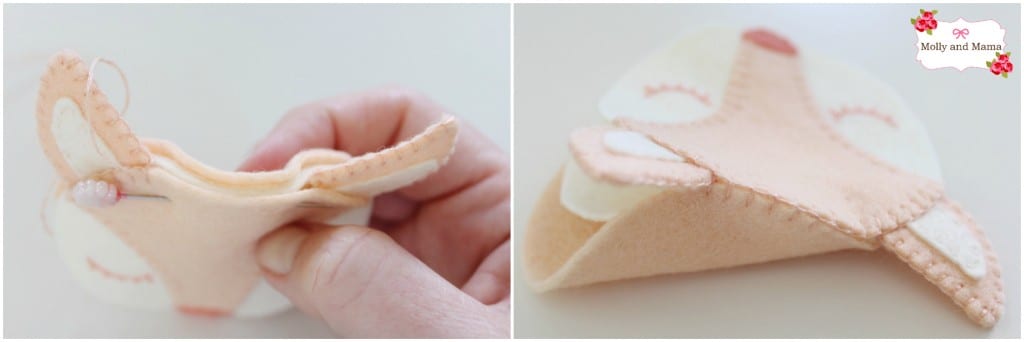
Position the ears behind the face felt (and between the two felt layers). Using two strands of embroidery floss, blanket stitch each ear in place. Do not stitch the space at the top of the head (between the ears) yet.
Put it all Together
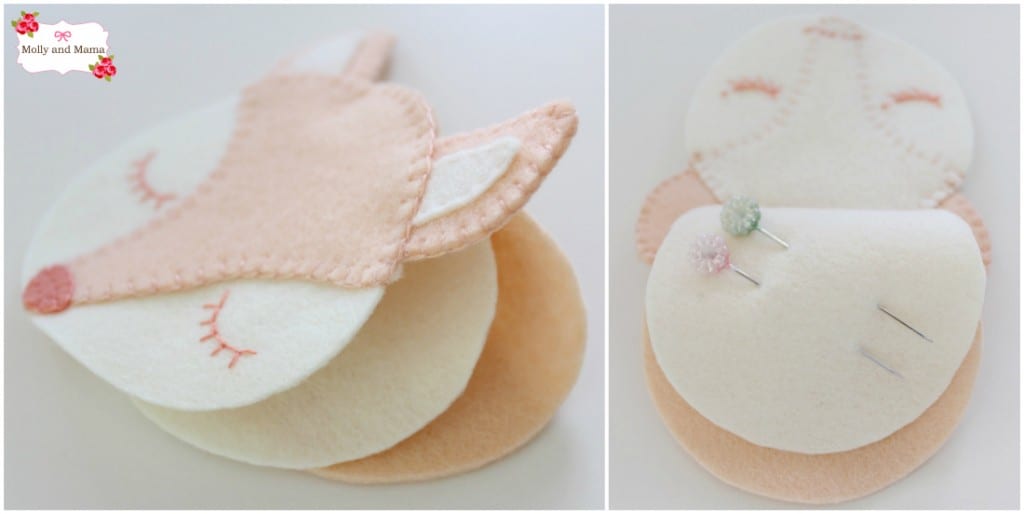
Make a felt sandwich with the fox coloured felt base on the bottom and the other felt circle in the middle, with the completed fox face on the top. Pin the layers together.
To join the three layers of the needle book, you will need to create a line of blanket stitching that goes from the top of one ear, across the head, to the top of the other ear. This stitching will hold all the layers of felt together. Be sure to disguise your knot between the layers of felt so it can’t be seen on the back of the needle book.
When you’ve stitched everything together, you’ll be able to flip back the fox face and use the centre felt circle to store sewing pins and needles. So cute!
Add Embellishments
You’re almost finished! Sew up a felt flower by following the instructions and using the template in the Fifi Fox pattern. Alternatively, you can create a small bow to stitch to the face instead. Be sure to only attach it to the first felt layer (and not through all three layers in the ‘sandwich’). Use invisible stitches. If you add a bow, be sure to heat seal the ends so they don’t fray. Then you’re all finished!
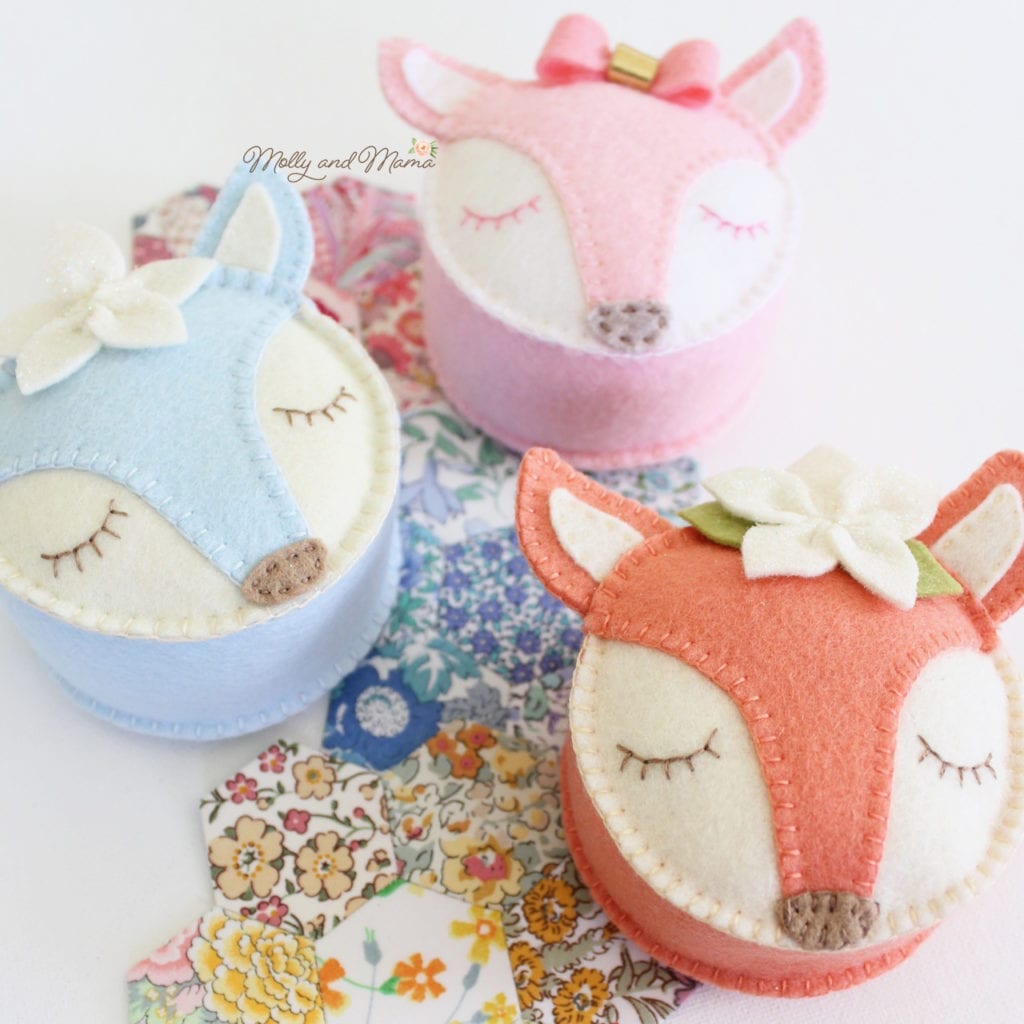
If you get stitching, be sure to share your creations by tagging @MollyandMama and #MollyandMama on Instagram. Or post an image to the Molly and Mama Facebook page wall. I’d love to share them!
For more free projects, be sure to visit the TUTORIALS tab. And for more patterns, you’ll find lots like Miss Molly and Friends in the ETSY STORE.
Thanks for being here!
Happy stitching, Lauren x
This post was written by Lauren Wright and appeared first on Molly and Mama http://www.MollyandMama.com.au

What color wool felt do you use for the fox? Sandi
Hi Sandi, my wool felt came from My Felt Lady and the colours for the Cover Version of Fifi were papaya and ivory for the face, and biscuit for the nose. Because felt colour names are not universal, you might find similar colours that have different names in different stores. You can also choose to use any colour combinations you like. I have used baby blue before and even red. Happy stitching! Lauren