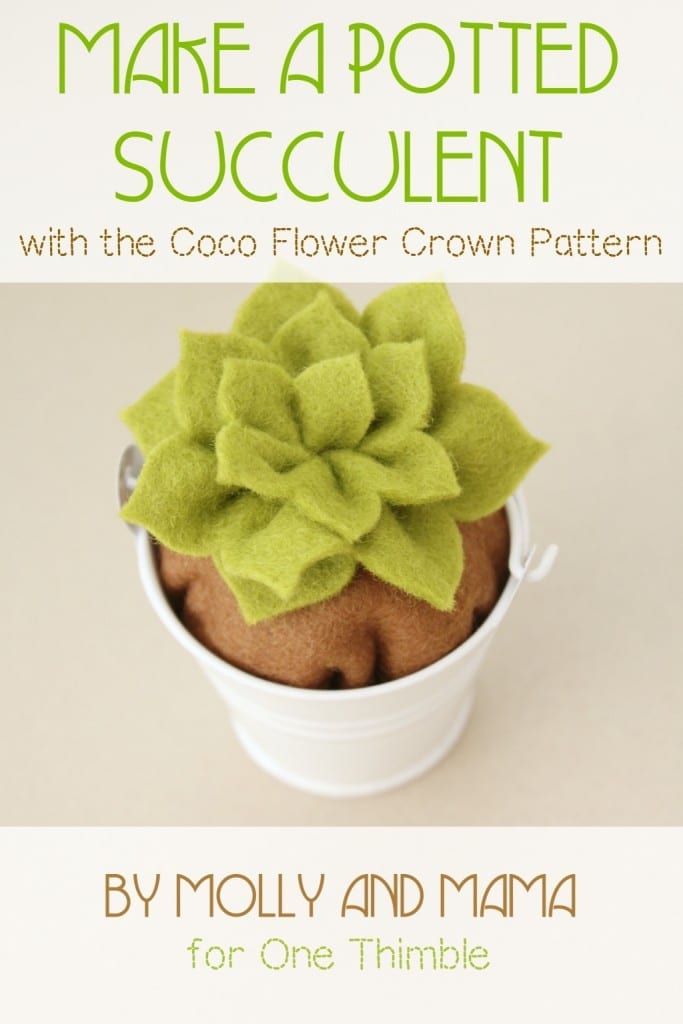
Make a Potted Succulent with the Coco Flower Crown Pattern
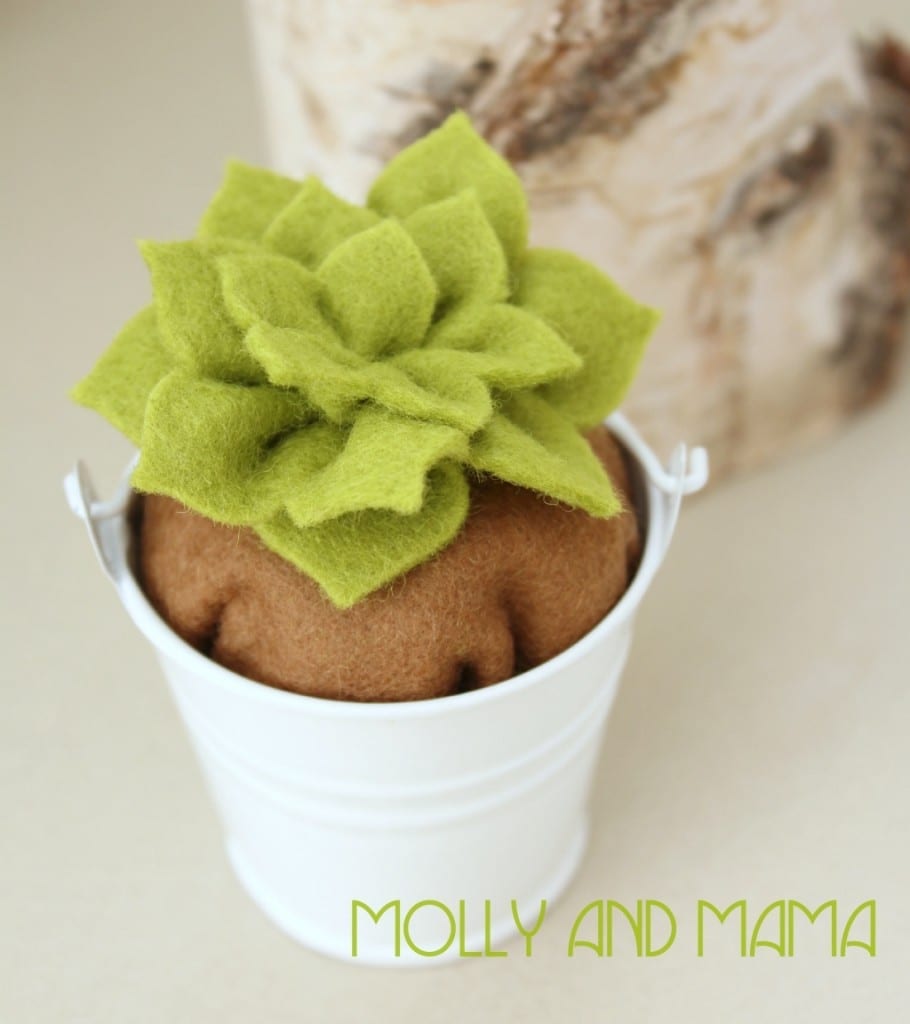
Would you like to learn how to create a potted succulent or cactus? This is a great pattern hack for the Coco Flower Crown PDF pattern found in the current issue of One Thimble Sewing E-Zine (issue 8). The Coco Flower Crown pattern contains all the pattern pieces needed to create five felt flowers and seven types of succulents. Choose one of the pattern templates to create a succulent and read the rest here!
YOU WILL NEED
- a copy of the Coco Flower Crown pattern. You can purchase this as a stand alone pattern from the One Thimble website. Alternatively, you can purchase Issue 8 of the One Thimble magazine and this pattern is included!
- green 100% wool felt for Succulent 1 – 28cm (11″) x 3cm (1.25″)
- 15cm (6″) brown 100% wool felt circle for the base
- polyester filling / stuffing / hobby fill or similar
- pot or container to place your plant into – pictured pot is 5.5cm (2.25″) tall and 6cm (2.5″) across
- needle and thread to match your felt colours
- small sharp scissors for cutting felt
- erasable marker (optional)
- circle template (optional)
- craft glue (optional)
Before you get stitching, I just wanted to mention that this post contains affiliate links which means I make a small commission if you choose to make a purchase via the links on this blog post. Whilst not affecting your purchase price, it will allow me to continue to bring you more free sewing patterns and tutorials. Thanks for your support!
MAKE THE SUCCULENT
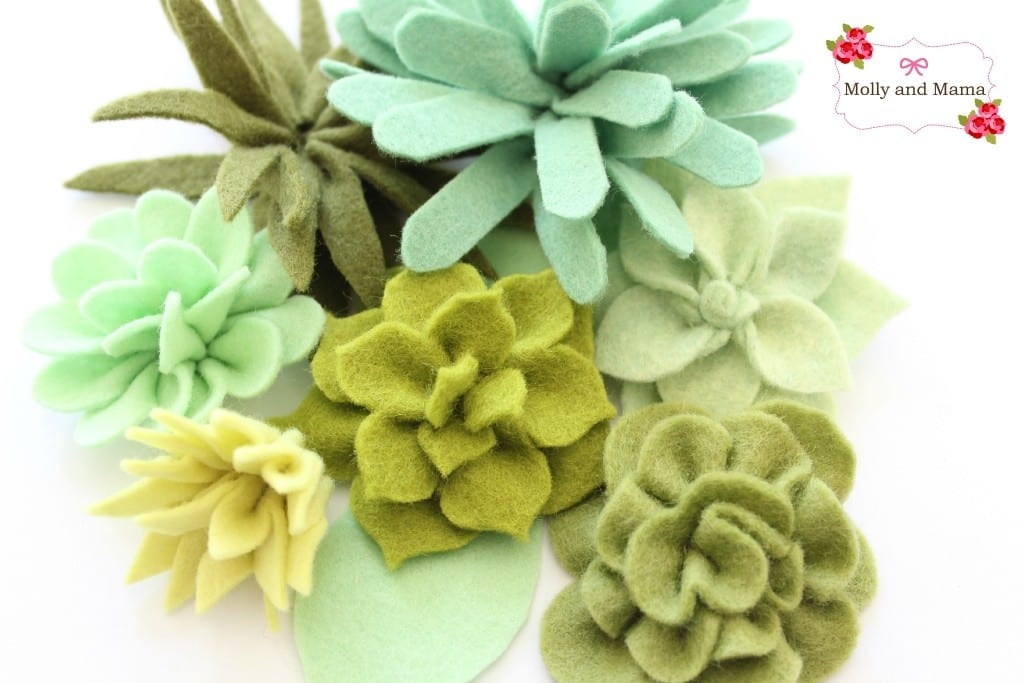
Choose a succulent to sew from the selection available in your Coco Flower Crown pattern. As you can see, there are lots of options to choose from! Even the flower patterns make succulents. Just change the colours!
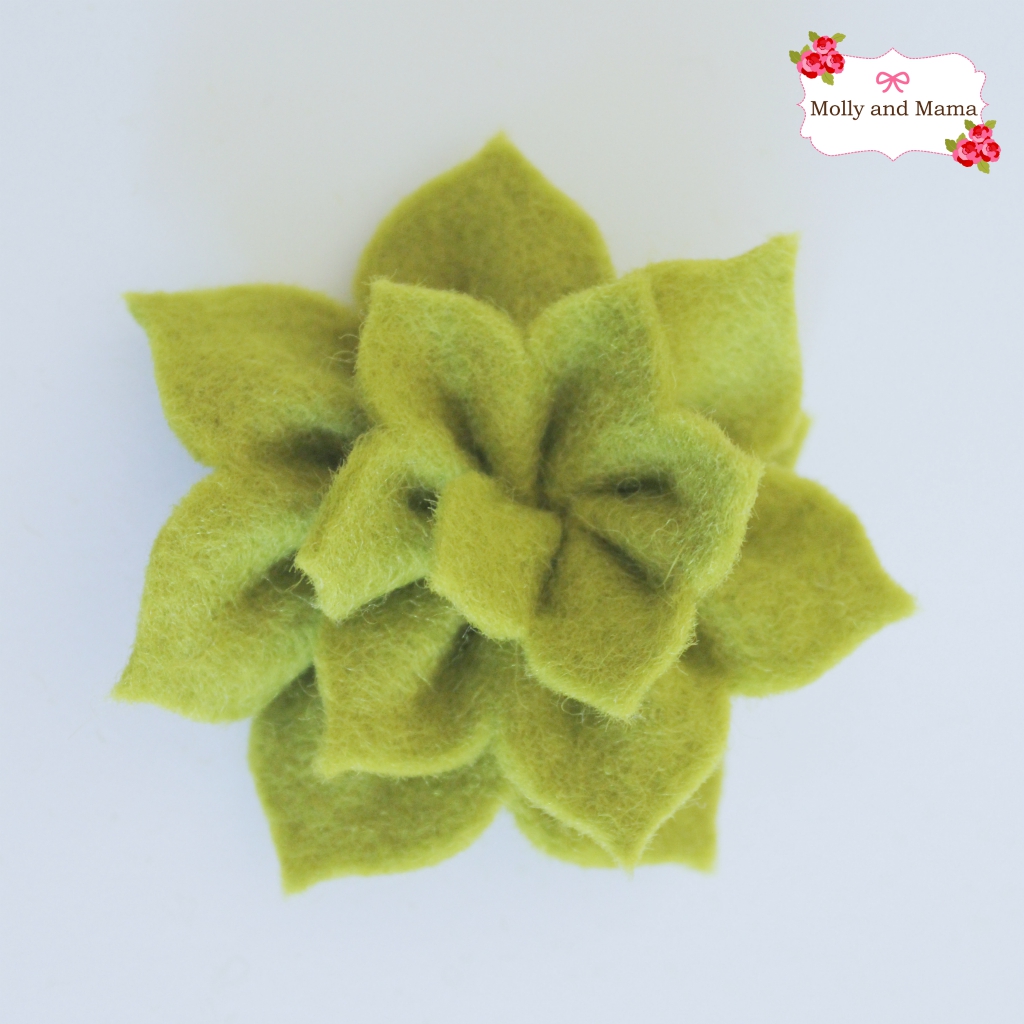
For this project, Succulent 1 was the perfect pattern for me! Use the methods described in the pattern to cut out, and stitch, your felt succulent.
ADD THE FELT BASE
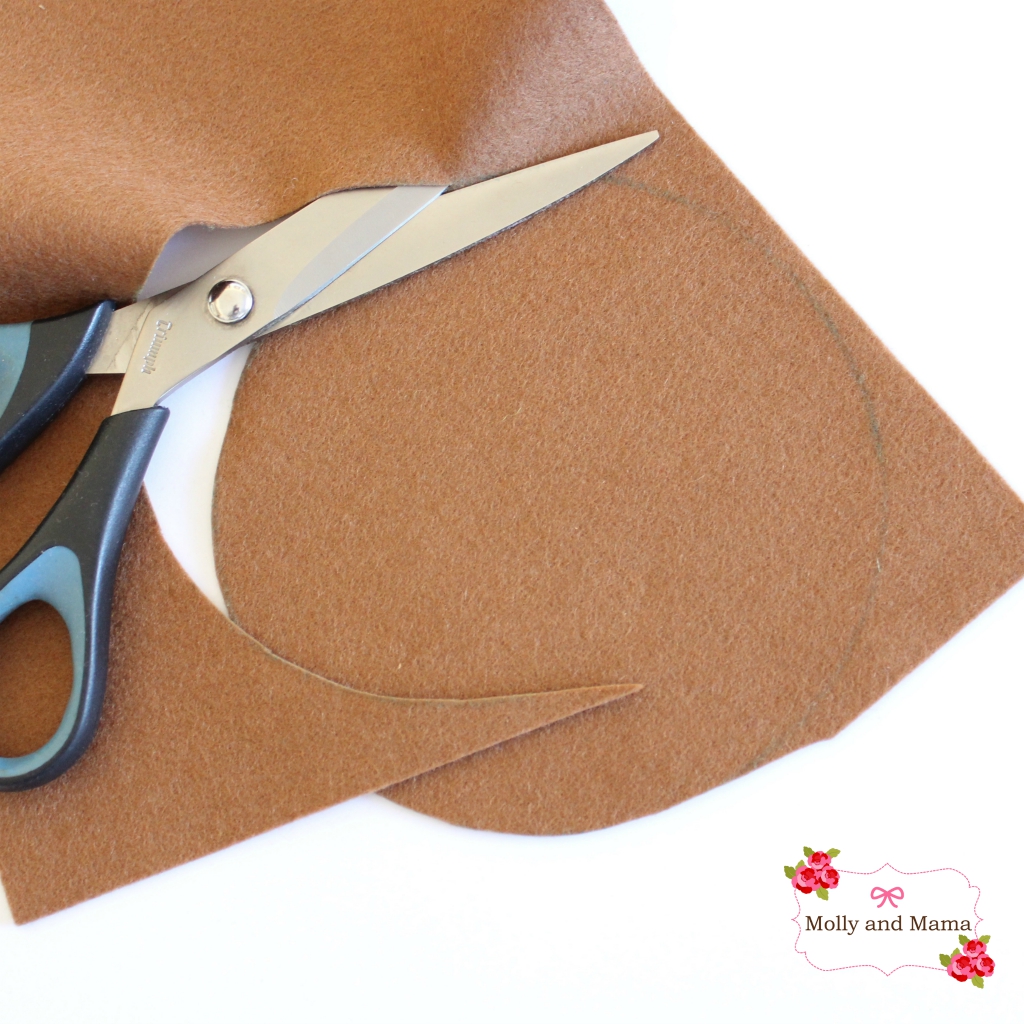
Trace a circle shape onto the felt with a water erasable marker. Use a preprinted circle template or a round shape like a dinner plate or side plate as a guide. The size of your circle will depend on the size of the ‘pot’ you are putting it in. My circle was 15cm (6″) across.
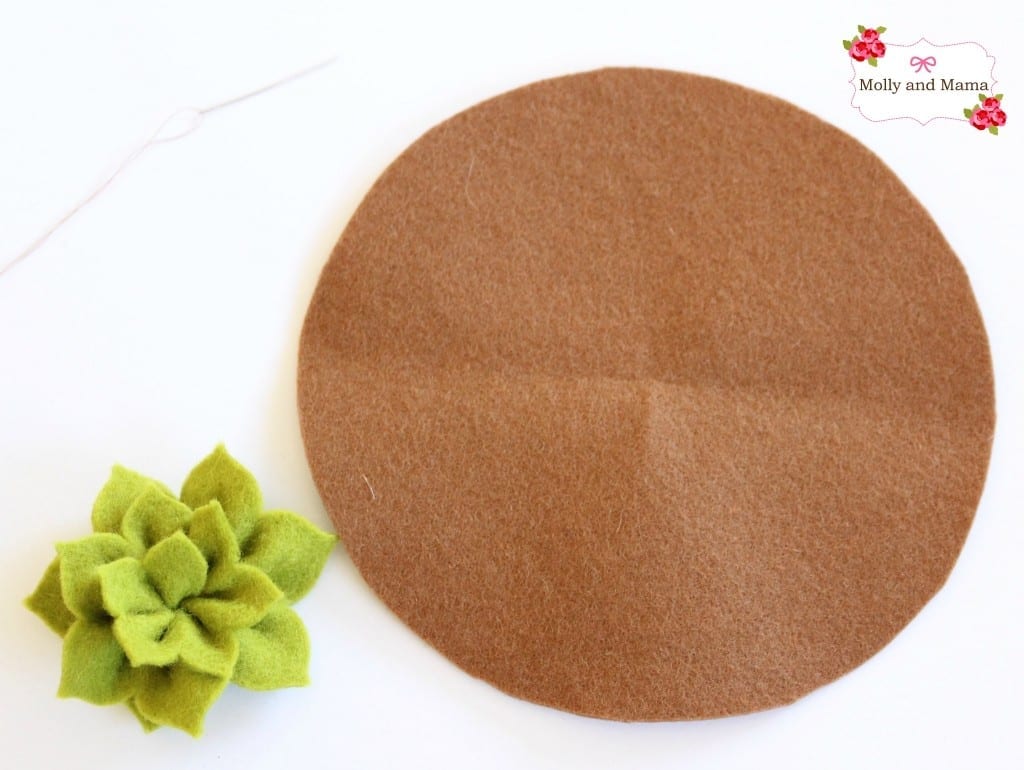
Fold your felt circle in half and in half again to find the centre point.
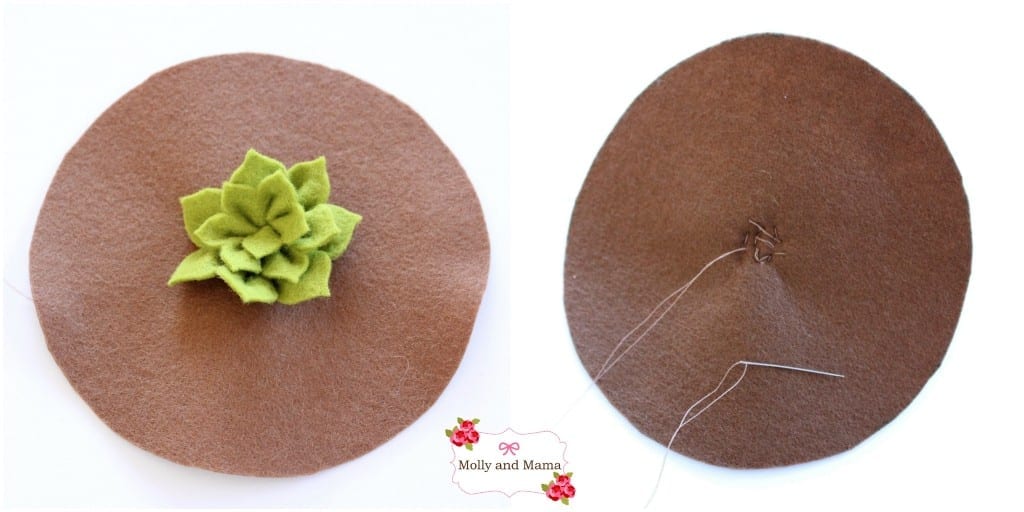
Thread your needle with a doubled over strand of green or brown sewing cotton (or a colour to match your felt). Bring the needle up through the centre of your felt circle to mark the point.
Place your succulent in the centre of the felt circle and use small stitches to securely attach the succulent to the felt base. You shouldn’t see the stitches from the front. When you’ve finished, secure your stitches and trim off the excess cotton.
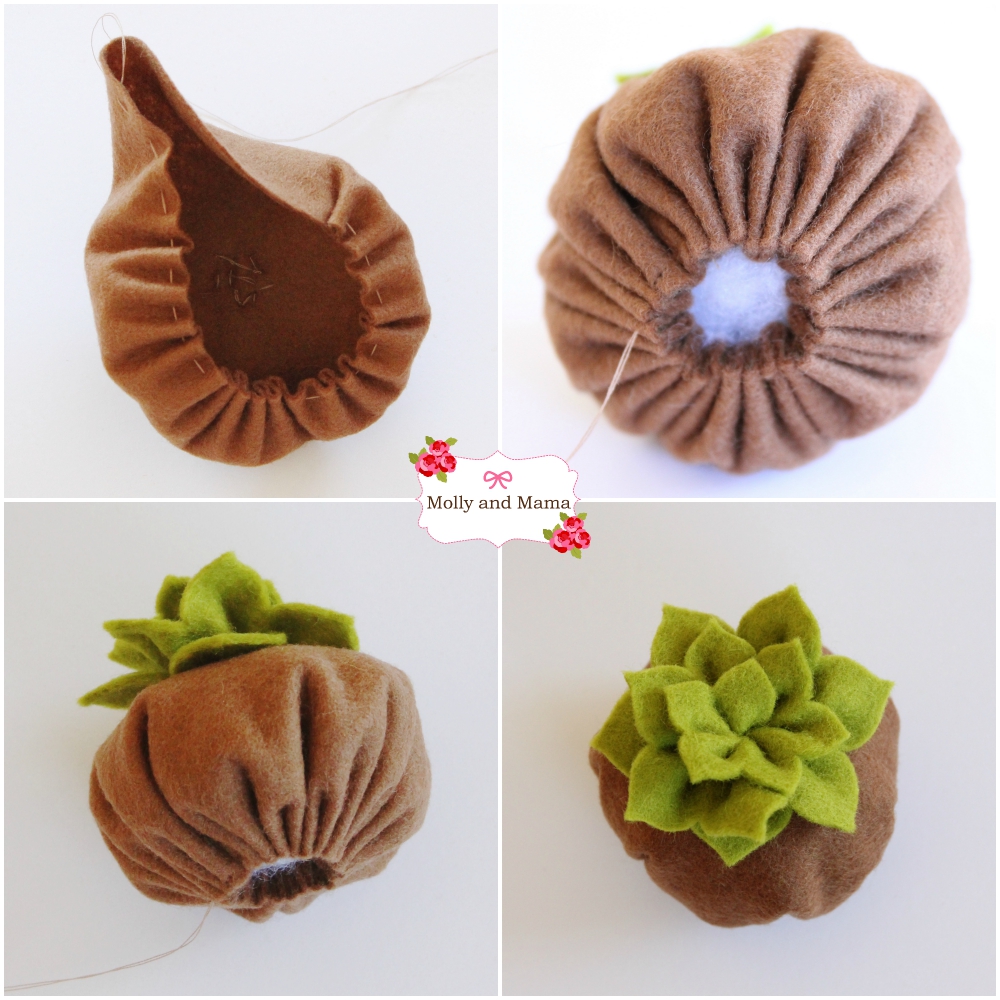
Thread your needle with a long doubled over strand of brown sewing cotton (so it’s long enough to reach around the circumference of the circle). Stitch a running stitch the whole way around the brown felt, about 1cm in from the outside edge. Gather the stitching as you go, by pulling the thread.
Leave an opening large enough to add polyester stuffing or fill. Add just enough so that the brown felt holds it’s shape. You don’t want it too firmly stuffed though, as the brown felt has to neatly and easily fit into your succulent’s pot. Once you’ve added sufficient filling, pull the thread taut and seal the opening of the gathered felt with some extra stitches. Your little plant should be ready to be ‘potted up’ (see the image bottom right).
Gently pop your succulent into your pot. To ensure it can’t be removed, feel free to glue it in place with some craft glue. Now you have an everlasting plant that will brighten up any space! And it could even be used as a pin cushion!
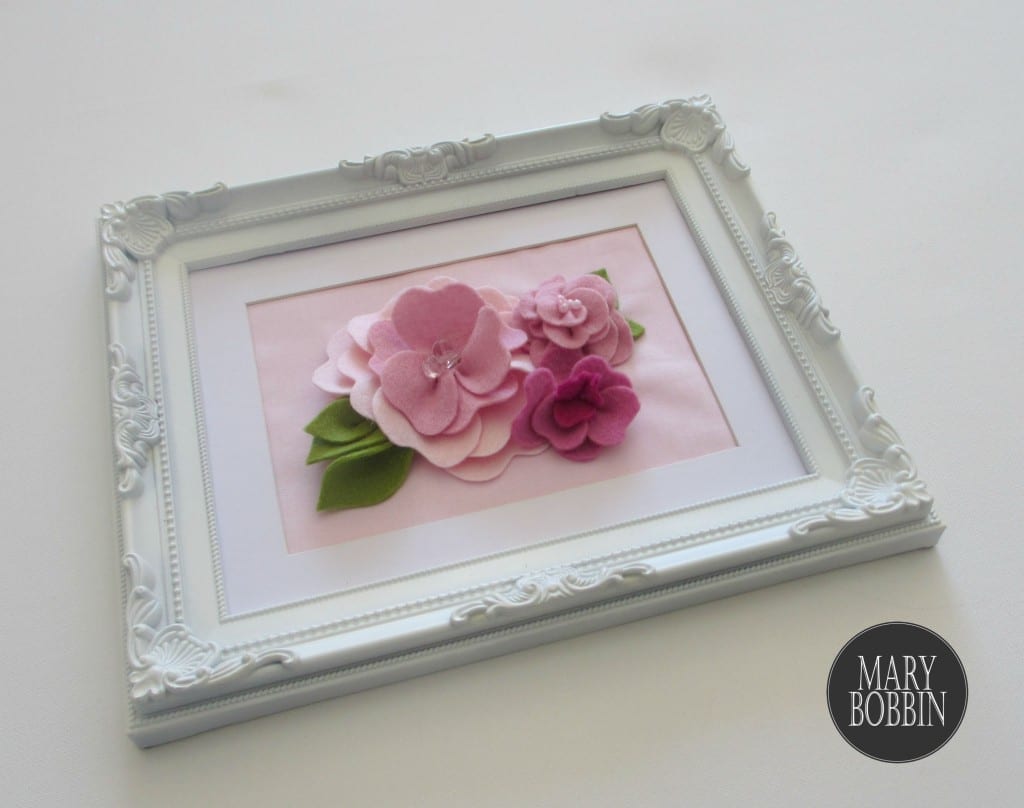
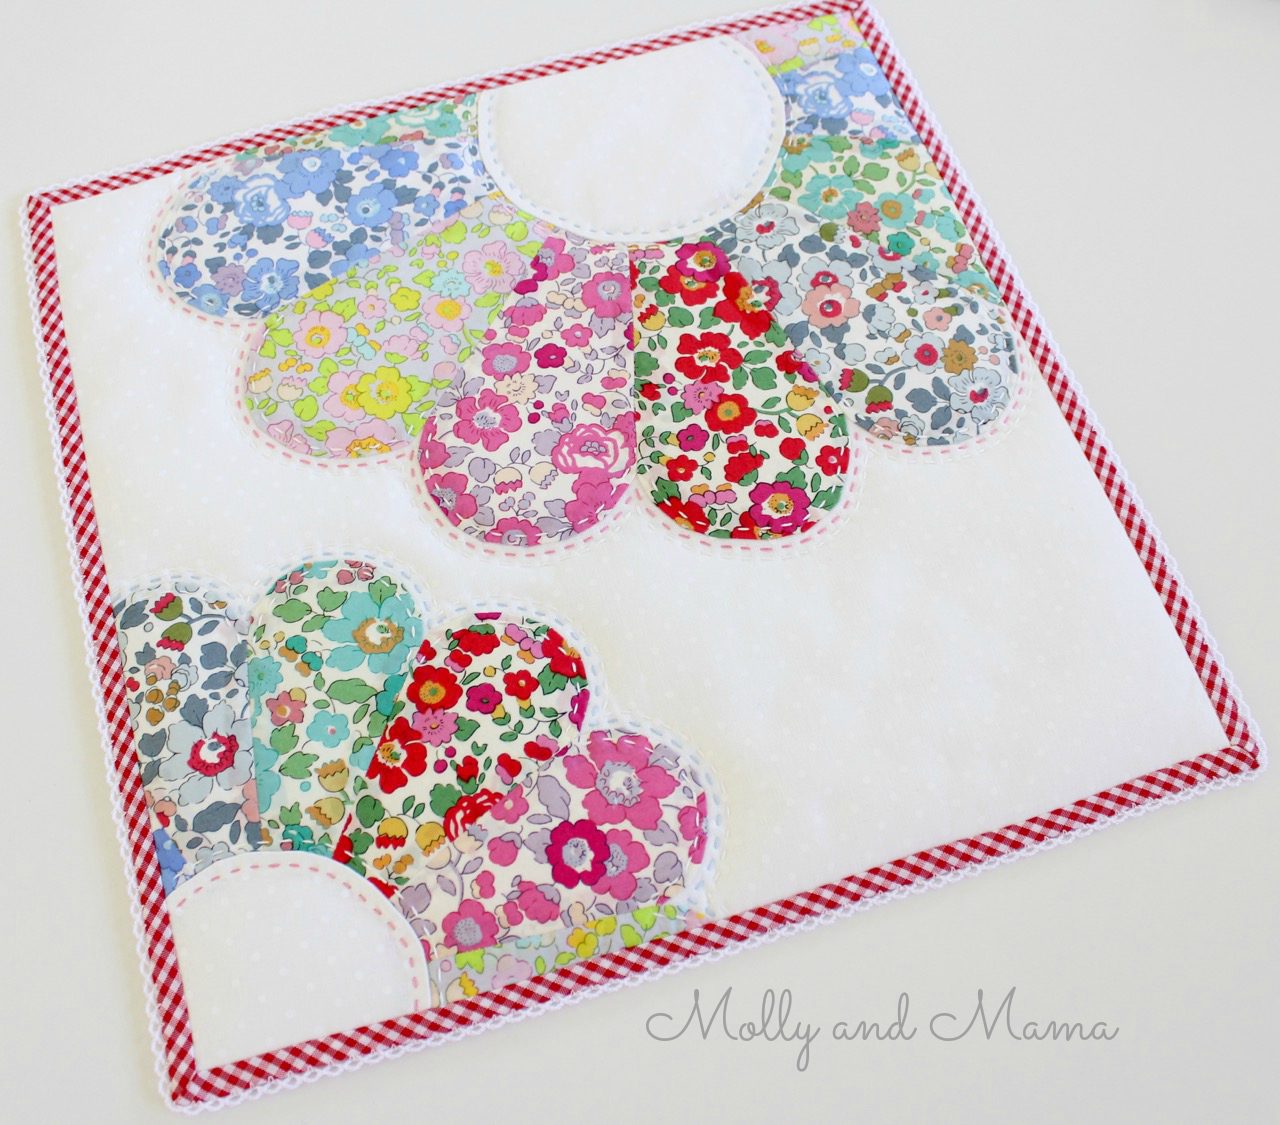
I love that the Coco Flower Crown pattern is so versatile and can be used for other projects too! If you’d like to see a whole bunch of pretty accessories made with the same pattern, head over HERE. My testers used the pattern for some lovely projects too. Mary created this beautiful wall art for Mary Bobbin.
Have I inspired you to get making too? See more ideas and suggestions on my Coco Crown Pinterest Board. And if you get creating, I’d love to feature your work too. Be sure to use the contact tab to get in touch. Or post your pretties on the Molly and Mama Facebook Page wall.
Happy stitching, Lauren x
This post was written by Lauren Wright and appeared first on Molly and Mama http://www.MollyandMama.com.au

love this!
Thanks Jeanine!